

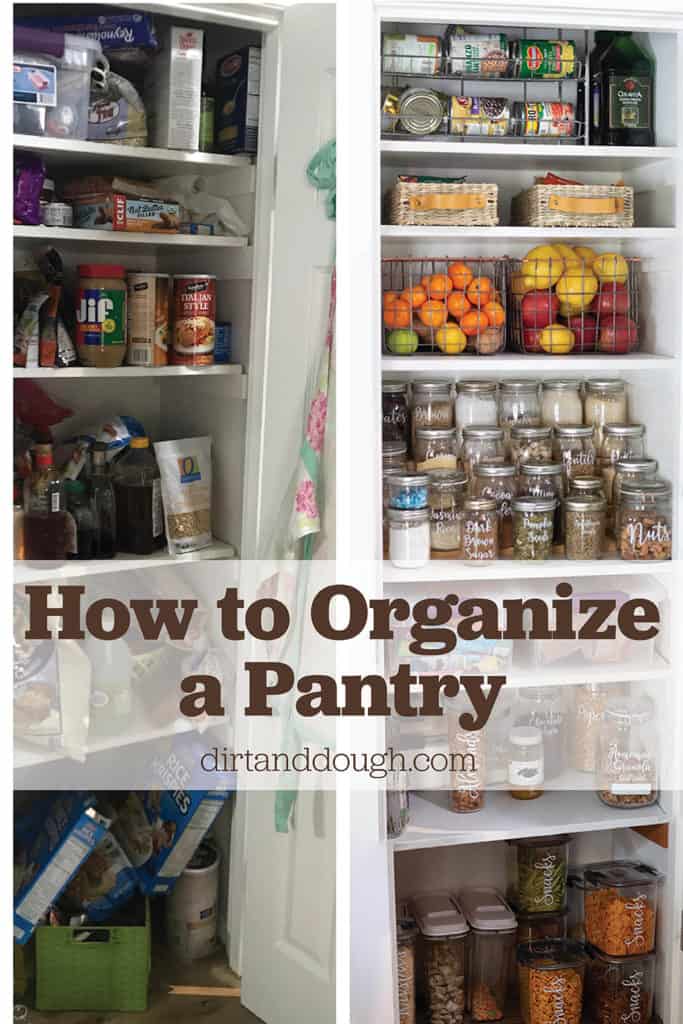
How to organize your chaotic pantry once and for all. Organize it by removing all packaging and storing food in containers for easy use and a clutter-free space.
I have struggled with the organization in my pantry for years now. We purchased our current home about 7 years ago, and while we gained a good size yard, we had to compromise some space inside. One of those things was my pantry.
We tried all different options for storing our food because the pantry space we have just isn't efficient.
One thing we did in order to free up space in the kitchen pantry was build cabinets in our garage. This was a place that we could store all the Costco bulk items or extra pantry staples. Other things we keep out there are the kids mac & cheese, boxes of pasta, canned goods and all the extras I don't use on a regular basis.
This really worked well but my pantry was still a major disaster.
The Pantry
No matter how much space I had in my garage it didn't change the fact that my pantry was not functioning properly for me. Things would go missing, I never seemed to have space for anything and overall it was a major eye sore. It was a constant shuffle moving things around just to find the one or two things I needed. No matter how much I cleaned out and organized, it never took long for it to end up a complete mess.
I had enough. I was tired of always finding expired food or multiple bags of the same thing open at the same time. Every time I would clean it out and try to organize, it never seemed to help anything, and quickly ended up like the photo below.

Just a chaotic mess. You can see multiple boxes of the same item, no order and things just thrown around.
I love to cook, and spend hours in my kitchen every single day. I also have a small kitchen, so I really need my space to work for me. My pantry just wasn't cutting it.
What Did I Do to Organize my Pantry?
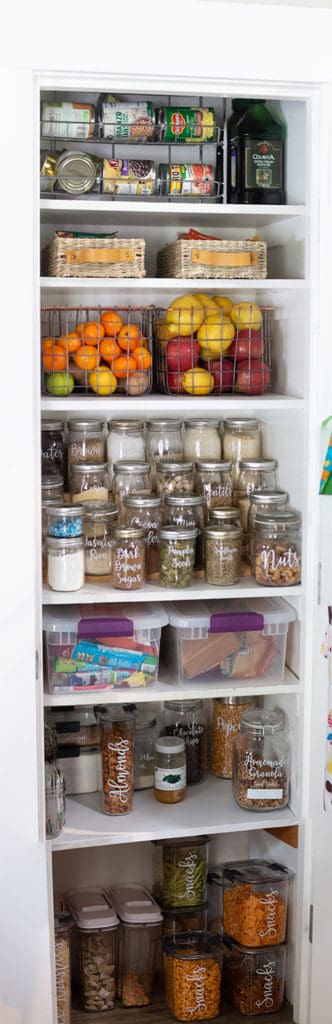
Removing packaging and decanting all my food was the answer I was looking for in order to finally have that perfectly organized pantry. I started small and acquired containers and jars over time. This process started about two years ago with my larger items like flour, sugar and rice. I slowly acquired everything else and finally got to a point where everything has its own container and I finally have a pantry I can be proud to leave open.
Staple Items
My favorite jars to use are the flip lock lid jars. These are perfect for all those packaged items like rice, quinoa, lentils, seeds, nuts and any other staple item.
I started finding mine at TJMaxx and HomeGoods and would just pick up one or two with each trip. They are almost double the price at Target and Amazon so if you have a TJMaxx in your area, or other discount store, I suggest you check there.
I still don't have all of the jars I need and I'm still on the hunt. In the meantime, I found a 12 pack of plain mason jars at JoAnn Fabric that have worked perfect. The sides are smooth so I can easily put a label on it.
I know a lot of people use and love the OXO pop containers. These are really nice because they can stack and are easy to use, but they didn't fit in my budget. With how many jars I needed the mason jars were the best price.
When it comes to expiration dates I tend to not worry to much about my pantry items. I know that I generally go through stuff before it goes bad. One thing I have done for items that do have a shorter shelf life is to use a wet erase marker and put the date on the bottom of the jar. Just a way to keep track if you're worried about things expiring.
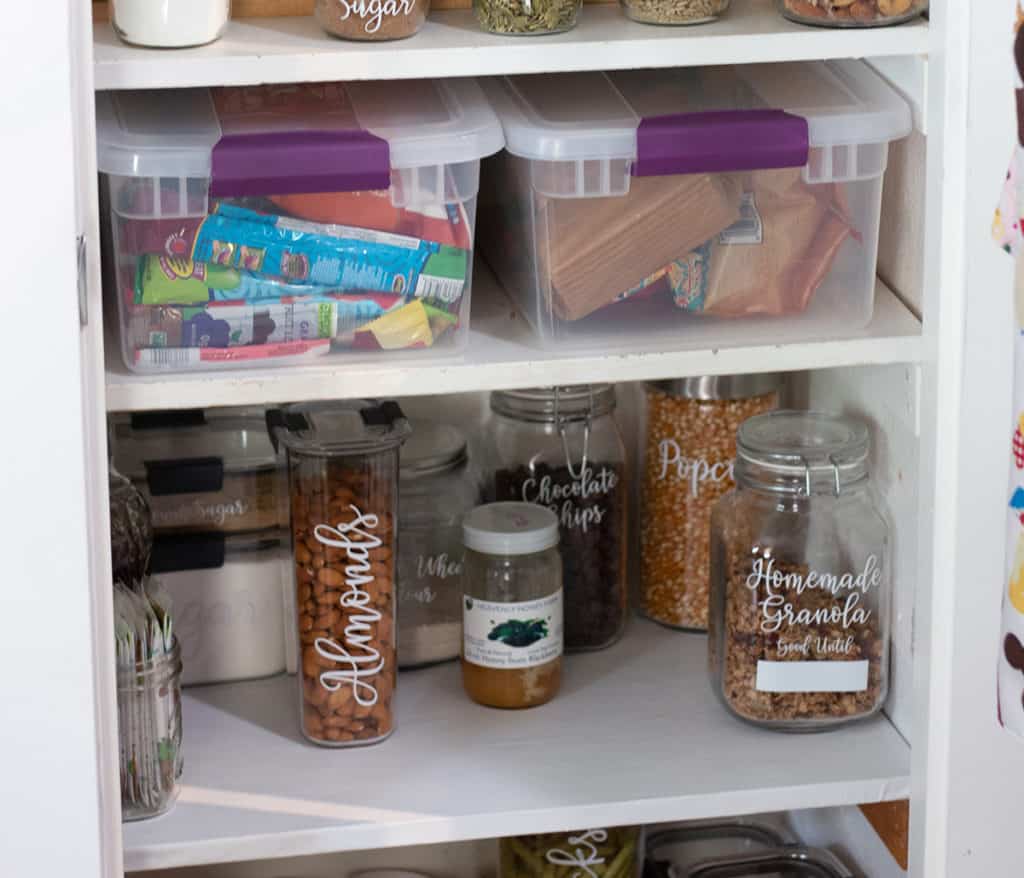
I love making homemade granola and since there are no preservatives added to keep it fresh, the shelf life is a lot shorter. This is one of those cases where I write the date on the jar.
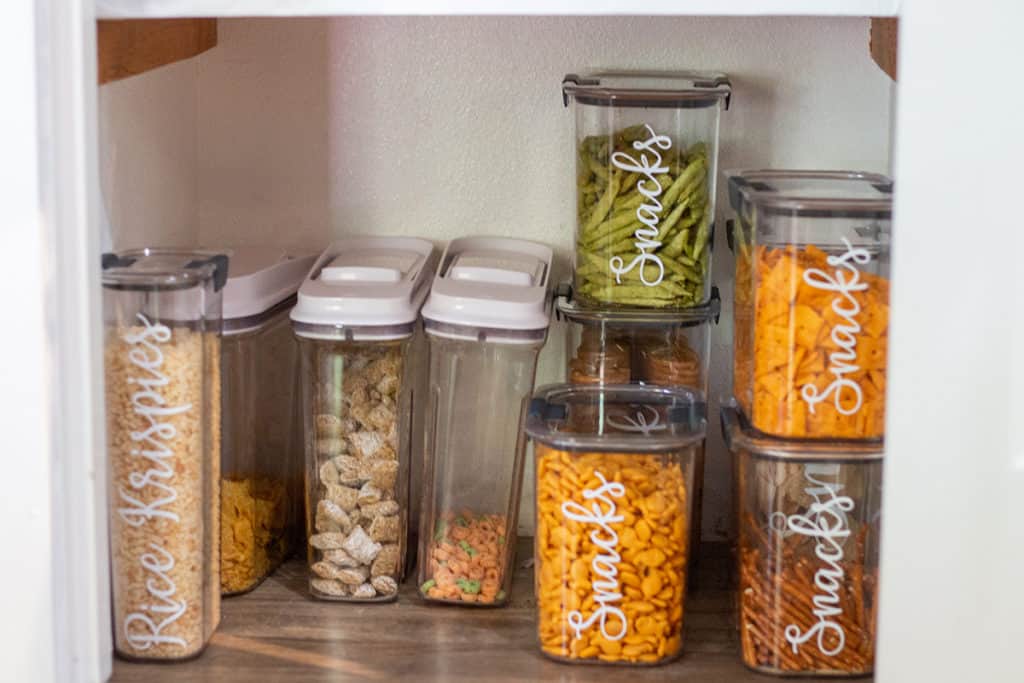
Snacks & Cereal
Two of my biggest pet peeves with my pantry had to do with snacks and cereals. My family LOVES snacks. Almost too much. Here is what I cannot stand: 1. Bags get left open by small kids and things go stale. 2. Bags with very little left often get covered up, left to get broken into crumbs and eventually go bad. This was driving me crazy! Decanting my snacks was one of the best decisions. I can clearly see what we have on hand, there are no more missing bags with crumbs on the bottom. I also know when we are dangerously running low on gold fish for the kids, chips for me and pistachios for my husband.
Canned Goods
I store most of my canned goods in my garage. Since I do not use them everyday I like to keep them out of my pantry. I also store all my refills in these cabinets.
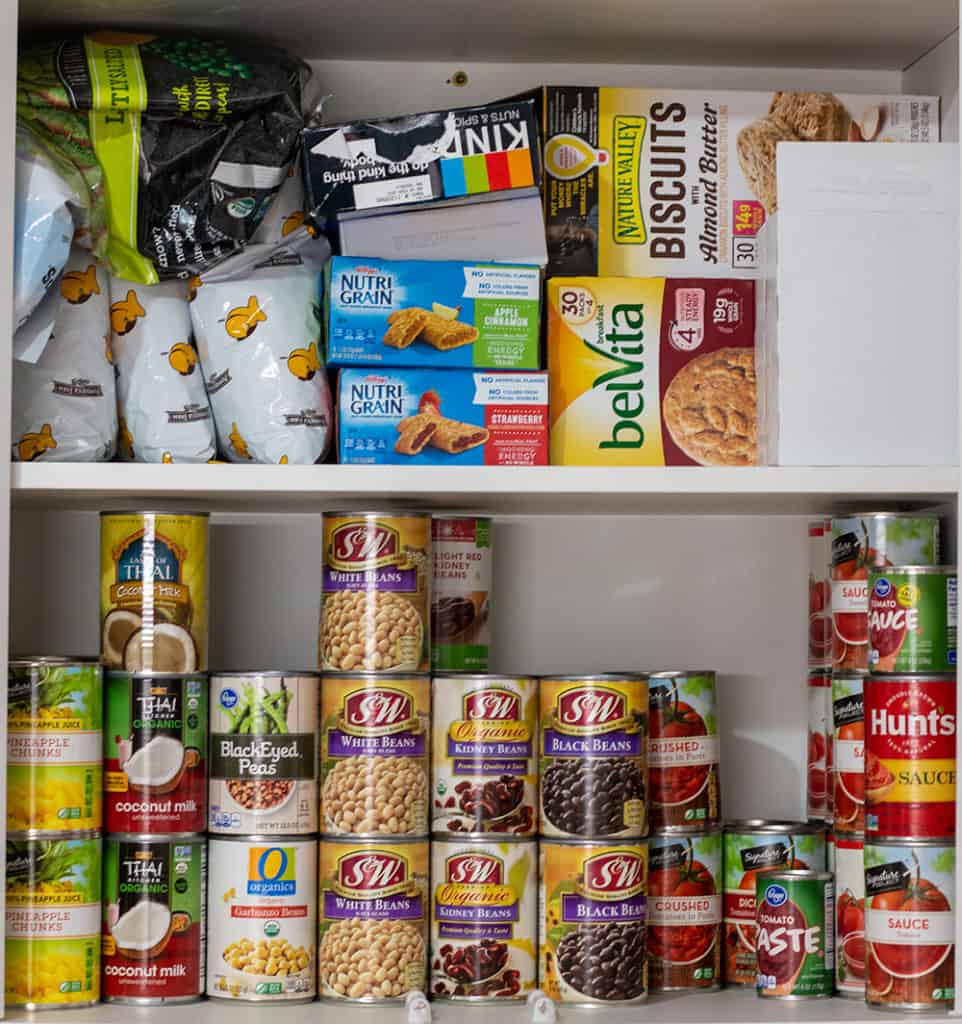
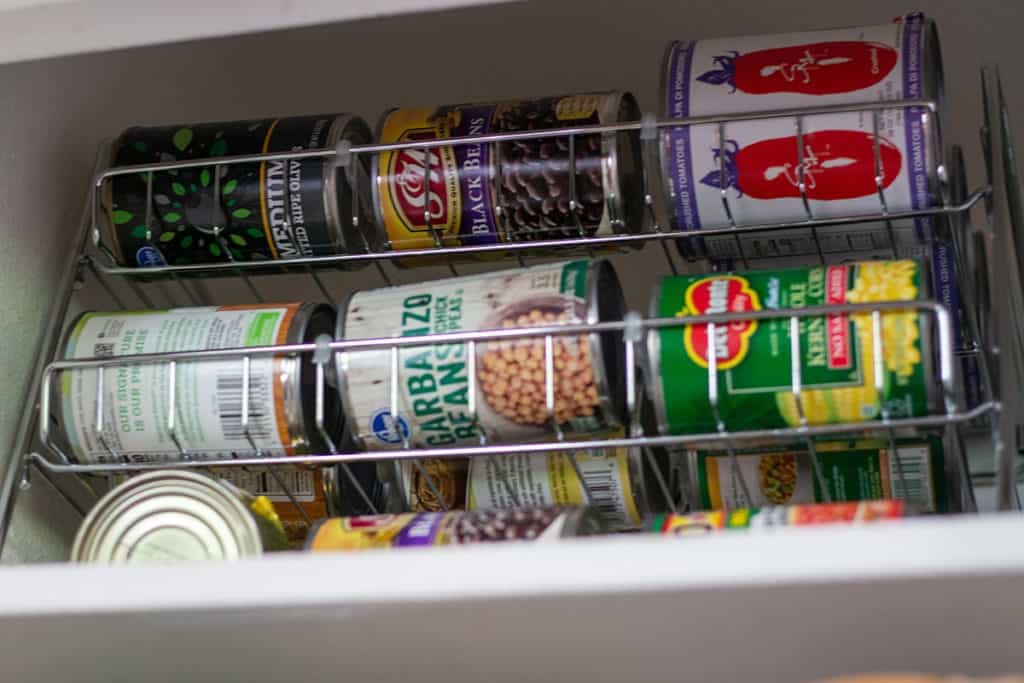
With that said I also have this awkward shelf at the top of my pantry that is not very useful. I decided to get a can dispenser to store on top with the canned items I use the most. It really filled the space nicely and I can keep better track of my favorite tomatoes or tuna.
Other Pantry Items
While I would love everything to be in a jar with a beautiful label I know that is not practical. There are certain things I just don't have on hand at all times. It wouldn't make sense to have a jar for something that I buy once and a while. Or items such as taco shells, I'm obviously not keeping those in a mason jar. So for those kinds of things, I found bins that fit one of my awkward shelfs nicely and I can keep those random items in there.
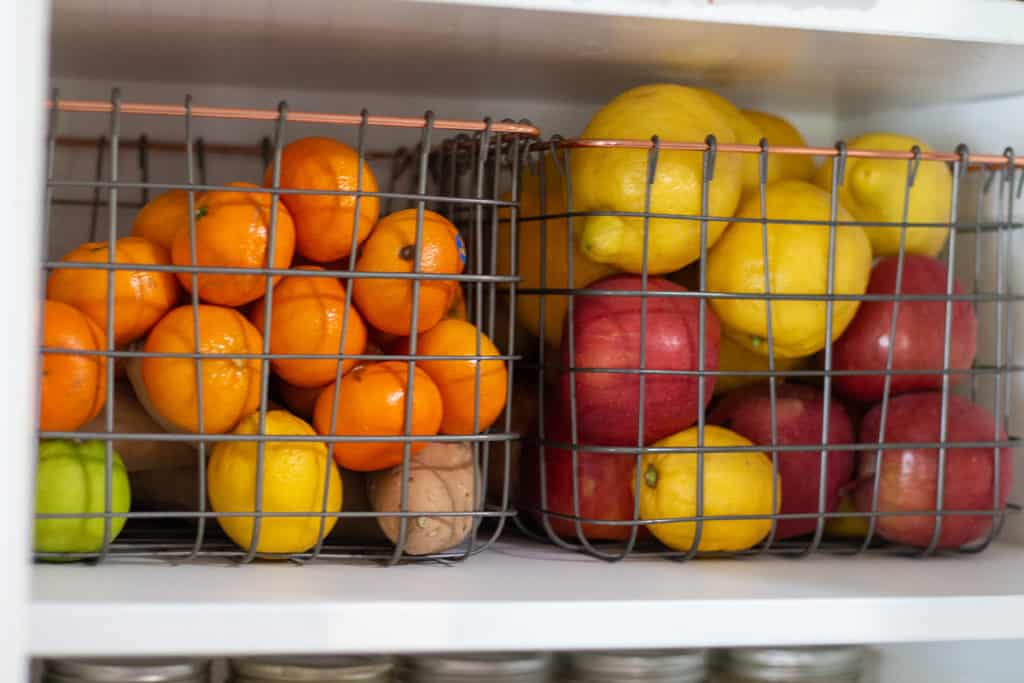
I also used these cute wire baskets I found at Target to hold all my produce so I can easily see what we have on hand.
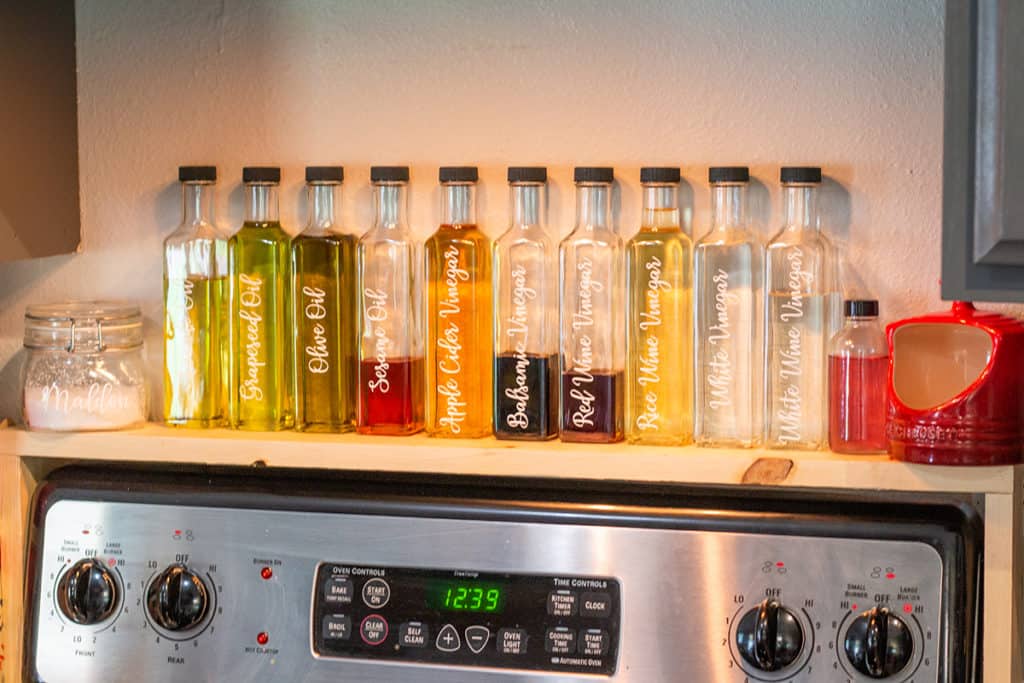
Oils and Vinegars
Oils and vinegars are another one of those things that comes in bulky packaging and even when your down to just a quarter left, the bottle still takes up so much room. I purchased these 250ml bottles to decant all my oils and vinegars and I really love that they can sit above my stove for easy access. I keep a small amount in my kitchen then the refills are in a cool dark cabinet in the garage.
I'm on the hunt for some amber colored ones as well for my balsamic vinegar, but for now I just keep a small amount so it doesn't go bad.
My husband built me this fun rack above my stove so everything is within reach. No more salts and oils being stored on my work space.
Benefits of Decanting and Organizing a Pantry
- Clean and Organized: I love the look of the uniform jars and not an array of mismatched packages. It's also very hard to make messy.
- Visually see what you have. Now when I meal plan its so easy to take a quick inventory of my staple items. I can clearly see when I'm about to run out of something. Or I'm not buying an ingredient only to find out I already had two.
- Things stay fresher. While chip clips and those built in sealers are great, they always seem to fail. Having things in a jar with a tight seal will keep everything fresher longer, and it's much easier for the kids to close up.
- Cooking is more efficient. I struggle finding time to organize and why I put this project off for so long. Decanting and organizing hasn't only transformed how my pantry looks but how it functions. Cooking is much more efficient now. I can quickly find what I need, use it and put it right back.
- Dinners on the Fly. Sometimes when I have no plans for dinner and really do not feel like grocery shopping I get to utilize my shelf cooking skills. Having everything in clear jars is so helpful. It's so much easier to browse what I have on hand and can pull a meal together so much quicker. I often feel like a contest on Chopped.
How to Organize Your Pantry
Are you interested in having a package free pantry?
Are you looking for ways to declutter, free up space and make more sense of your pantry?
I did to and I'm going to show you how I accomplished that.
Step 1: Organize and Make a List
Take everything out of your pantry, throw out what is expired and make a list of those items that you want to have in containers.
Then while it is empty, take measurements of every shelf.
Step 2: Research and Shop
Look at Pinterest, Instagram and stores to figure out what kind of containers you want your food stored in. I decided to go with glass jars for the things I use for cooking, and plastic with tight seals for snacks and cereal. My kids can help themselves to the snacks and I don't have to worry about broken jars or partially closed bags.
Step 3: Determine What Size for each Item
Once you figure out what types of containers you want take that list and make a note of what size you will need for each item.
When I first started shopping I would keep a list in my purse or on my phone for the foods I wanted to decant, and roughly what size container. That way when I ran into a good deal I knew if I should pick it up or not.
I also kept a diagram with the measurements of each shelf in my pantry. That way if I ran into any baskets or containers I would know right away if they would fit or not. After returning one set of baskets that "might fit" from then on I kept the measurements with me.
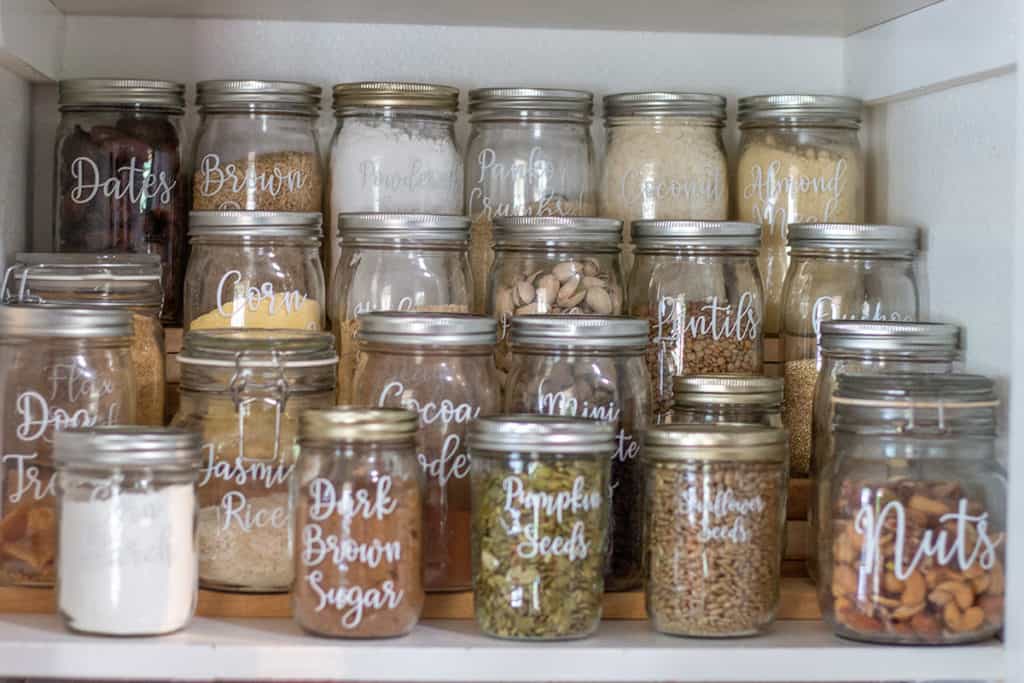
Step 4: Label
I went back and forth with if I was going to label my canisters or not. I liked the clean look of no labels but as I started to add more and more I realized it was getting hard to tell the difference of some things. Mixing up corn starch and powdered sugar would lead to an unpleasant surprise. While I know the difference in texture between the two my 7 year old does not. It is also helpful to keep the multiple flours and rices identified.
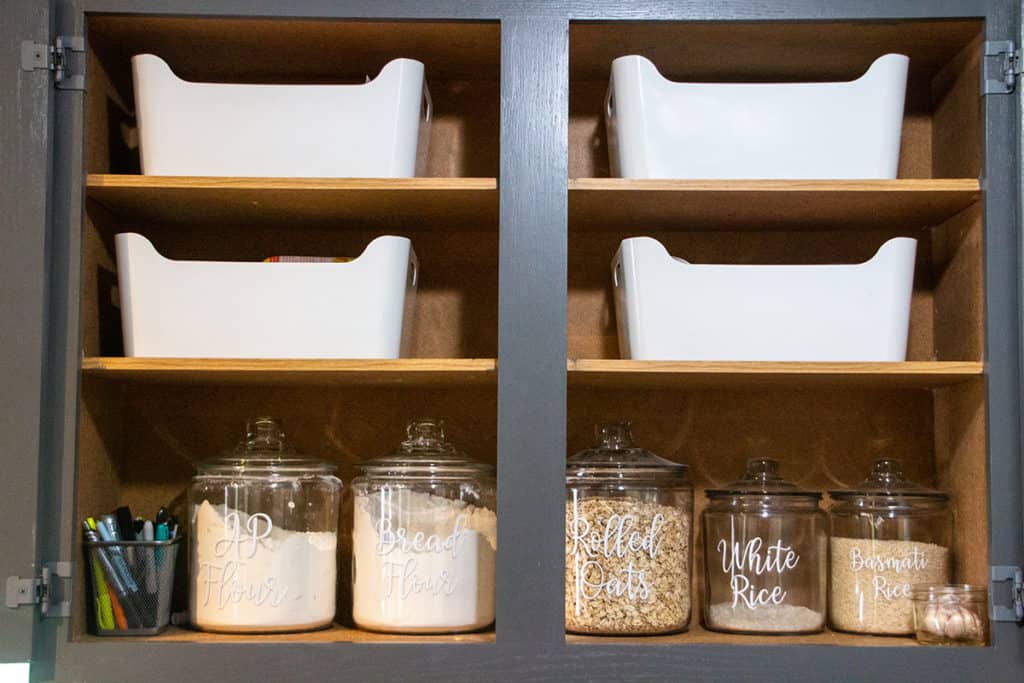
I am a bread baker so I have multiple containers of different flours. And no matter how seasoned I get, I don't think identifying the difference between AP and bread flour is possible. Want to make your own bread from scratch? Check out my Sourdough Tutorials.
My daughter also loves to help me cook in the kitchen so having the labels for her is super helpful. We can work on reading and identifying different ingredients.
It also helps me keep track of what jar is reserved for each item. That way if something needs to be washed I know what was being stored in that particular Jar. I use Oracle 651 permanent vinyl so the labels do not come off when they are hand washed.
Step 5: Baskets and Bins
For all those items that you don't want to put in a container
I suggest using either baskets, plastic bins or totes. It's such a simple way to keep all those items together.
In my pantry I have two bins for fresh produce. Things like apples, lemons, sweet potatoes and oranges.
Do not store your onions and potatoes in the same spot. I tend to keep potatoes in my pantry and the onions live in a produce basket on my counter. They do not like each other and will cause one another to go bad much quicker.
For all the other items that cant go in jars I keep in these plastic totes.
I'm still on the lookout for nice baskets but since this is an odd shelf it's been hard to find. Items such as tortilla shells, small packs of crackers, graham crackers or things I don't buy often enough to dedicate it's own jar.
Step 6: Organize
This is the area I really seem to struggled with. I had the jars and baskets, but just had a hard time visualizing the best placement for everything. We ended up making our own riser out of 2"x4" boards for the jars to stack on. The various heights are nice to see all the different jars. This took a lot of tweaking but was worth it.
I also utilized another cabinet next to my prep space for the larger items such as flours, rolled oats and rices. The white bins are for other miscellaneous items such as vitamins, medication and bandaids.
My friends Lacy and Liz at The Cozy Space really helped me with all this. They offer in home and virtual consulting as well. They showed me how to look at my space differently and gave me some great advice to send me down the right track. Again, organizing is an area I struggle with. I would much rather be spending my time cooking.
Have you organized your pantry? I would love to see your transformation! Post a photo and tag me on social media. Or leave a comment below on what you have done to improve your pantry function.
Shop this Post

OXO Good Grips 3-Piece Airtight POP Cereal Dispenser Set

Clear Glass Quadra Bottles, 250ml (8.5 Fl Oz) - Case of 12

The best price for flip lock jars is at TJMaxx or HomeGoods. Target is the best spot for the Anchor Hocking jars.
This was such a useful Post 😃
I am saving it🙏🙏🙏
I love that! Thank you. Having an organized pantry changed everything.
This looks so great! I love organizing! Thanks for sharing all your tips!!
Thank you so much. Being organized is the best feeling. Getting there can be a challenge.
Great job! This really inspires me to work on my own pantry. Where did you get the labels or did you make them?
Thank you so much. It's an area I struggle with so very excited to have it done. I made them. I'm working on adding a tutorial on how to make them soon.
Great post! I just love organizing. Your labels are so cute!
Thank you! It's not my favorite but I'm learning to love it. The labels are my favorite part.