
How to troubleshoot a sourdough starter? Take it from inactive to alive and bubbly with a few quick tips! Learn some common mistakes when making a sourdough starter and how to fix it.
I started my sourdough journey in 2019. There were not a lot of resources and it took me nearly 6 months with a lot of trial and error to have a happy, alive and active starter.
I want to cut out all that time I spent perfecting mine and help you get a starter of your own going in a matter of days.
This post will outline some common mistakes when making a sourdough starter and some simple things you can do to fix it.
If at the end you still don't find what your are looking for, send me a message or join my Facebook community. I want to see you be a successful sourdough baker!
If you want to learn how to make your own sourdough starter, my guide and recipe have a lot of tips and tricks to get yours going as quick as possible.
Why Isn't My Starter Rising
There are so many factors that can go into why a sourdough starter won't rise. Temperature, feeding, storage and ingredients to name a few.
The most important thing to keep in mind is a starter can take a lot of time. So have patience and keep with it!
Some starters can be alive and active in as little as 1 week and others will take more time for a variety of reasons.
Every environment is vastly different which means every starter is going to perform different and require different things. Your starter is unique, and you will start to learn what it needs.
Below are a few simple things you can do and change to get that starter active.
Feeding
Feeding a sourdough starter is a simple process but if the measurements are not accurate a starter won't develop properly.
A sourdough starter is made of just two ingredients. Flour and water.
When feeding a sourdough starter it's important that you put equal amounts of flour and water measuring by grams, not cups.
The goal is to have a 100% hydration starter which means it has equal parts of flour and water.
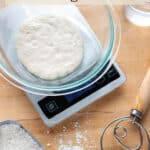
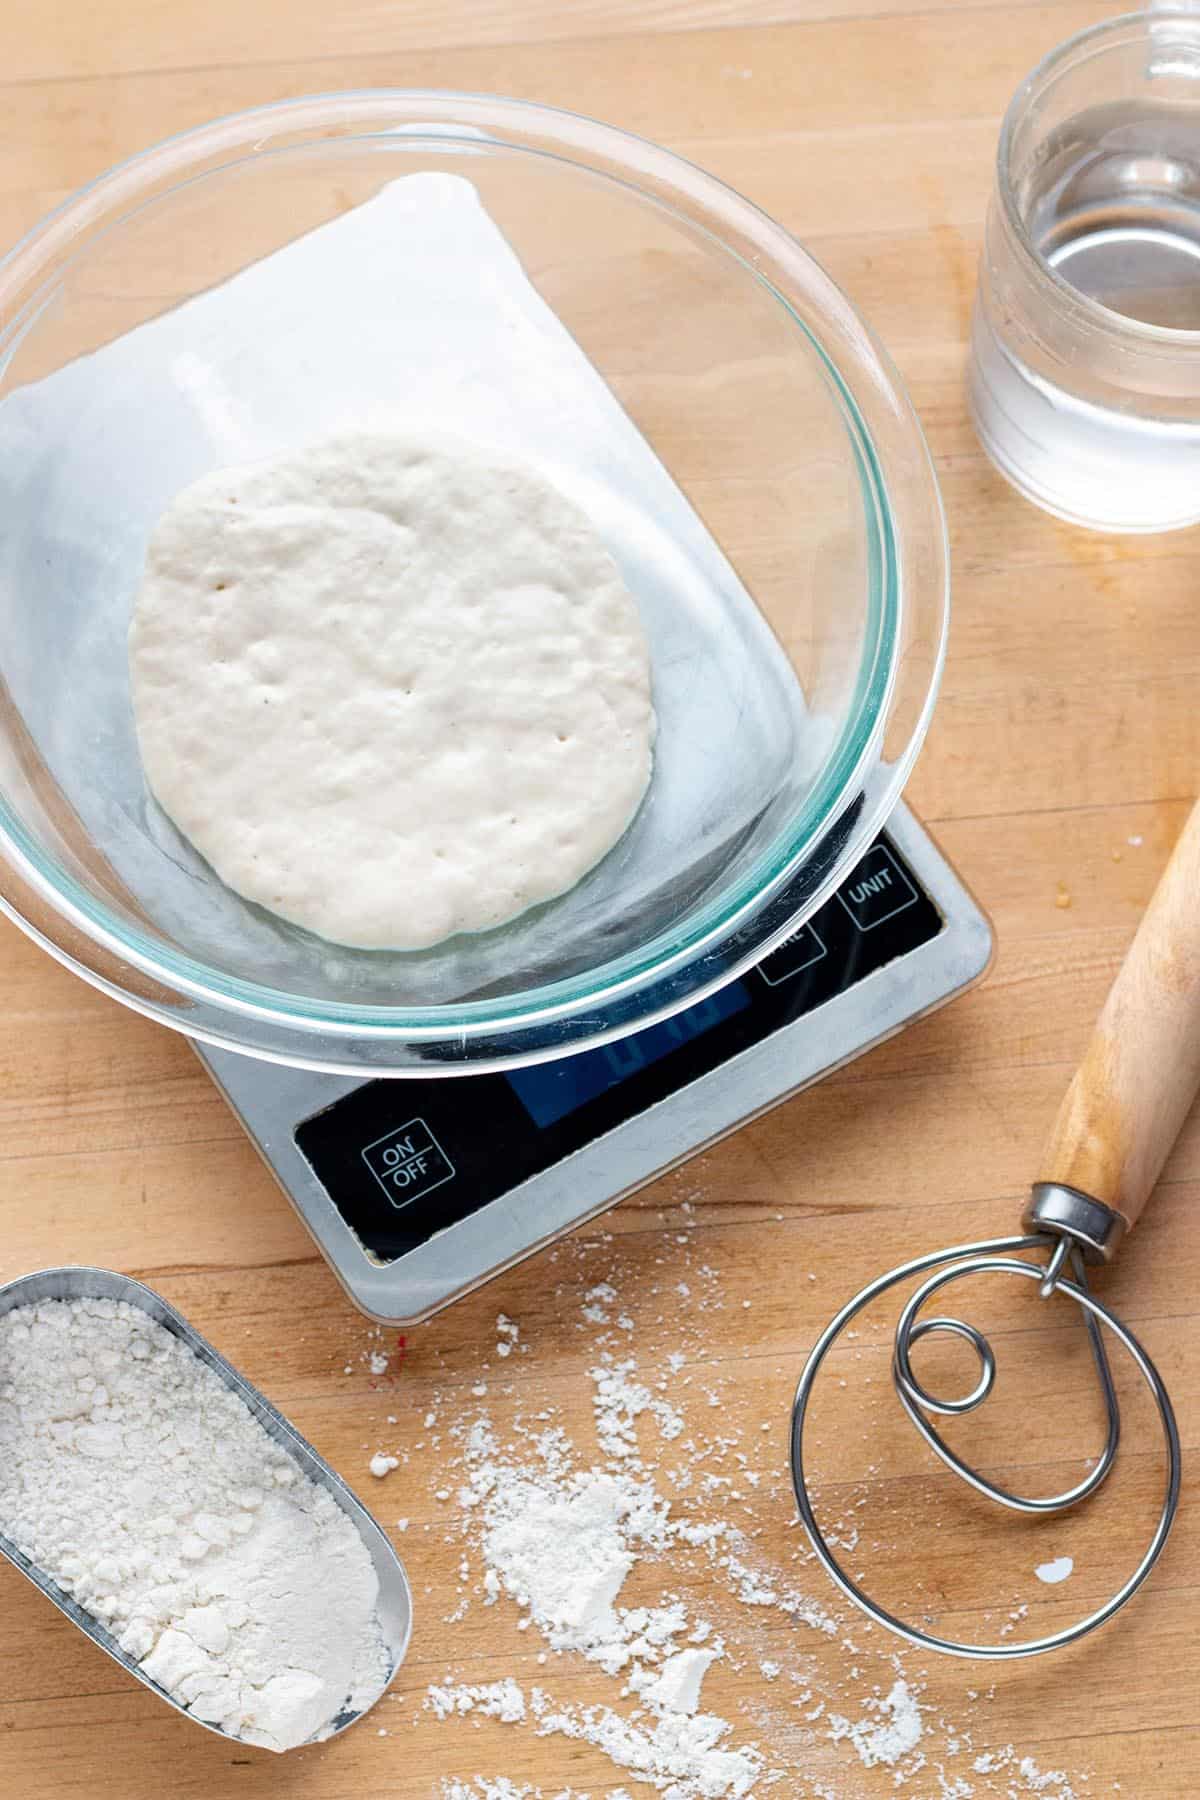
A cup of water and cup of flour are very different weights so it's so important that everything is measured with a digital scale.
You want your feedings to be a 1:1:1 ratio. That means equal parts starter, flour, and water. A great measurement is 100 grams of each. Be consistent with this.
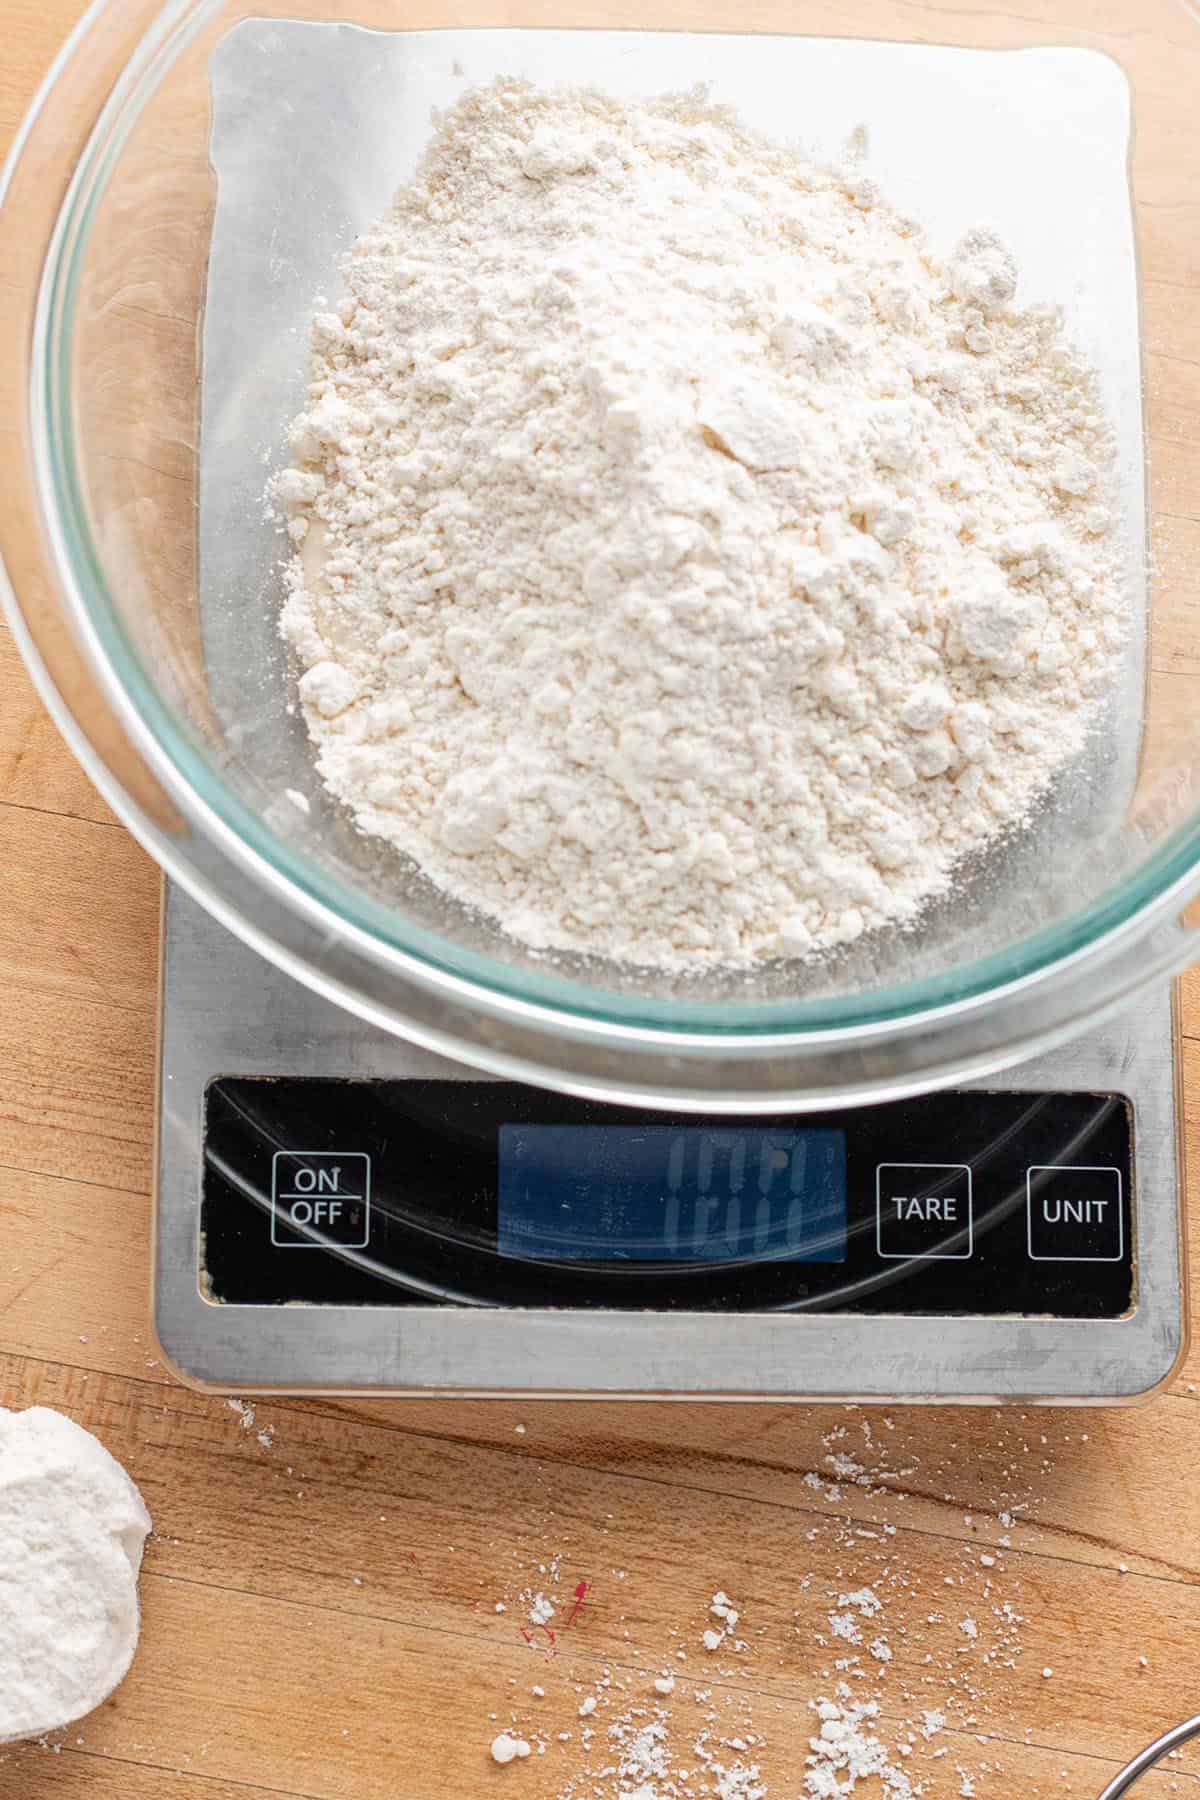
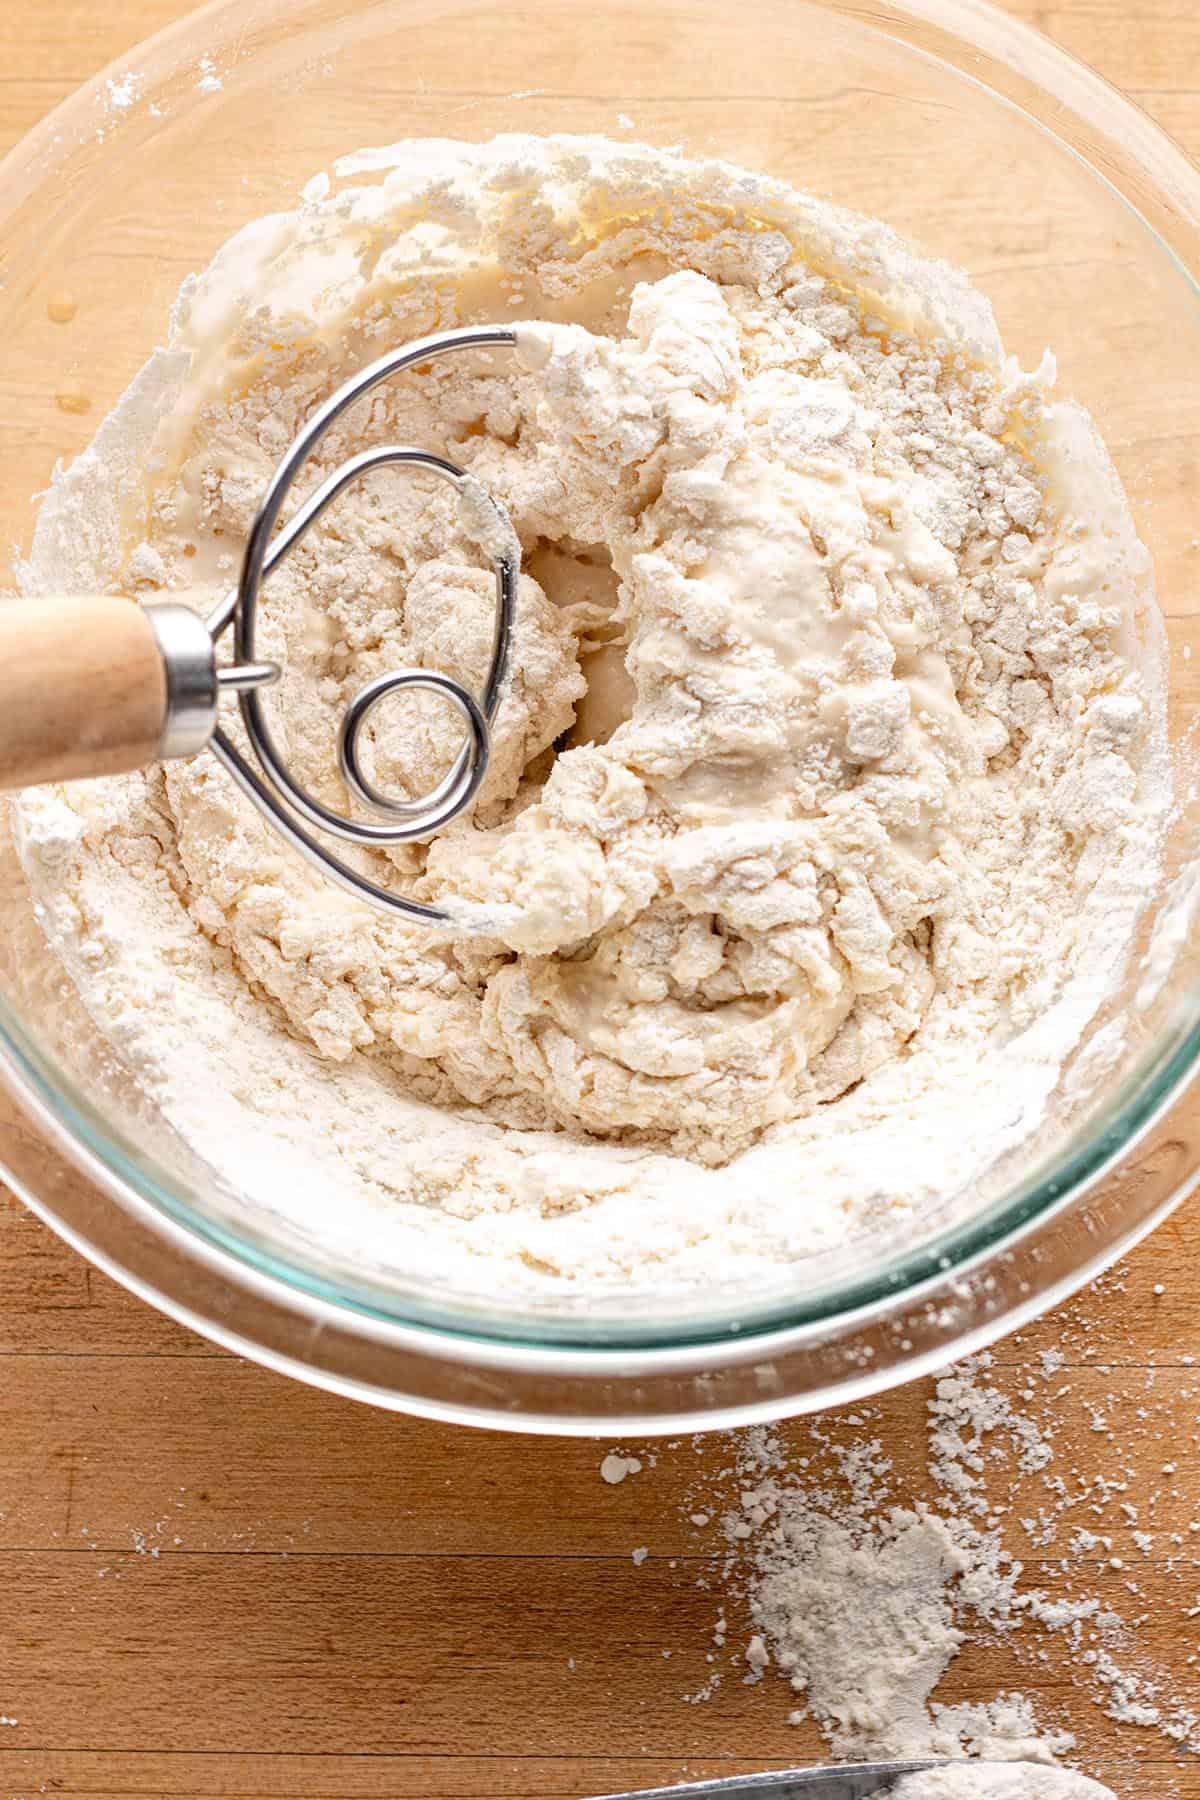
First measure 100g of sourdough starter, then add 100g of your flour.
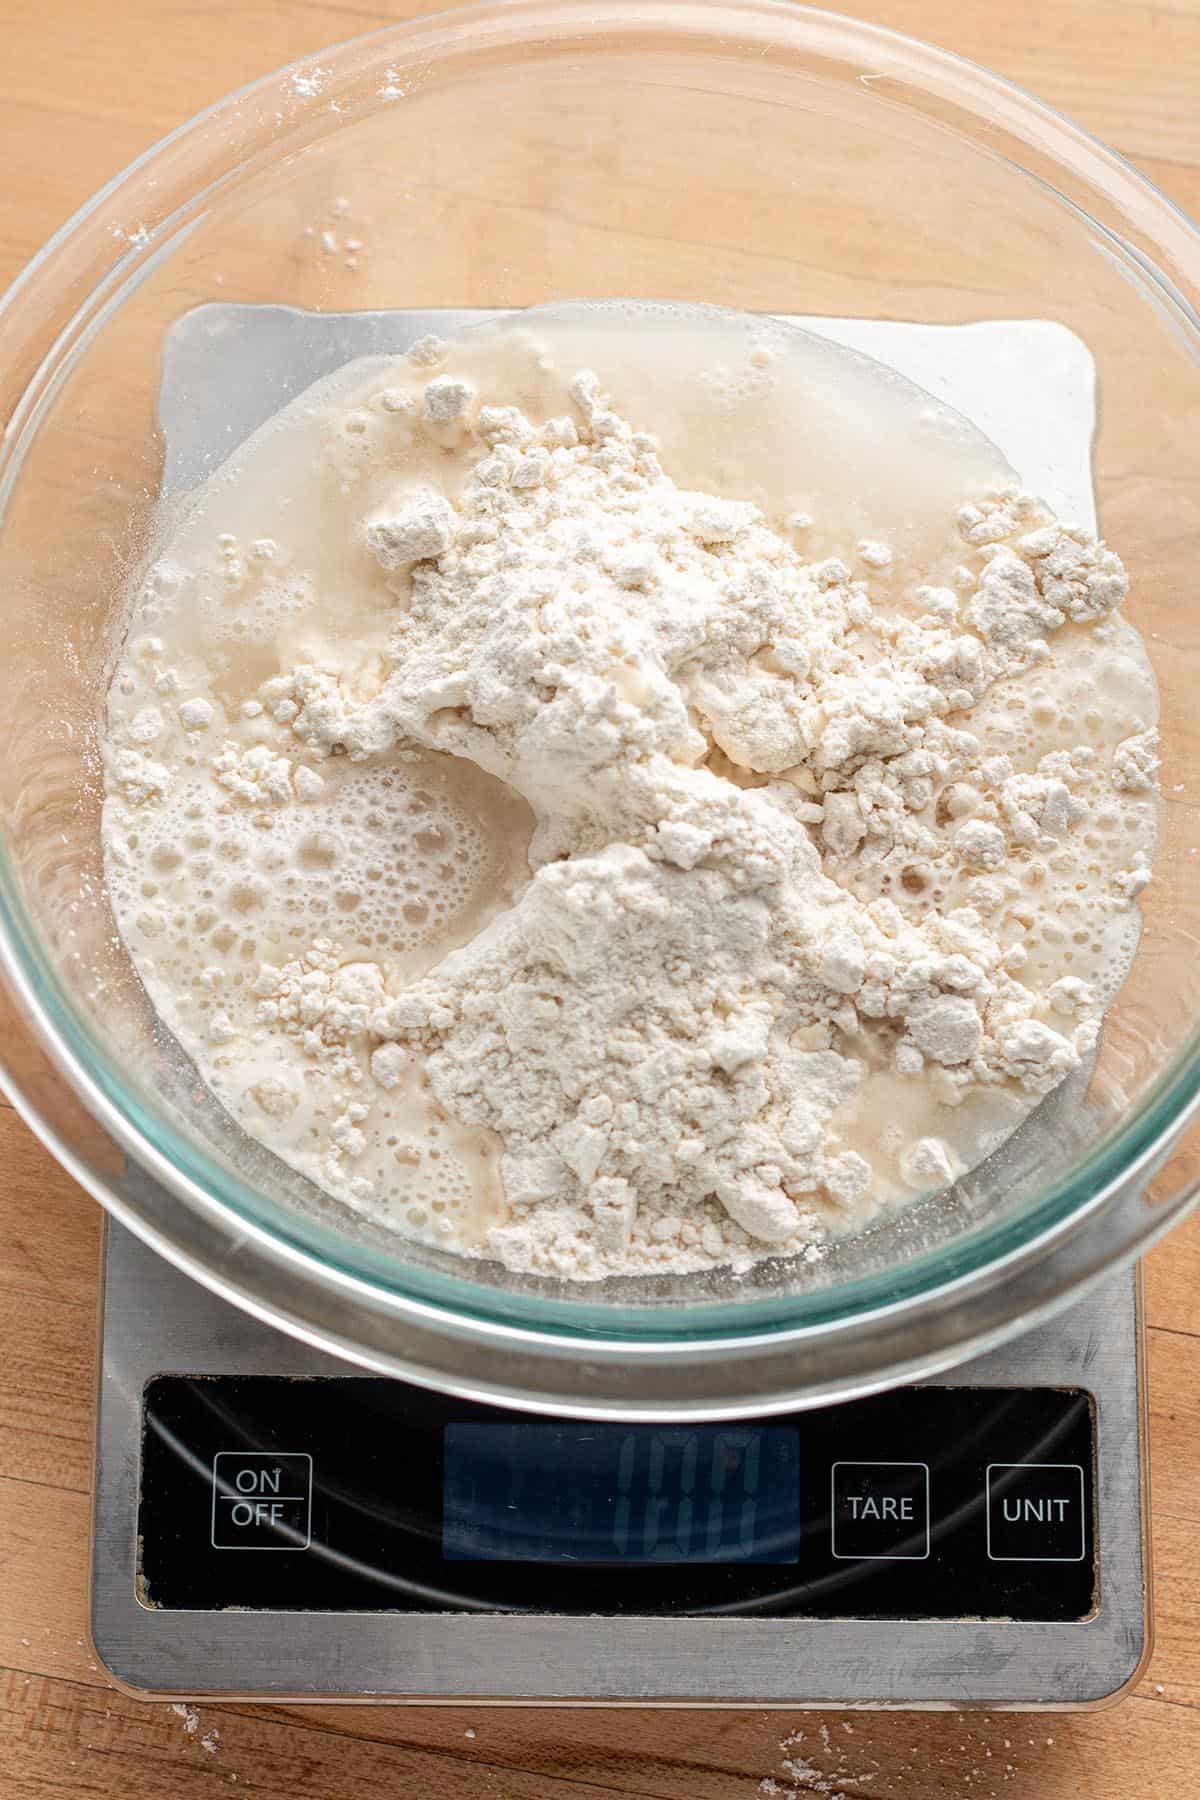
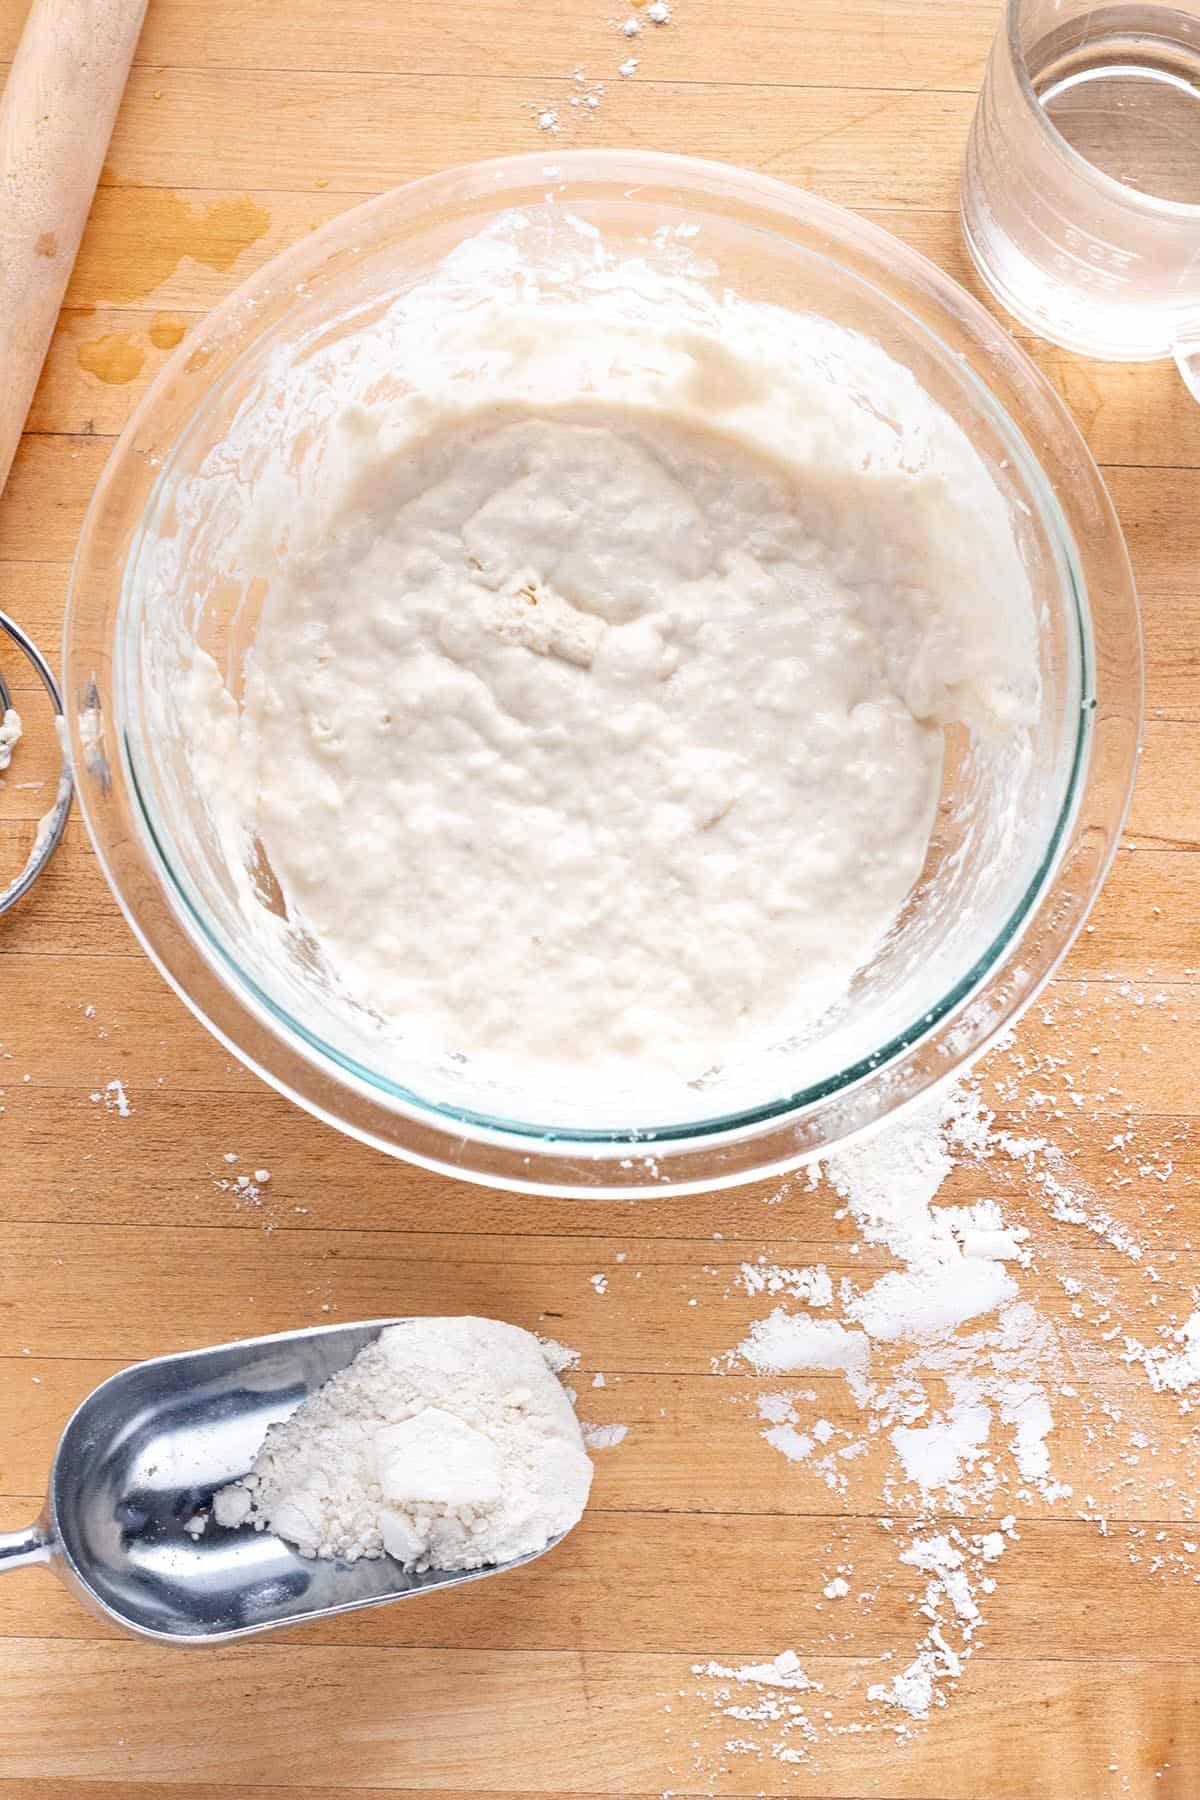
Next, add 100g of water and mix everything together.
This is the very first thing you should do to troubleshot your starter. By switching to gram measurements with a digital scale, your measurements will be consistent every time you feed it.
If this still isn't working you could also try a 1:2:2 feeding. Just use 50g of starter and feed 100g of flour and 100 grams of water and see if that helps. Sometimes overfeeding can really bring it to life.
Get a good digital scale to make the process simple.
In addition to proper measurements, the number of feedings you do can also help.
Switch to feeding it twice a day for a week. If it is not fed enough, it just won't come to life.
Temperature
A sourdough starter likes a warmer environment. If it's too cold, it won't rise.
Keeping a starter where the temperature is around 75-80 degrees Fahrenheit is ideal.
Once a starter is alive and established there is some flexibility, but when getting it going this part is really important.
If your kitchen is on the colder side like mine, there are some things you can do.
One popular piece of advise is to keep it in the oven with just the oven light on. While this is highly effective, it's also risky. I've come close to not remembering it was in there and baking my starter... Be sure to put a note or something to remind you that the starter in the oven.
Another effective way to keep your starter warm is to place the jar or bowl in the microwave with the door open. The warmth from the light will be just enough to keep it warm. Keep it out of drafty areas like cold windows or next to exterior doors.
Another great idea is to place it in the room that is typically the warmest in the house. Like the living room next to the fireplace (not too close though) or in a room upstairs where all the heat rises.
Covering
One of the most common mistakes I see is how a sourdough jar or bowl is covered.
When creating a sourdough starter, the natural yeast in our environments gets trapped inside the mix and that is what helps bring it to life.
If the jar is covered with a lid that prevents air from getting in, it will never be active.
Cover the bowl with a very light tea towel, flour sack towel, or a paper towel secured with a rubber band.
These options will allow airflow and the tiny particles in the air get in while keeping things like dust and bugs out.
If you are covering with a lid of any kind, make a switch to a light towel right away.
However, there is a time to keep a tight lid on you starter. When you store it in the fridge, smells and particles from other foods can absorb into your starter which you do not want. Always place a lid on it when storing in the fridge.
Environment
When getting a starter established it relies so heavily on the environment.
We have natural yeast and other microbiomes in our environments that get trapped in the starter which help bring it to life.
Every household is so different, which means some may have less or more things in the air.
If you are not seeing growth after all the other tips, try moving your starter to a different room.
Seems odd, but it really can make a huge difference.
Ingredients
The ingredients that are used can also play a role in your starters performance.
When I made my first few starters I was using bread flour. While a popular choice, it just didn't work for me.
Once I made the switch to unbleached all-purpose flour I saw instant growth!
Whichever flour you use, make sure it's a good quality flour and unbleached.
The water we use can also play a role. Make sure you are using filtered or bottled water. Using tap or unfiltered water can have other particles that will negatively effect how our starters grow.
Other Things to Remember:
- Do not give up! If your starter begins to have bubbles but then it goes away, it is not dead. That just means it needs to be fed more consistently.
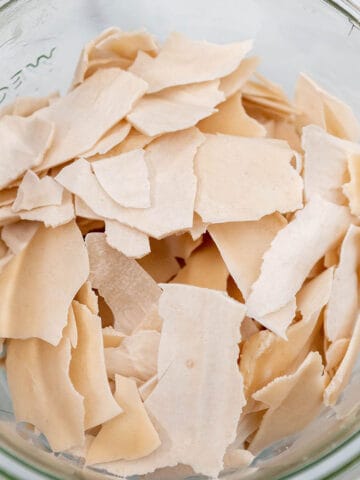
- A layer of hard starter is not bad: If you're starter develops a thick or hard layer on top, this is completely normal. Just toss it and feed it again.
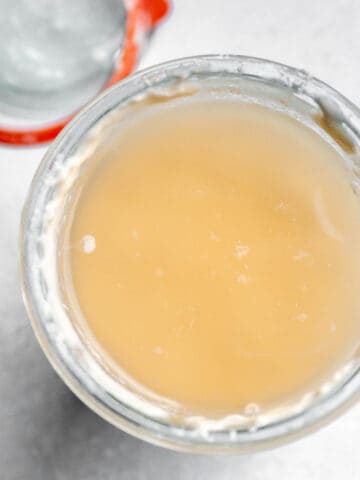
- If a layer of liquid forms on top, this is also normal. This just means it's hungry and needs to be fed. Learn more about hooch and what you can do to prevent it.
- Pink or black streaks: If your starter has any discoloration that means it could be mold or bacteria. If your starter develops pink/orange, yellow or black streaks it needs to be tossed immediately. Those are signs of bacteria or mold and the entire starter is compromised.
- After just one week, you can use the discard from your starter in all kinds of recipes. Get all my sourdough discard recipes here.
How to Know Your Starter is Active
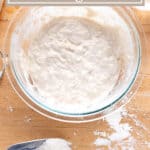
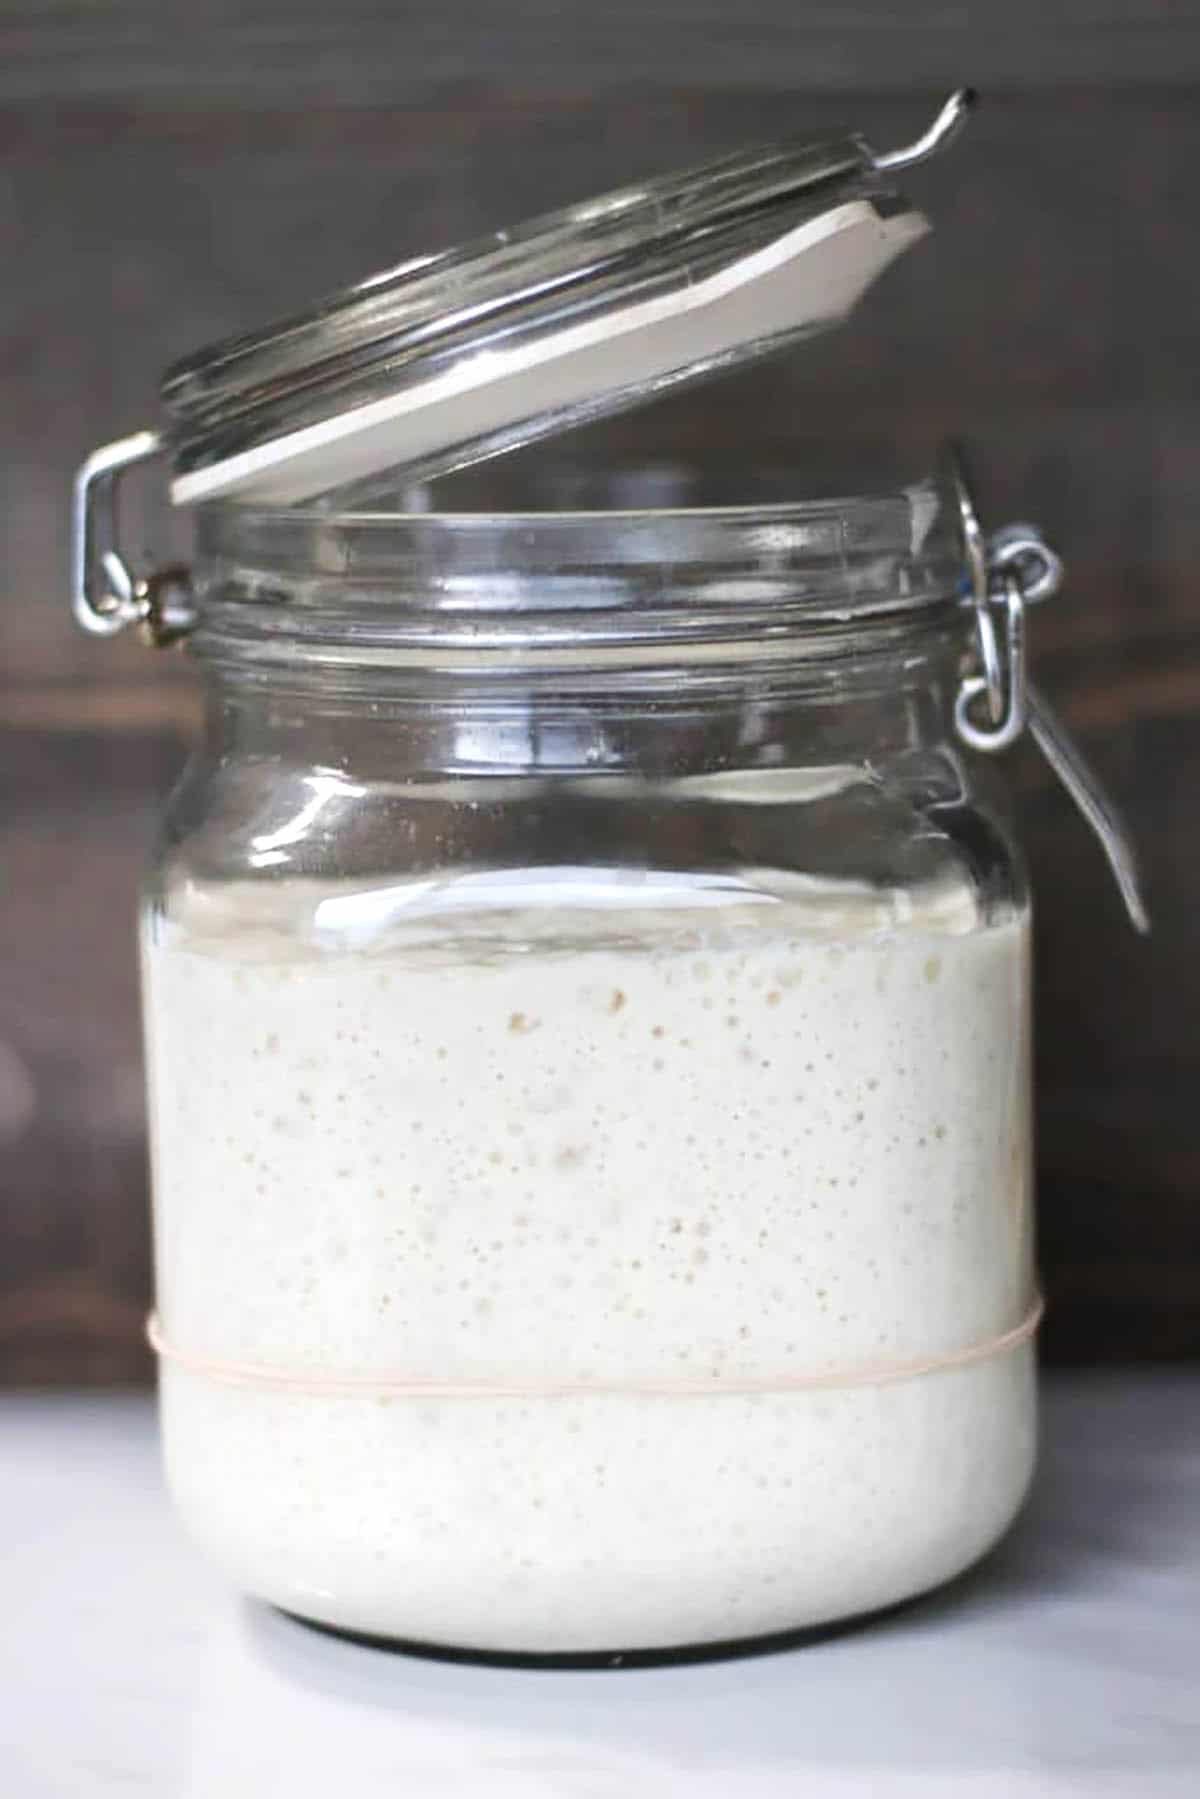
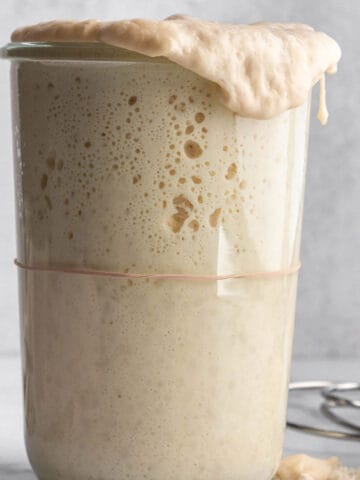
This is really simple! After feeding your starter, check back in 6-8 hours. If it has doubled in size your starter is alive and active!
It should be full of bubbles and look almost alive. You may even see bubbles form and pop before your eyes.
Learn more about how to tell your starter is ready for bread.
At this point, it is ready to make bread! Follow my tutorial and recipe to make the best loaf of sourdough bread.
If it has just slightly risen, it's getting closer. Keep up with regular feedings for a few more days.
Remember, don't give up! It is possible to make your own sourdough starter. It may take 1 weeks or months like it did for me, but it is possible if you don't give up!
Find a slightly warmer environment, try a different flour, and most importantly pay attention to how you are feeding it.
Please share your experiences and success with us! Comment below on what finally did it for your starter.
Don't forget to join the Facebook community. Connect with other sourdough bakers and get more recipe ideas within the community.
Was this info helpful? Please leave a comment and rating below!
Let's Connect! Follow along on Instagram, Pinterest or subscribe to receive emails!
Sourdough Discard Recipes
You must use the category name, not a URL, in the category field.
Leave a Reply