

How to harvest and cut parsley to help your plant grow bigger, be healthier, and have an endless supply of this fresh herb all summer. When parsley is properly harvested you will never have to buy it again!
Having fresh herbs in your home garden is a fun way to always ensure you have something fresh to harvest and cook with. When planning out your herb garden consider adding a parsley plant or two.
It is one of the easiest herbs to grow and does really well in containers. Making it a great plant for any backyard, or even apartment. You don't need a lot of space or resources to grow tons of parsley.
When fresh parsley is added to soups or sauces it just adds so much flavor and a next level of freshness. This is a versatile herb that can be used in many different ways.
You can often find parsley plants at garden centers for less than a bundle of fresh parsley at the grocery store, making it more cost effective. That one parsley plant will produce over and over again if harvested properly.
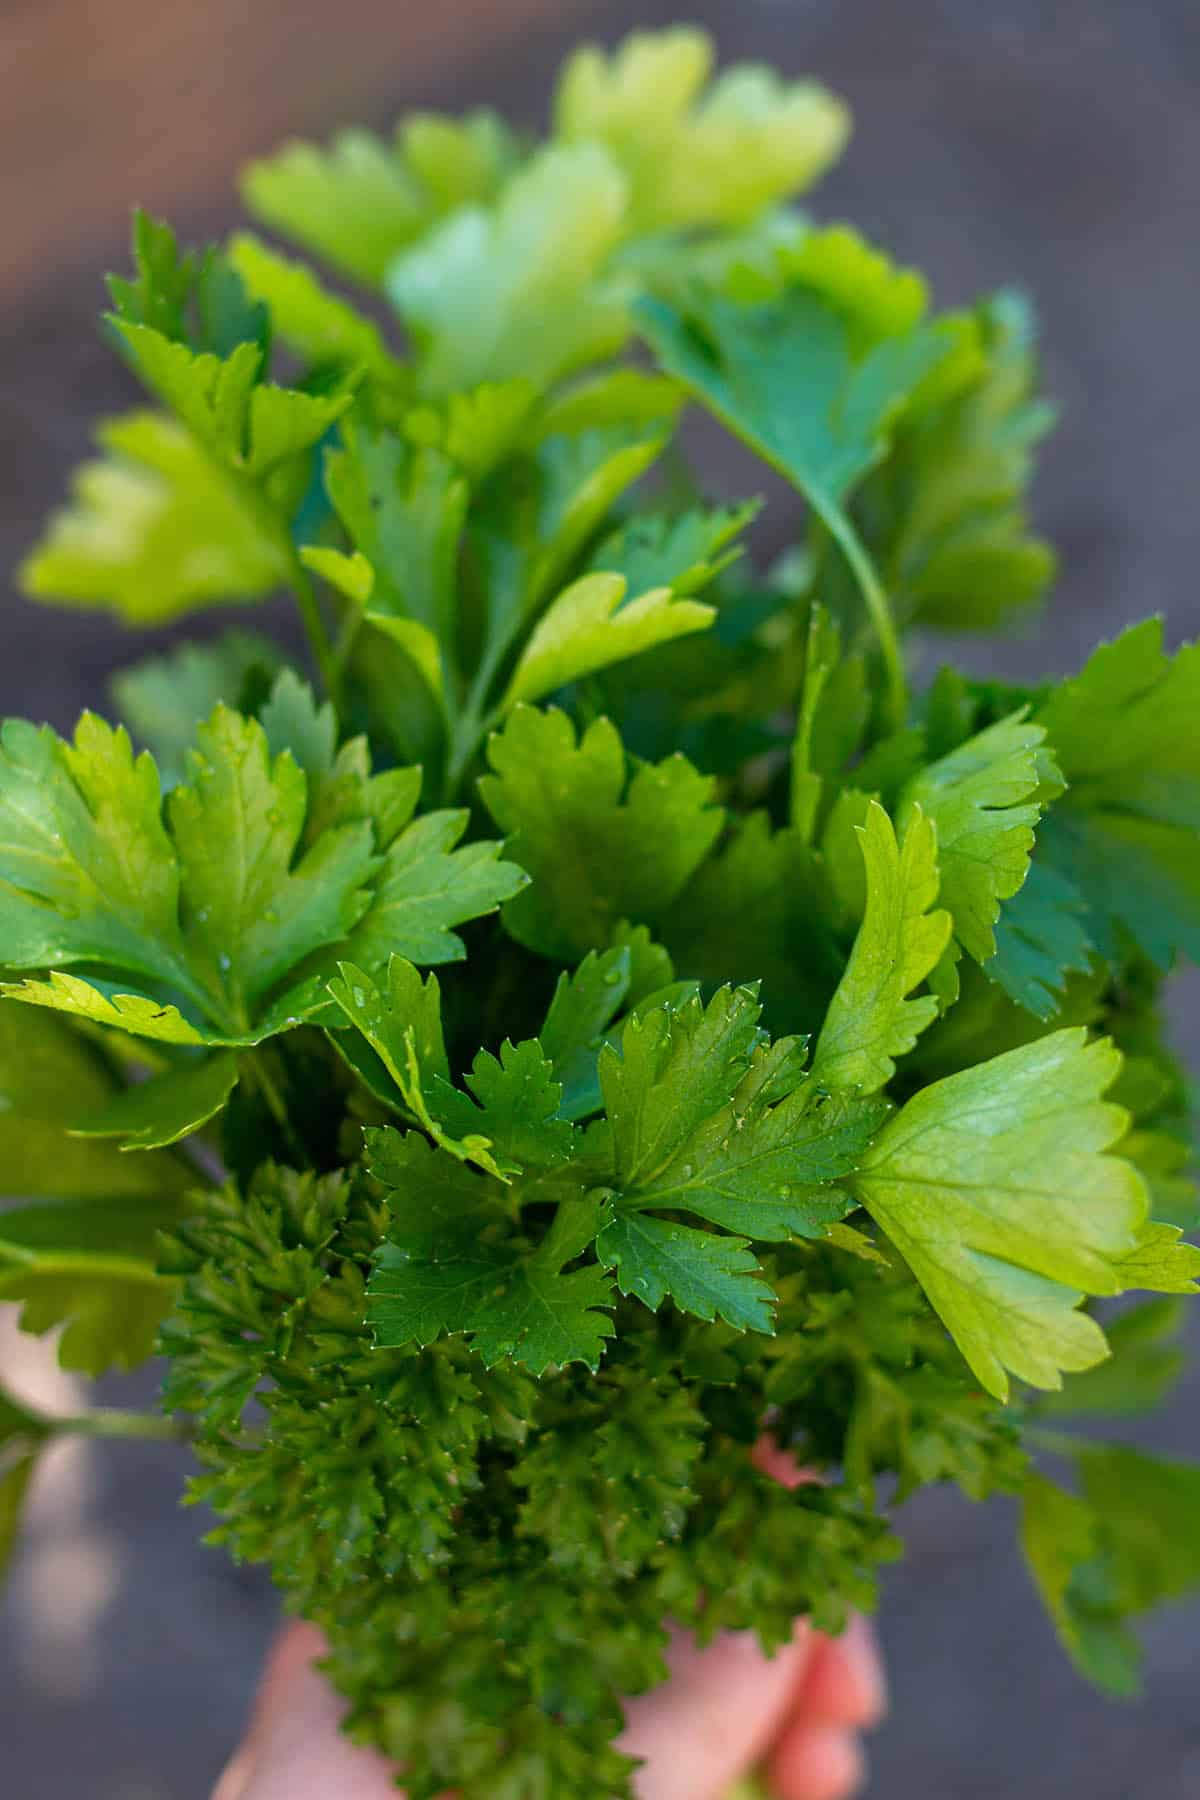
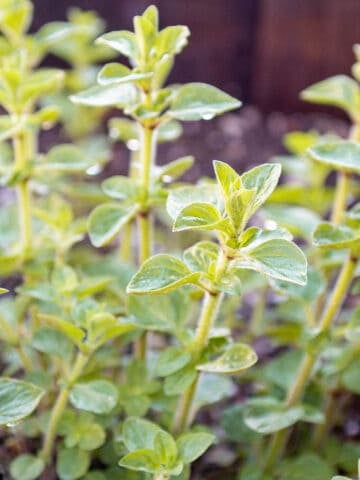
There are two common parsley types, Italian parsley (flat-leaf) and curly leaf parsley. Even though they look very different, they are treated the same when growing and cutting.
Parsley is a really easy herb to grow and should be added to any home cooks garden. It's the best way to incorporate fresh flavors into your dishes.
How to Grow Parsley
Parsley, whether flat-leaf parsley or curly leaf parsley is really simple to grow and requires very little care. Just make sure it's in a spot that gets full sun and is planted in nutrient rich soil to ensure a successful growing season.
It can either be started from seed or established plants from garden centers, farmers markets or nurseries.
In some areas, parsley can be a biennial plant meaning it will last for two years and then will need to be replaced. It often loses most of its flavor in the second year, so consider replanting each spring.
When to plant parsley? If growing from seeds, parsley can be started indoors 6-8 weeks before the last frost and then transferred outside once the ground has warmed up and the weather improves.
It can be grown right in a garden bed, containers or raised beds. This herb really can be planted anywhere as long as it gets 6-8 hours of direct sunlight. It will also survive in partial shade.
If you are in a really hot climate and find that your parsley is struggling, it may need to be moved to a location with a bit more shade.
It is also a great herb to grow indoors if you have a nice sunny window to offer.
How to Cut Parsley From the Plant
One of the coolest things about homegrown parsley is when it is cut and harvested it will signal the plant to start new growth. When done properly you will have an endless supply of fresh parsley all summer long.
How to know when parsley is ready to cut? You really want to make sure the plant is well established and has a few healthy springs with multiple leaves before harvesting.
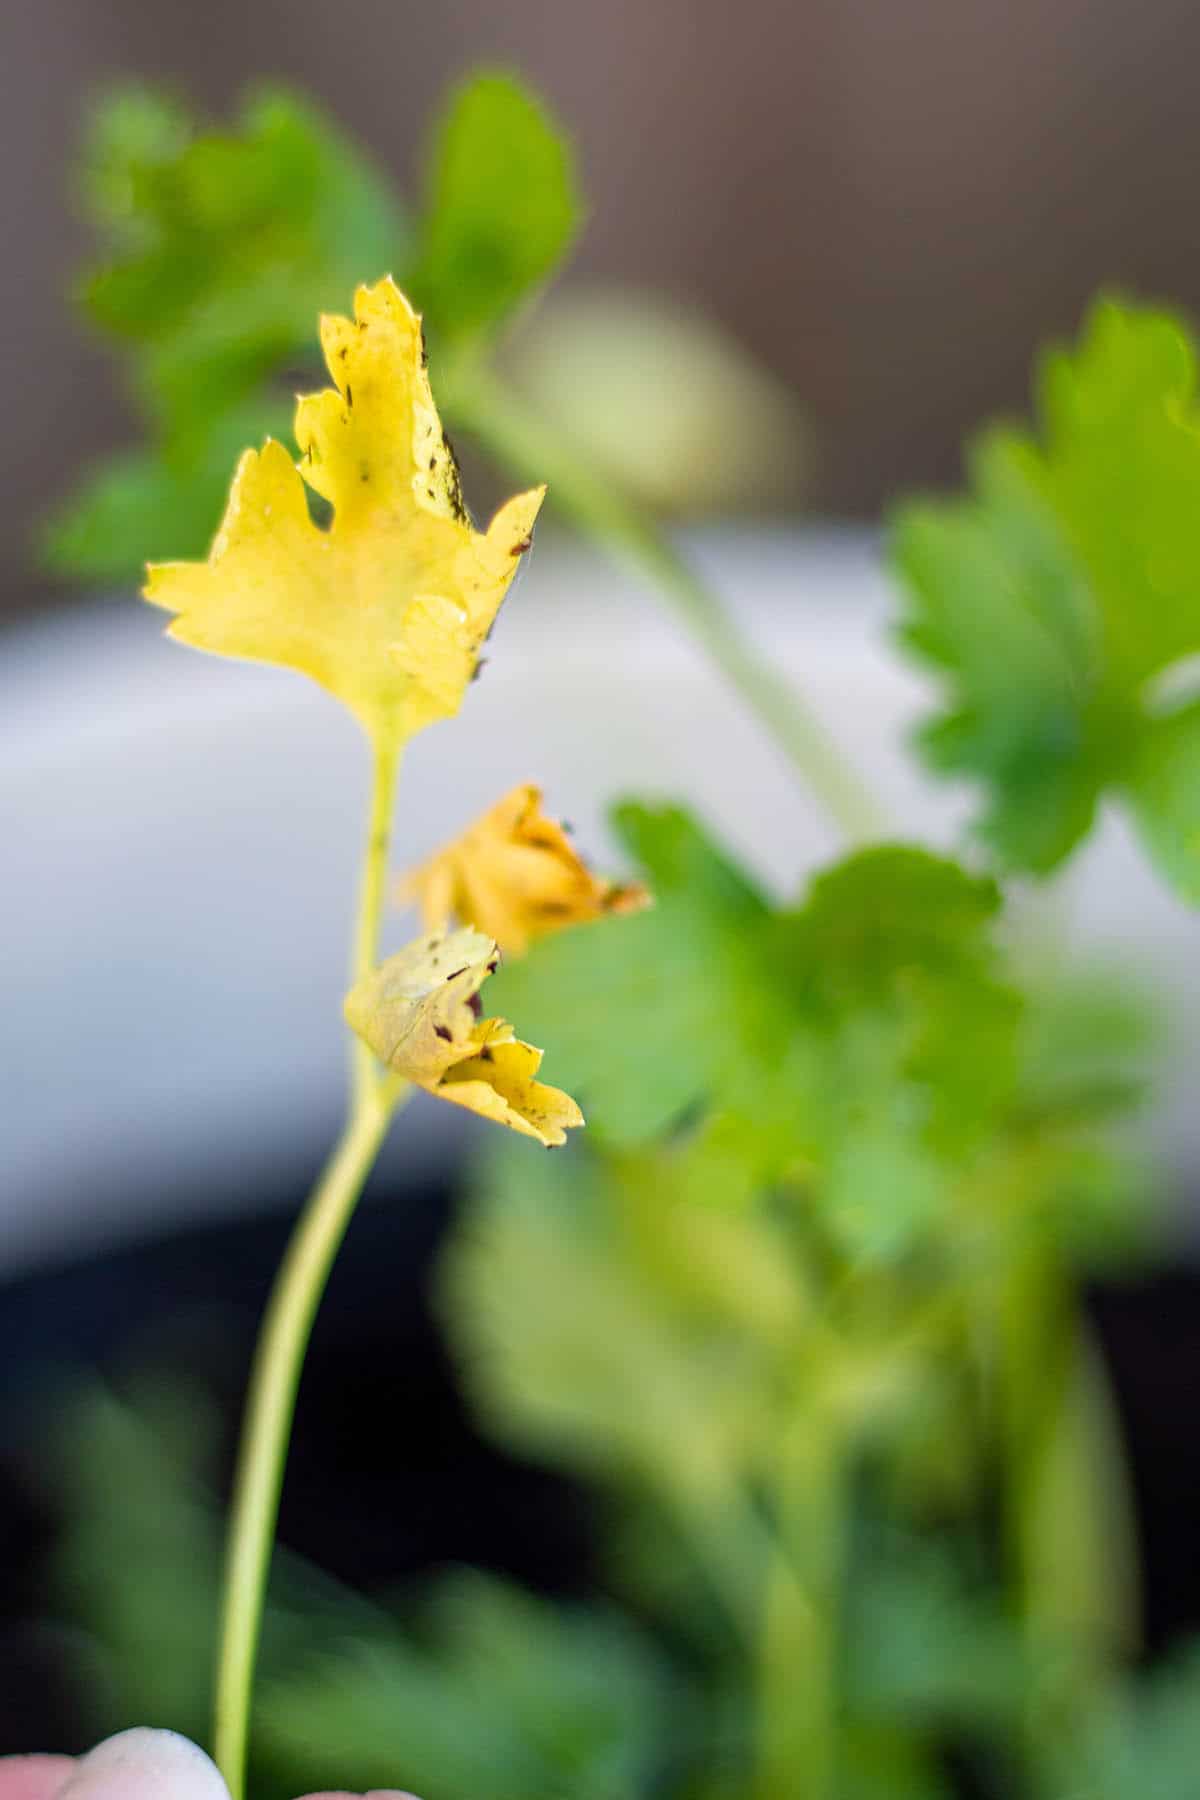
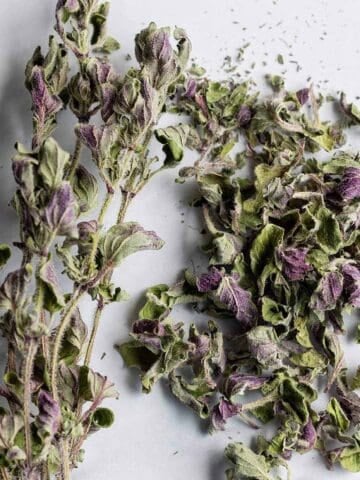
A couple of leaves could be picked or entire stalks cut from the plant. Just make sure they are bright green and not wilting. If they have turned a yellow or brown color clip those off and toss.
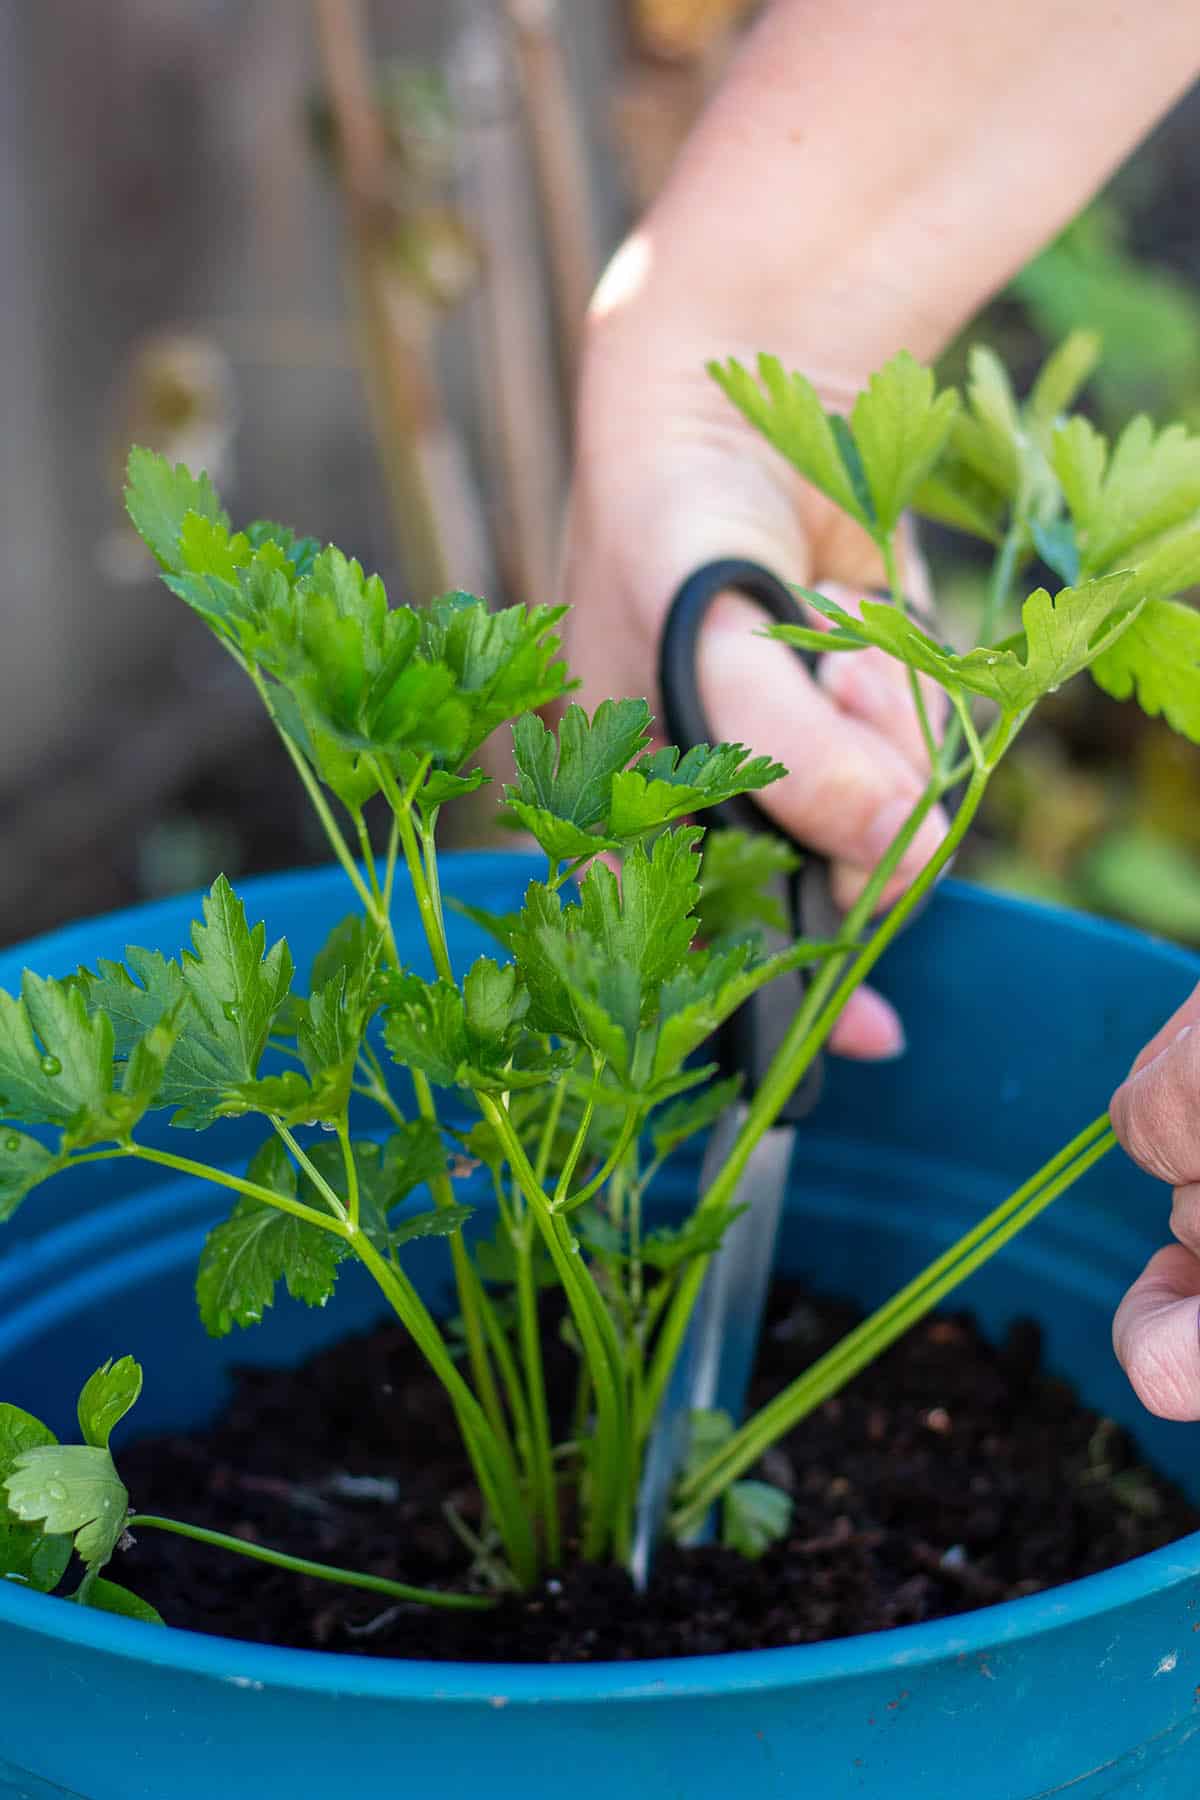
Always start with the oldest growth which will be on the outside of the plant. These will be the first ones you want to harvest. Removing the older stems will make room for the new stalks to come in.
Once the plant is established and starting to grow multiple stalks you can begin to harvest. Here are the simple steps to cutting parsley stems:
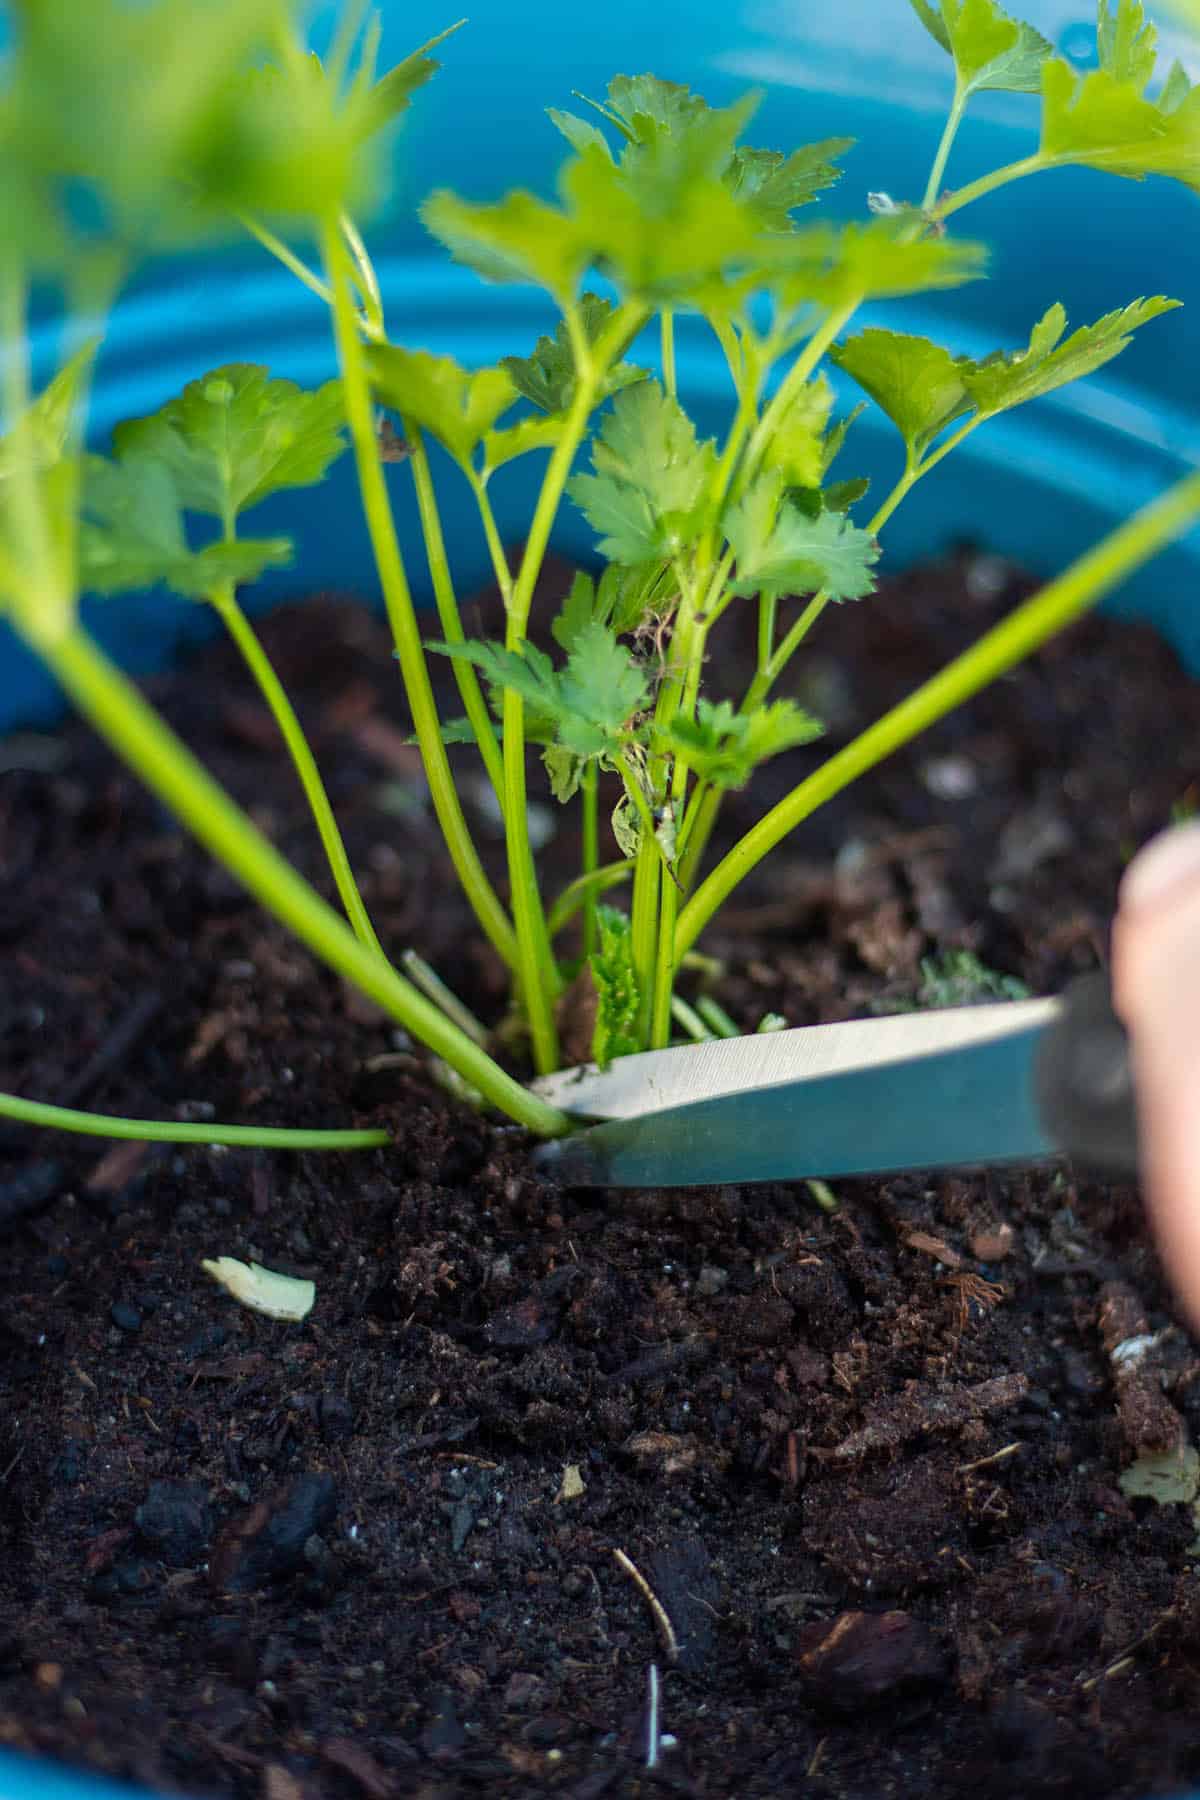
- Start with the outside of the plant where the older, more developed stems are. Clip these first moving around the plant, leaving the center of the plant untouched.
- Using sharp kitchen scissors, cut the base of the stem at the dirt level and remove the entire stem. Try to make one nice clean cut.
- Don't cut the entire plant. Leave some stems in the center so it has more time to grow.
- Follow these two methods to store parsley and keep it fresh using a paper towel or glass of water.
Once harvested it will signal new plant growth and within a few days/weeks there will be fresh new stalks growing.
What is the best time to harvest parsley? The best time to harvest parsley is in the morning when the weather is a bit cooler. If cut later in the day it may be a bit more wilted.
Curly-leaf parsley and flat leaf parsley should be harvested in the same way.
How to Use Parsley
Parsley can be used in a variety of ways. It is a popular herb that can be incorporated or substituted in so many different recipes.
Add to pasta dishes like these Dutch Oven potatoes, and steamed salmon with herbs or a healthy sweet potato and Brussels sprouts hash.
When ready to use, give everything a good rinse and pat dry with a paper towel. Remove leaves from stalks and chop up to desired consistency.
Fresh parsley should always be added at the end of cooking. It doesn't need a lot of time or heat to release its flavors. Dried parsley should always be added more in the middle of the cooking process.
Browse recipes by category:


Other Gardening Resources:

Leave a Reply