Perfect homemade sourdough bagels with a chewy texture and that classic sourdough tang. You will never want grocery store bagels again.
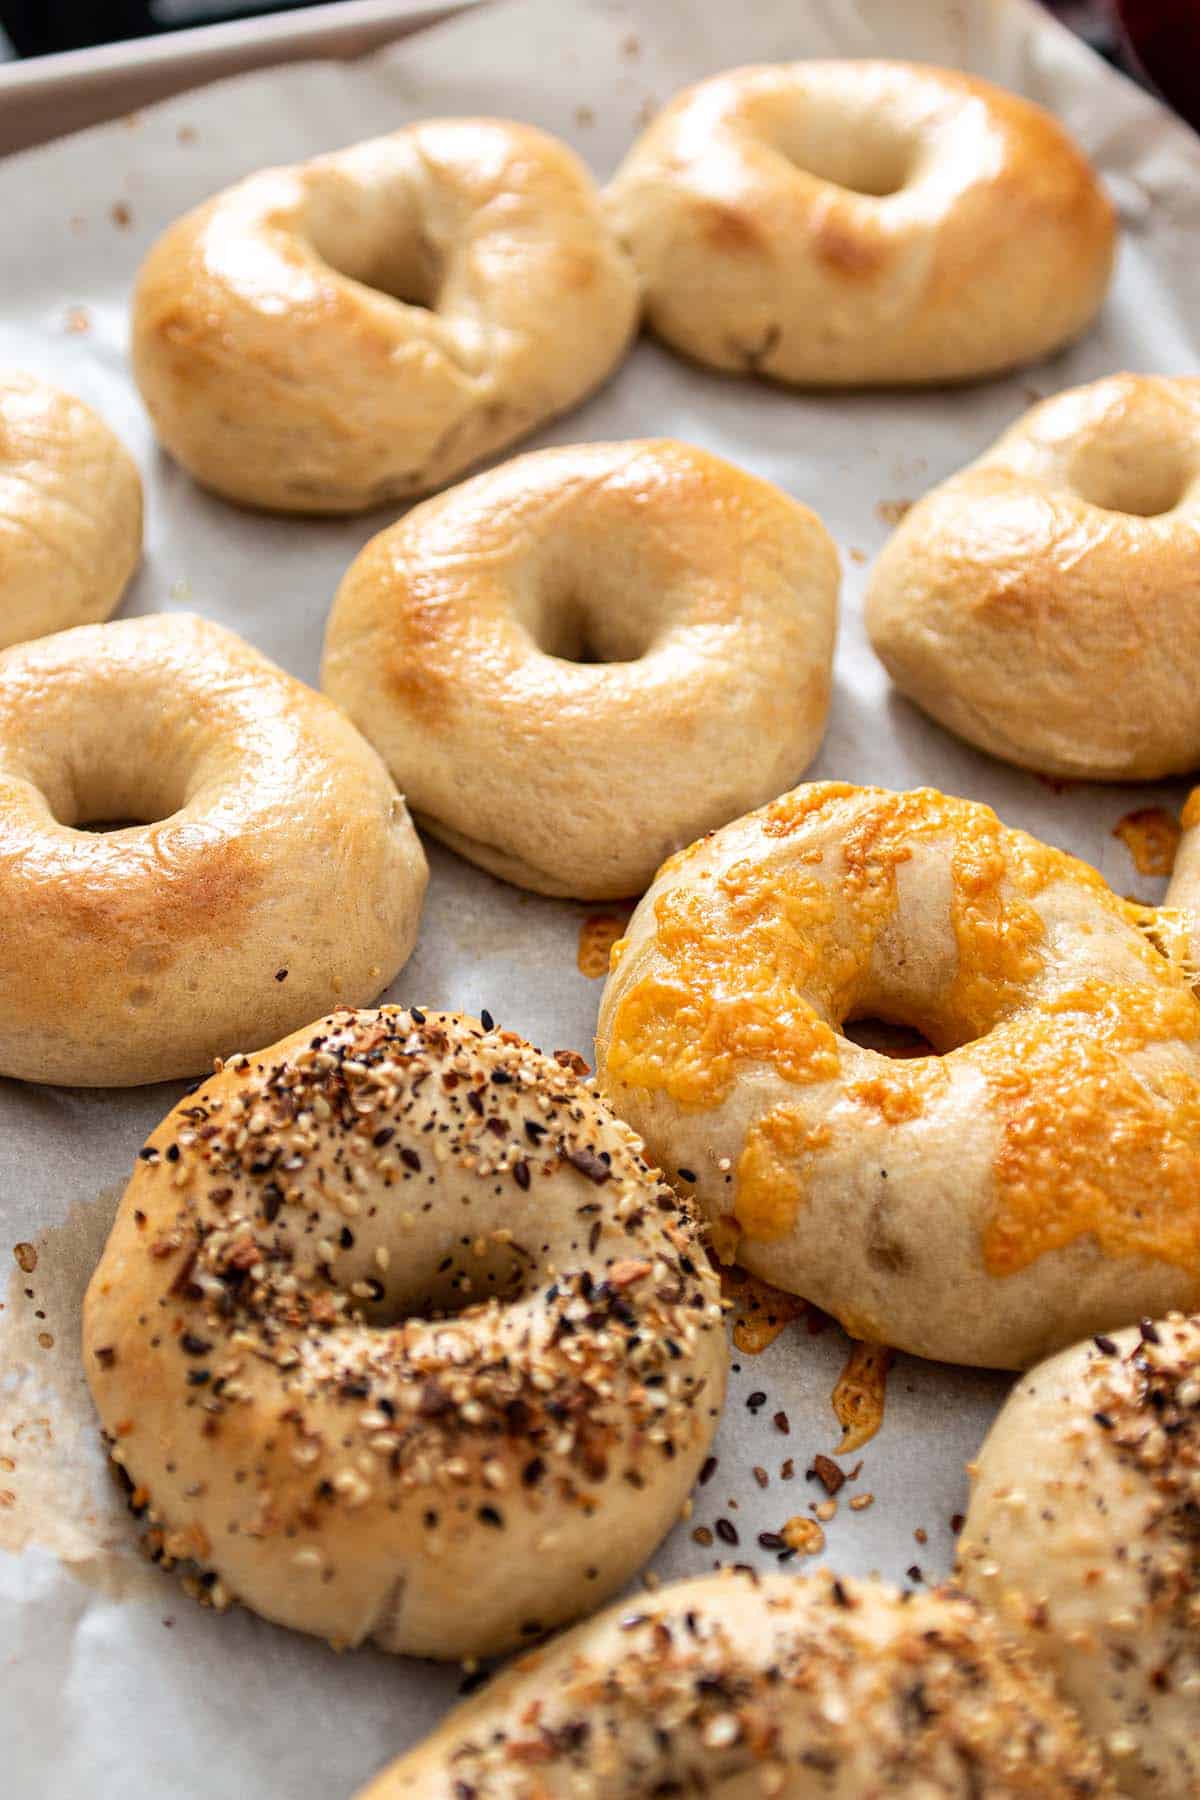
If this is your first time making bagels, no worries! I will take you through the process, step-by-step, and I think you will be surprised how easy it can be.
I never believed that bagels were something I could make at home. But after my first attempt, they just turned out perfect! And we were hooked.
Maybe a loaf of sourdough bread is more your thing. Check out my easy overnight sourdough bread recipe or an easy sourdough focaccia.
If you are looking for other sourdough recipes that use up that discard, be sure to check out all my sourdough discard recipes or other sourdough breakfast recipes. Sourdough discard pancakes are a breakfast staple!
Once you make your bagels, top it with some chive and onion cream cheese or a blueberry cream cheese.
Jump to:
Ingredients
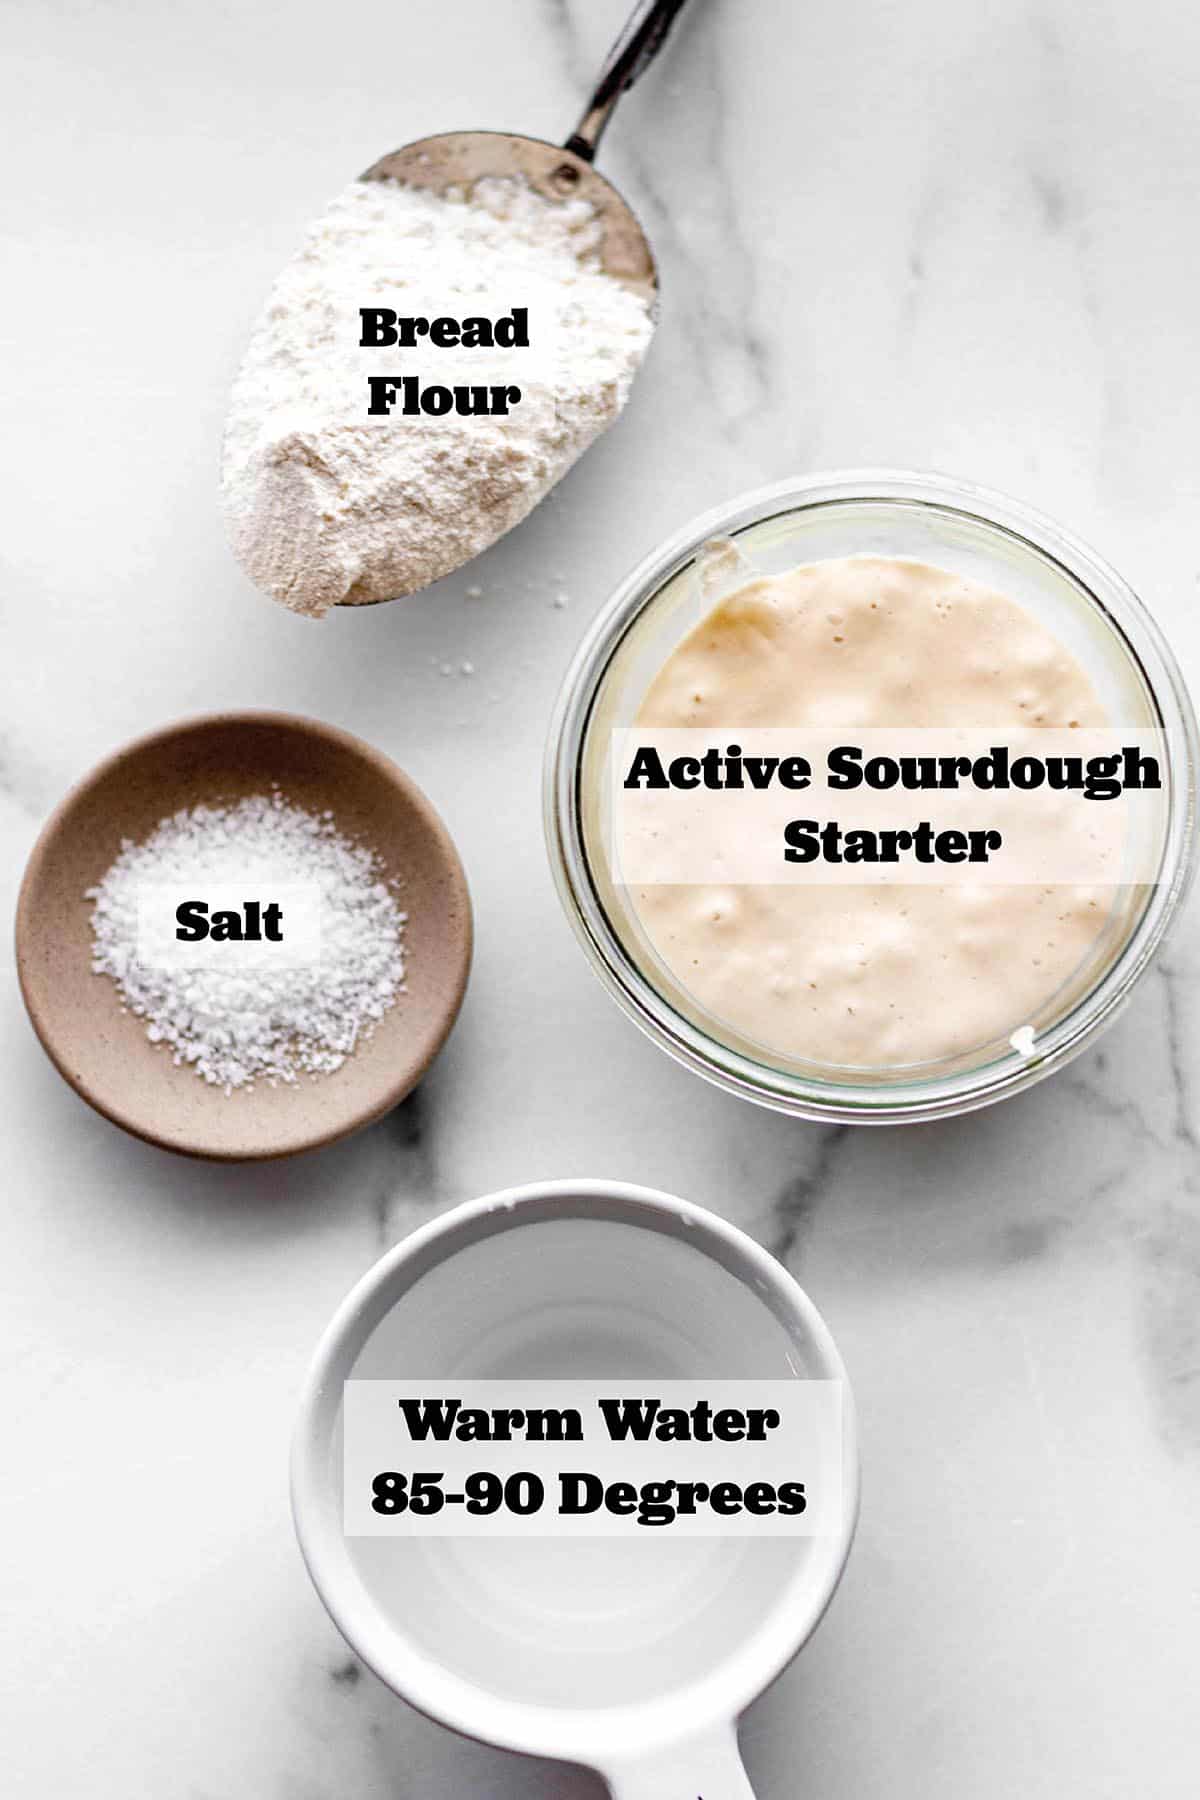
Active Starter: This recipe does call for an active sourdough starter. That means it has been fed and has doubled in size. Make sure to use the starter when it is at it's peak and before it falls back down. This will be crucial to get you the best rise in the dough.
Bread Flour: This sourdough bagel recipe calls for bread flour. Bread flour is what gives them that classic chewier texture. While all purpose can be used, it will lead to a different consistency.
Warm Water: I find that warm water works best. I like to warm it up on the stove to around 85-90 degrees before mixing with the starter.
Optional Toppings: Right before baking, you can add some fun toppings. Sesame seeds, bagel seasoning, poppy seeds, and cheese are some of my go-to favorites.
Get the full ingredients and measurements in recipe card.
Equipment Needed to Make Bagels
While simple to make, bagels do require a little bit of extra equipment. Here are some things you will need:
Kitchen Scale: This recipe is written in grams. It is going to be the most accurate way to measure the ingredients and will give you the most consistent bake. Even varying by 25 grams has made a difference in the dough consistency.
Stand Mixer: If you do not have a stand mixer, the dough can definitely be kneaded by hand.
Large Glass bowl: For the dough to rise in.
Sheet Pan: To bake the bagels.
Parchment Paper: Lining the baking sheet with parchment will help keep the dough from sticking while baking.
Dutch Oven: The bagels will need to be cooked in a water bath first. It's important to use a pot that has a heavy bottom like a dutch oven. The water needs to be at a rolling boil and maintain that boil when the dough is added.
Slotted Spoon or Skimmer: To get the bagels out of the boiling water and not transfer too much excess water to the sheet pan.
Cooling rack: To hold the bagels while they cool.
Timeline
Here is a simple timeline to follow for these bagels. Since bagels are typically a breakfast item, that's what this timeline is for.
This is just a guideline. Alter as needed. Below will be step-by-step instructions with photos.
Day 1: Prep the Dough
- 8am: In the morning, feed your starter equal parts (in grams) of flour and water. Let it rise.
- 6pm: Mix and knead the dough and let it rest for 1 hour. Then, shape into a taut ball to proof overnight.
Day 2: Baking Day
- 7am: Take the dough out of the bowl and divide into 12 or 8 pieces. Form dough into the bagels and cover to rest for 1 hour.
- 7:45am: Preheat oven and start warming the water in the pot.
- 8:00am: Boil the bagels and place on the baking sheet. Bake once they are all boiled.
Make a chive and onion cream cheese spread and enjoy!
Step-by-Step Instructions
Feed your starter equal parts flour and water for a 1:1:1 ratio, 6-8 hours before making the dough.
The exact time will depend on how long it takes for your starter to double in size.
The Dough
Start off by warming the water up. I like to warm it just above room temperature or about 85-90 degrees. Boiling water will be too hot. A small pot on the stove works great.
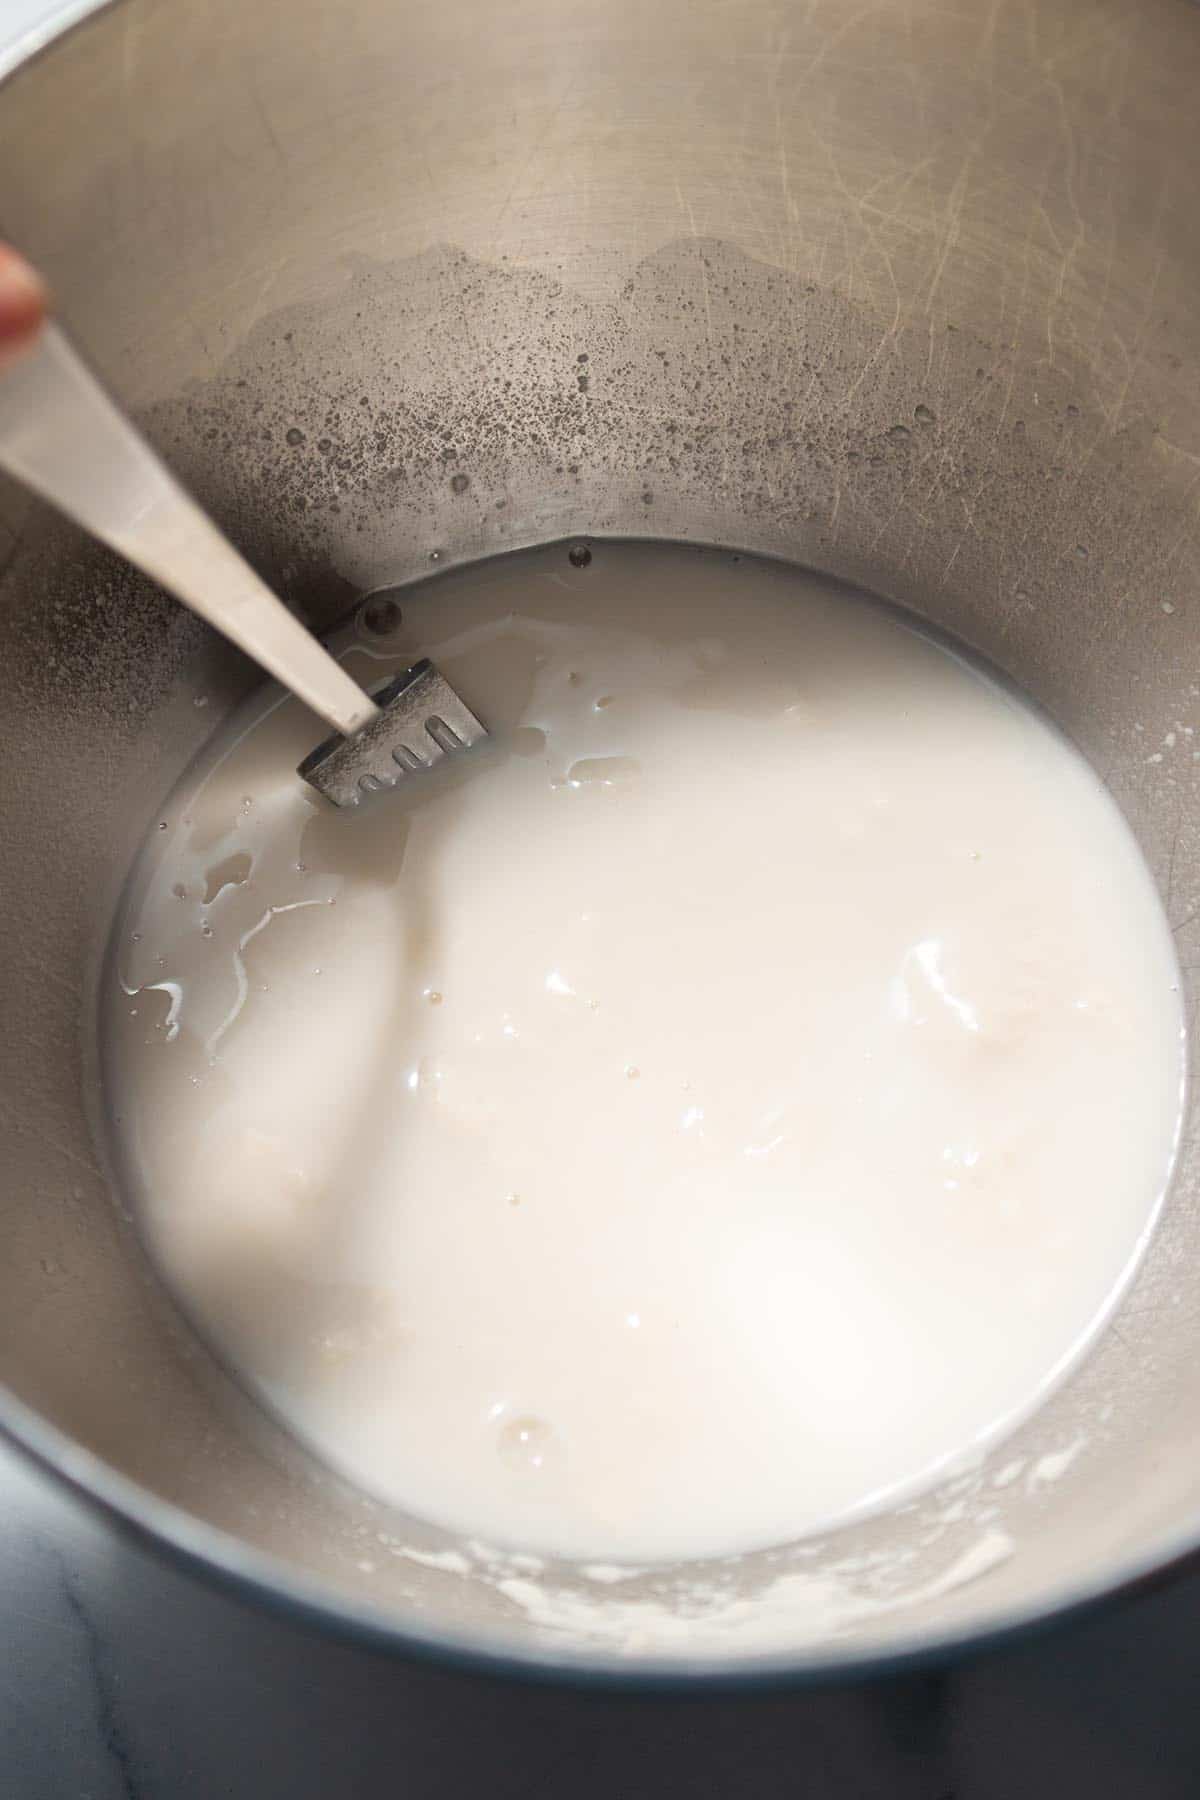
In the bowl of a stand mixer add the starter, warm water, and salt. Mix with a fork until everything is combined.
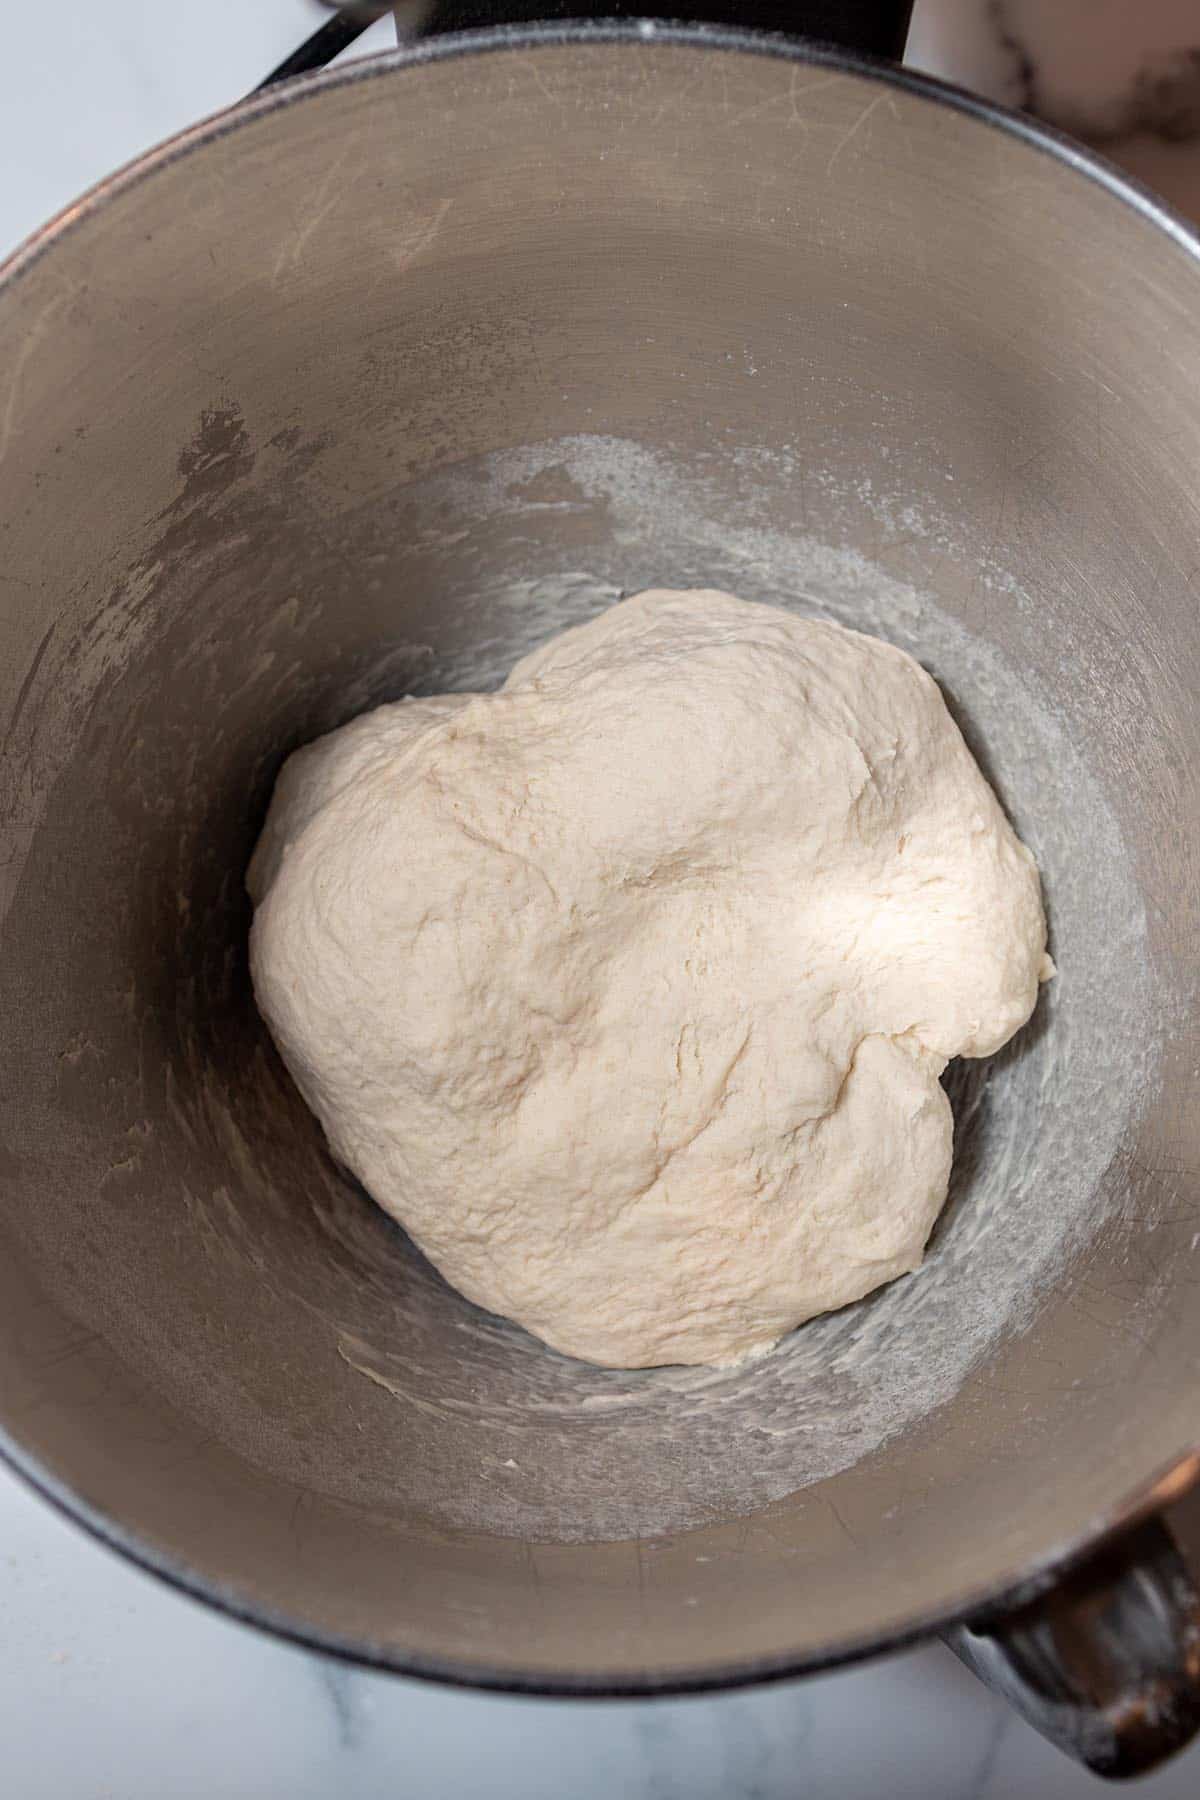
Add in the bread flour and with a dough hook attachment, start mixing the bread on low-medium speed.
Run for 5-8 minutes. It should start to form a ball and is no longer sticking to the sides. If it is still sticking add a little flour at a time.
Cover the bowl with a warm, damp towel and rest for 1 hour.
This will help keep all the moisture in and keep the dough from drying out.
First Rise
After the 1 hour rest time, take a large bowl and lightly coat it in olive oil.
Carefully turn the dough onto the counter and shape it into a nice round ball. The dough should be smooth, soft, but not sticky.
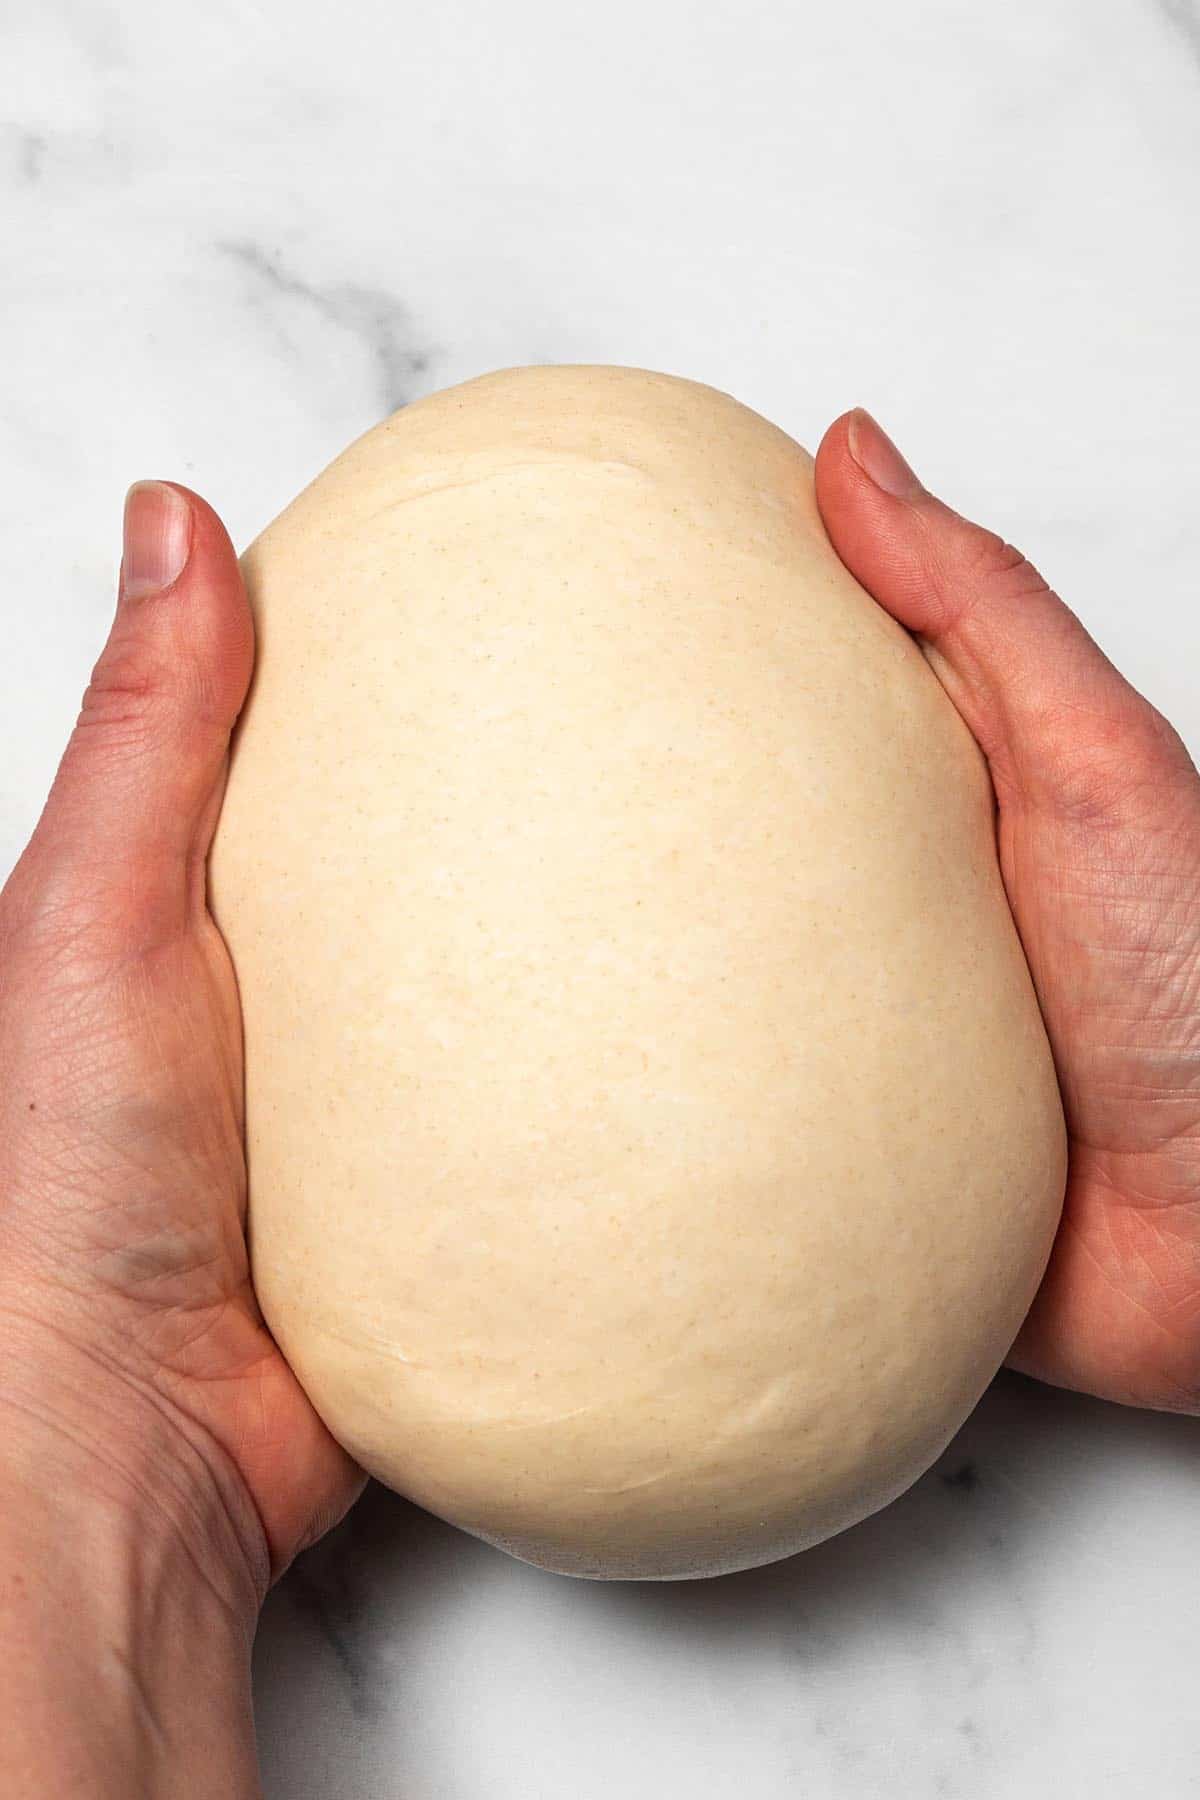
Place in the prepared glass bowl.
Cover with a damp towel and allow the dough to rise overnight. This can take 8-12 hours depending on the temperature of your home.
Shaping and Second Rise
The next morning prepare the dough. It should have risen and feel almost puffy. You may even see some bubble pockets like the photo below.
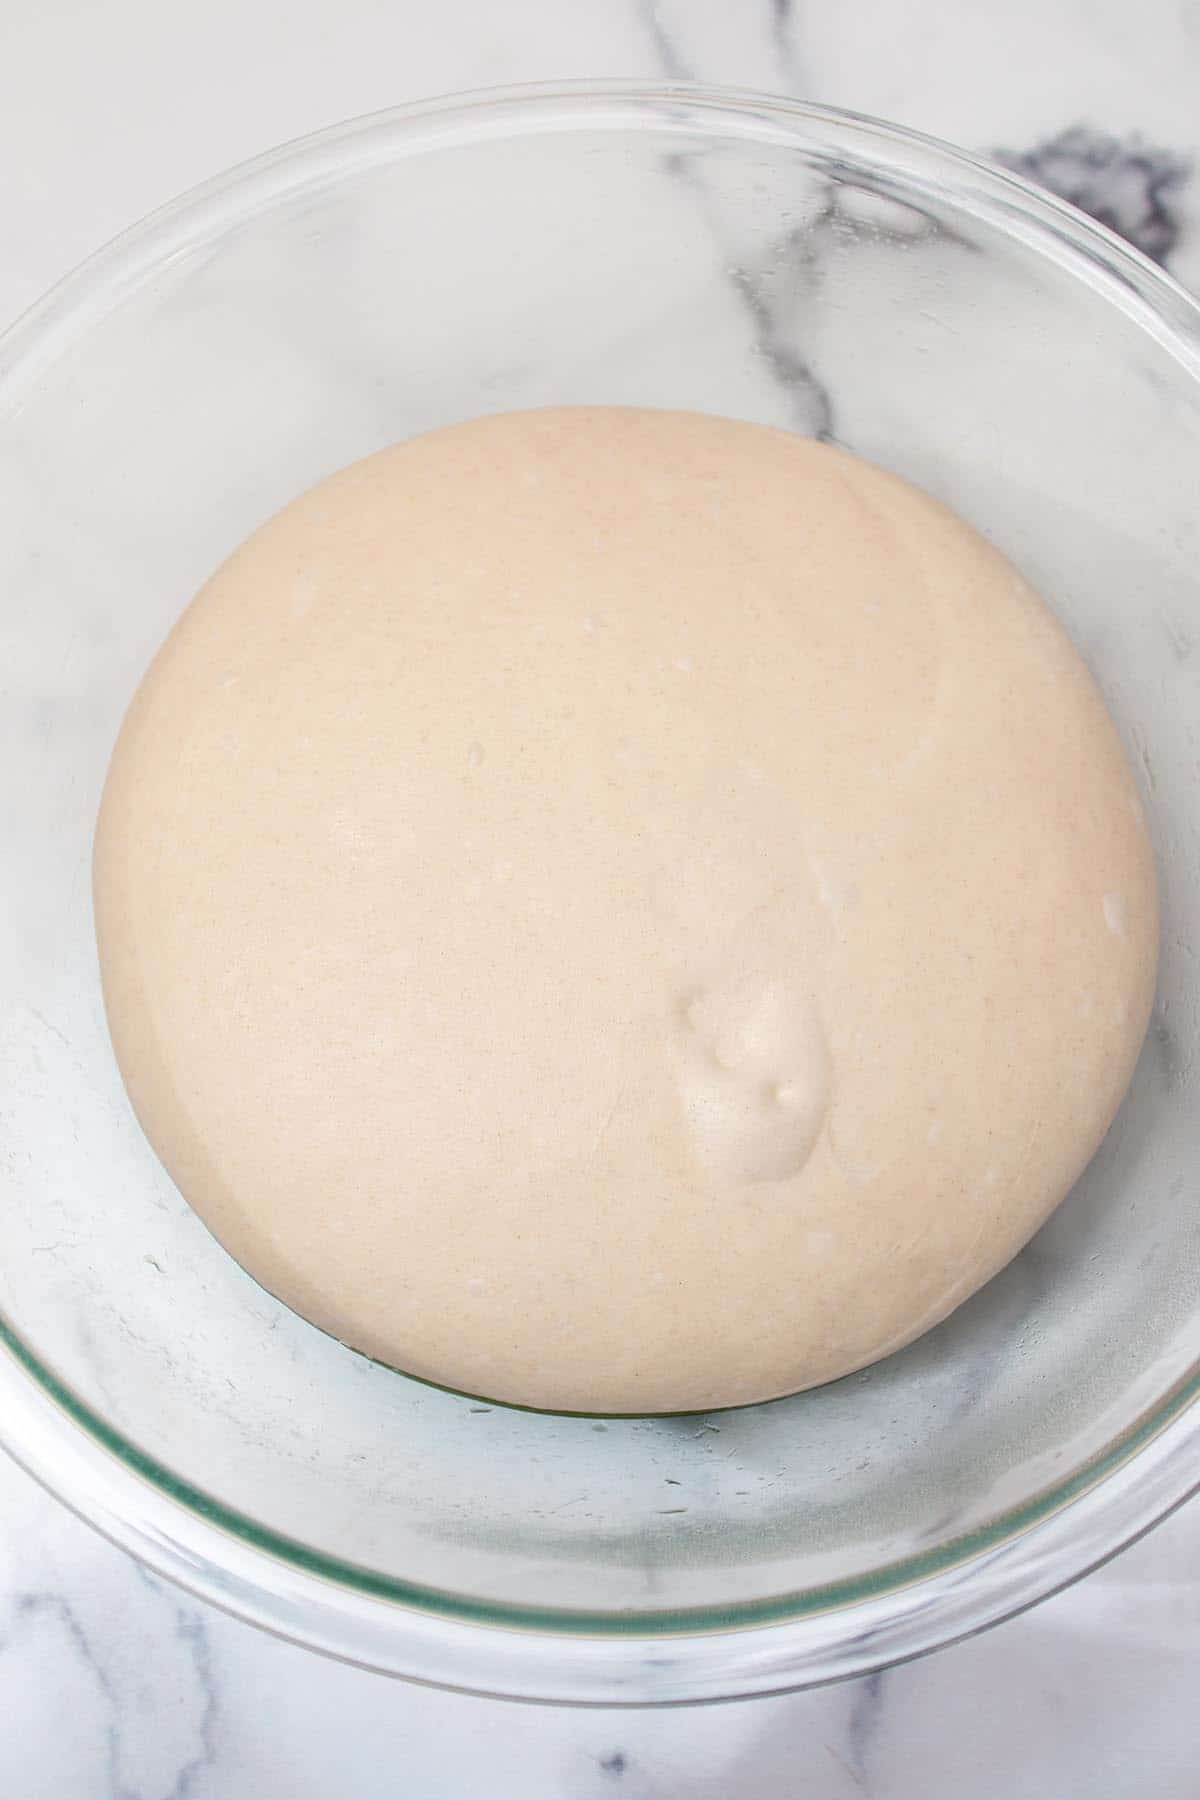
First prepare a baking sheet by lining it with parchment paper. Give it a light spray with cooking oil or a very thin layer of olive oil.
This will help keep the bagel dough from sticking. Set aside.
Carefully remove the dough and turn it onto a clean work surface. Using a bench scraper, divide it into 12 or 8 equal pieces. ( Depending on the size of bagels you prefer. )
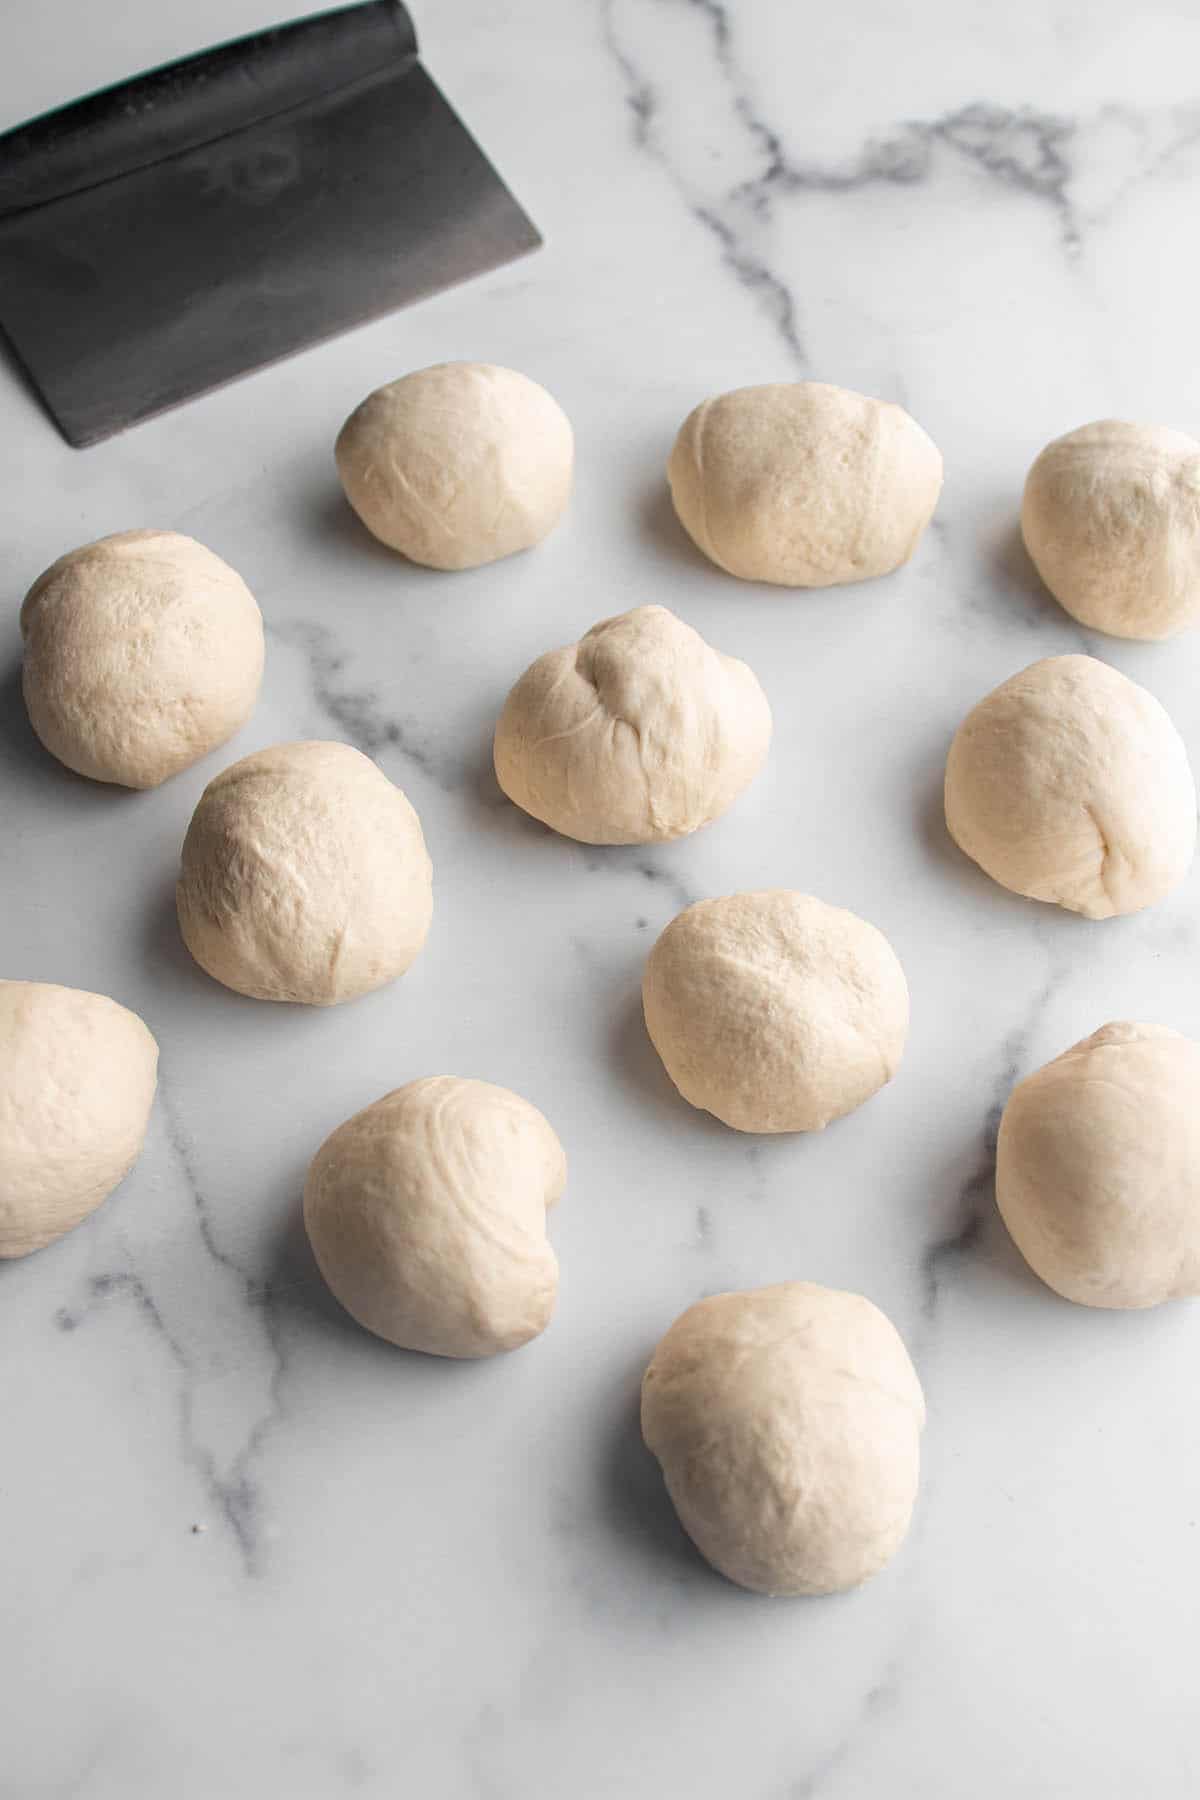
Taking each ball of dough, make them into a taut ball.
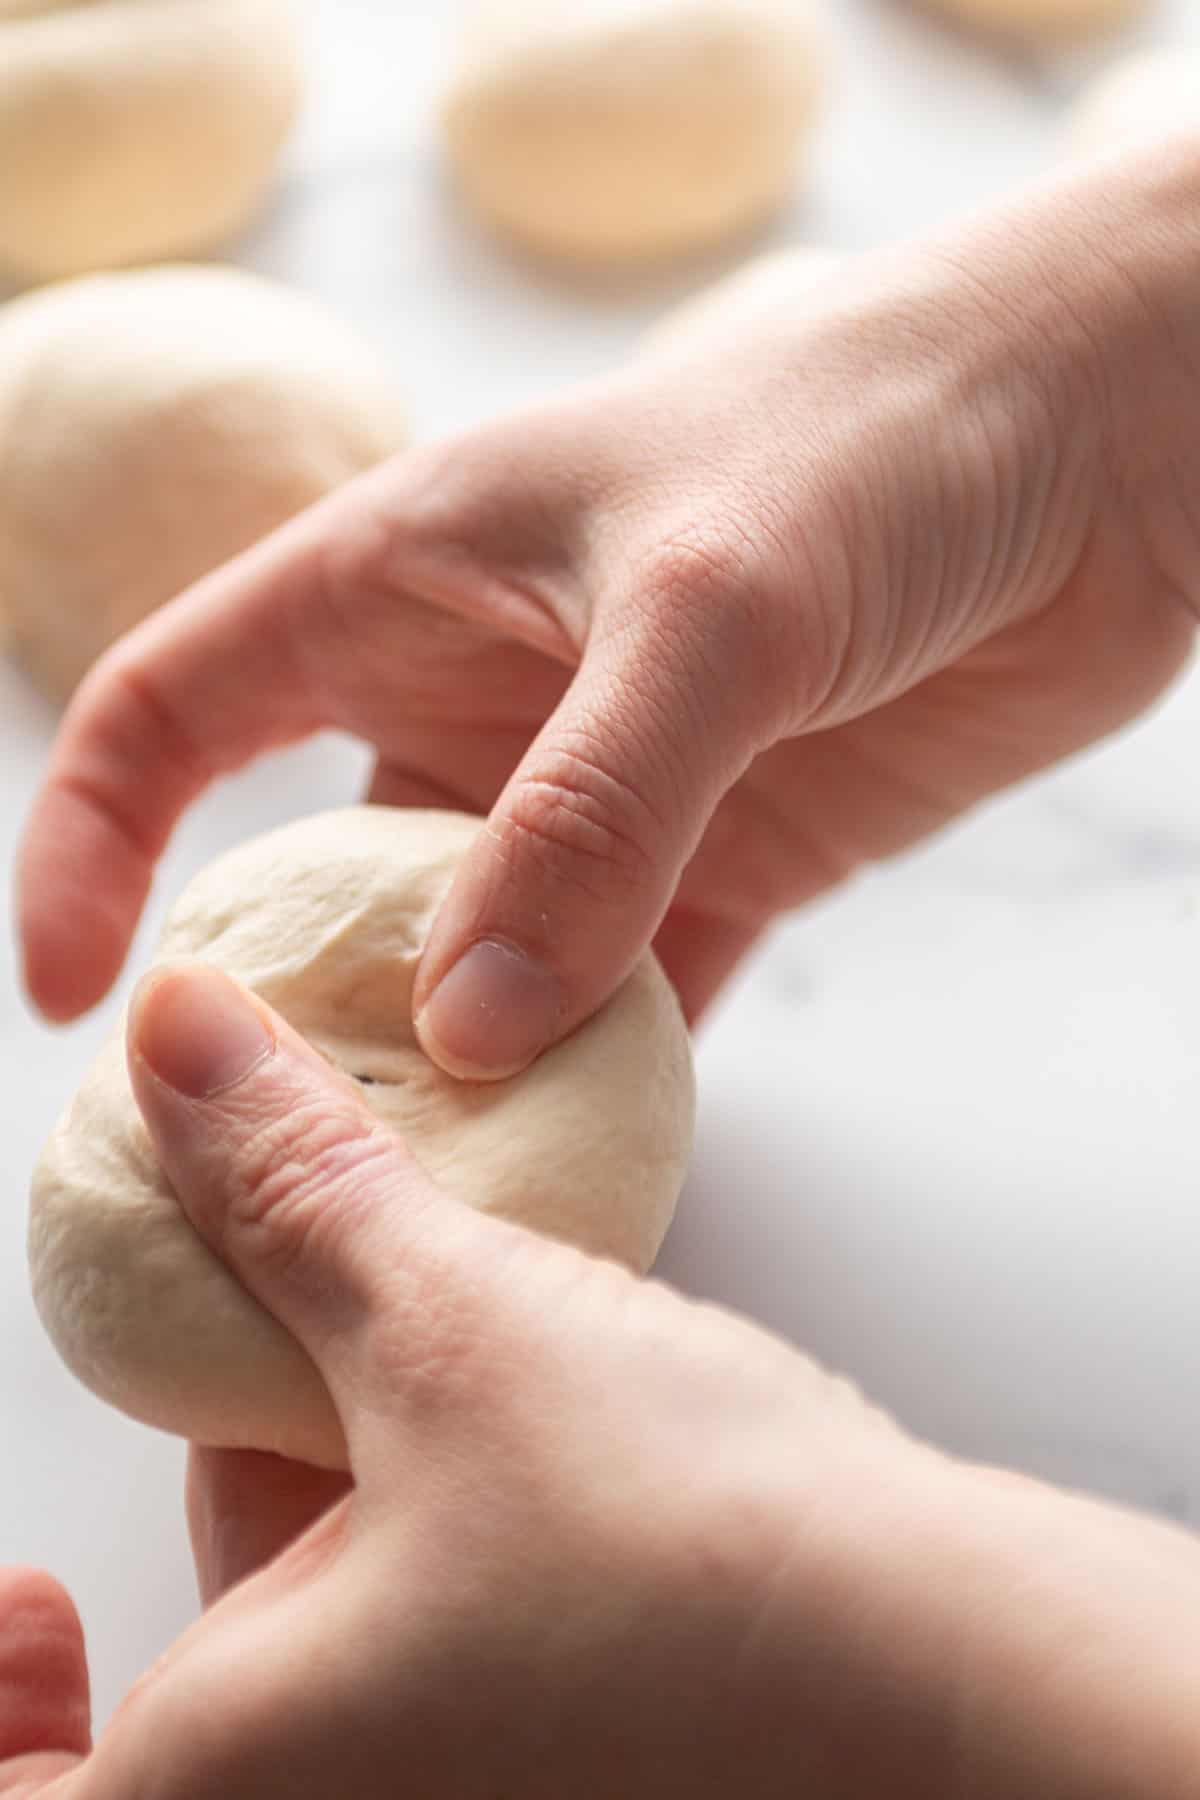
Now, take your finger and poke a hole right in the middle of the dough.
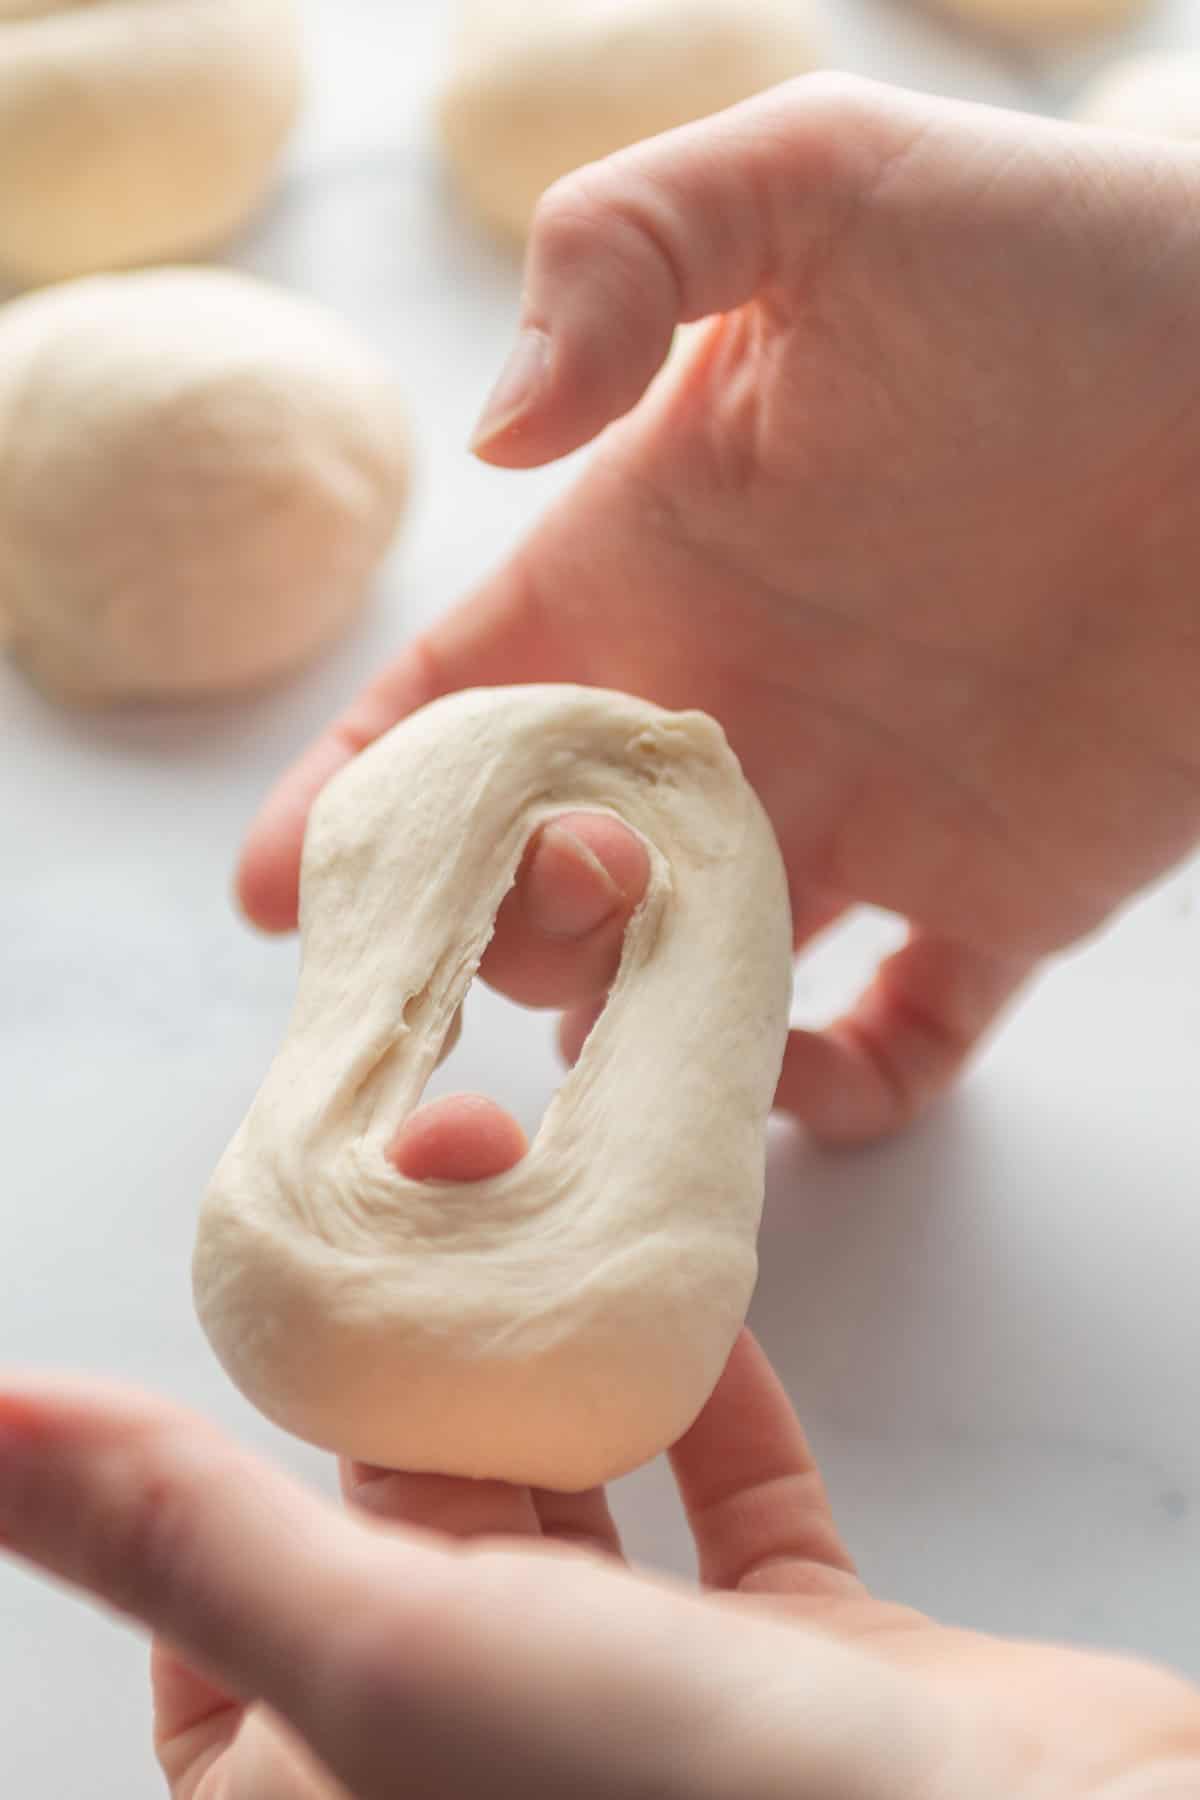
Take the dough and using both hands form it into a ring. Try to make the rings as symmetrical as possible to ensure even cooking. This can take some practice.
As the dough settles and rises, it will puff up and relax more. Make sure to make the hole slightly larger than what you want.
Place formed bagels on the prepared parchment paper.
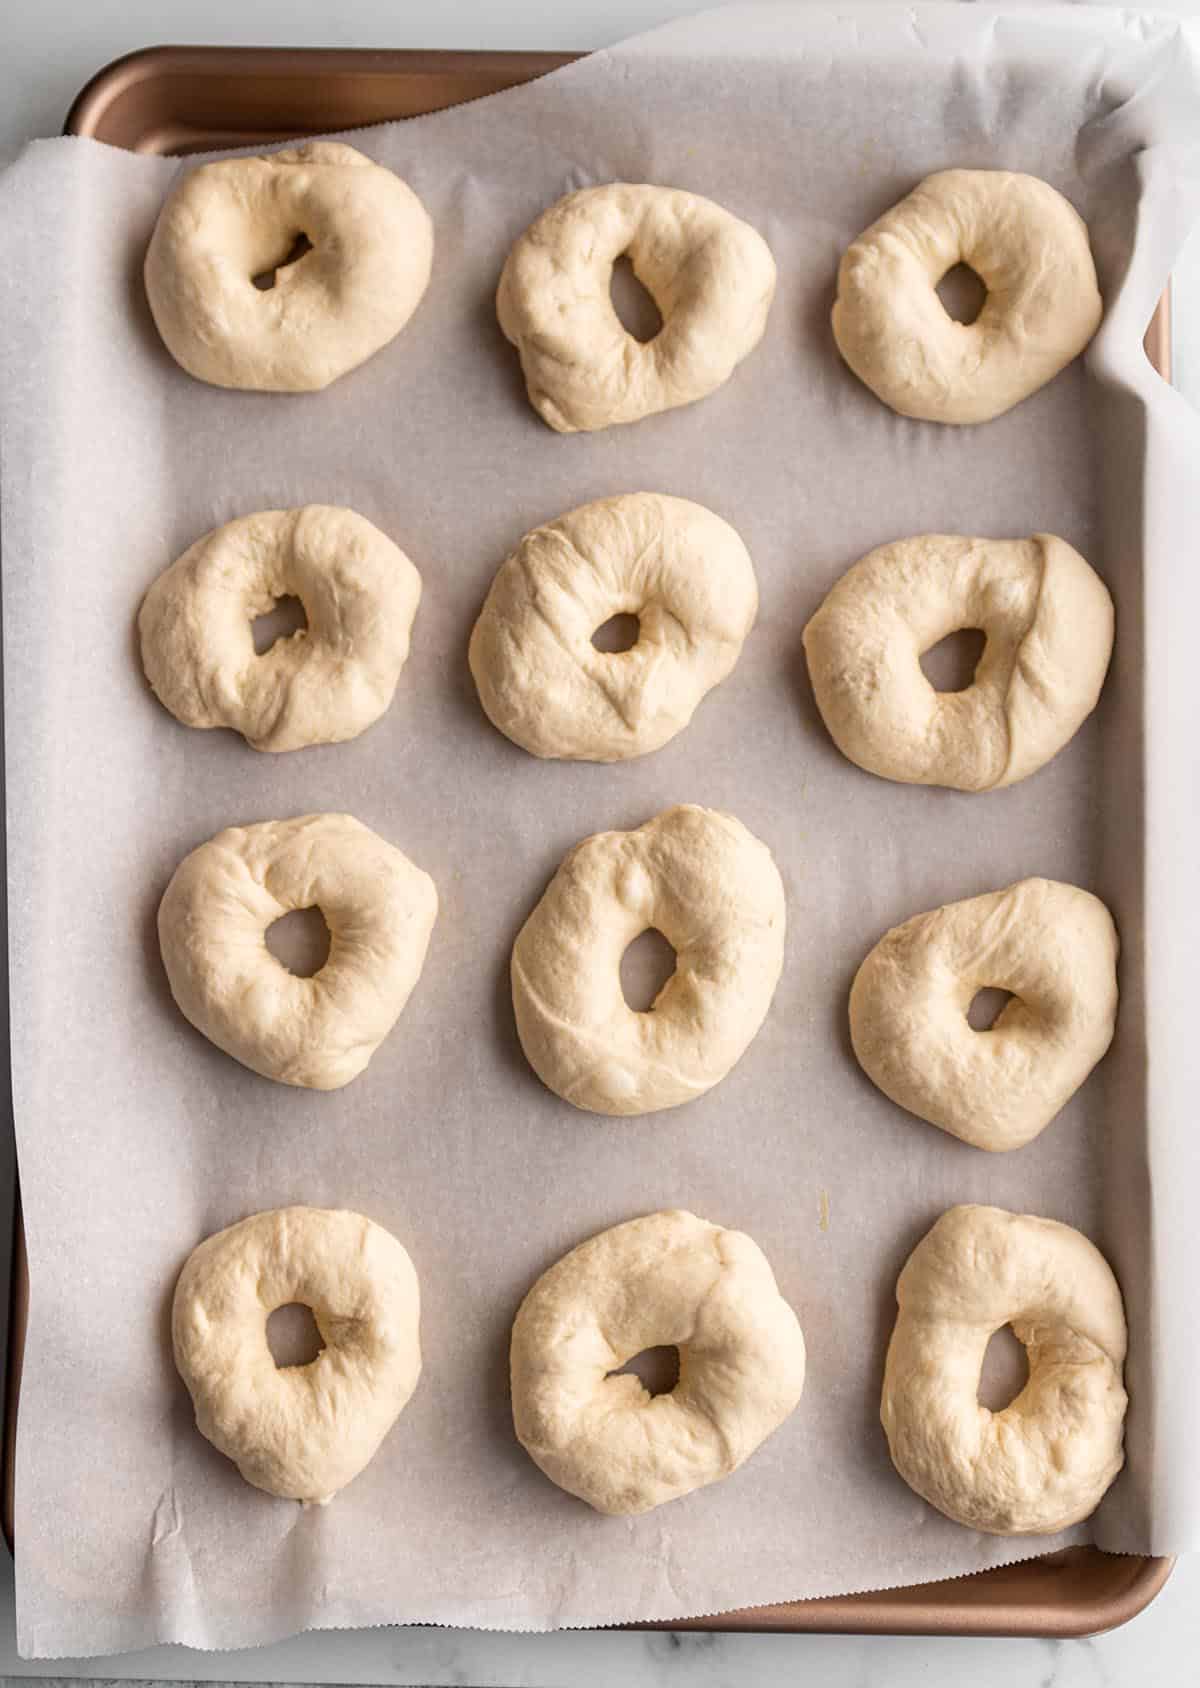
Once the bagels are shaped, they need to have a second rise. Cover with a light towel and rest for about an hour.
Water Bath
Preheat oven to 425 degrees Fahrenheit.
Fill a large pot or Dutch Oven about half way full of water. Make sure it is a heavy bottom pot like a dutch oven.
Bring the water to a boil. Add in about 2 tablespoons of honey. This will help caramelize the outer layer of the dough.
Make sure the pot is at a rolling boil. You do not want the water to stop boiling once the dough is added.
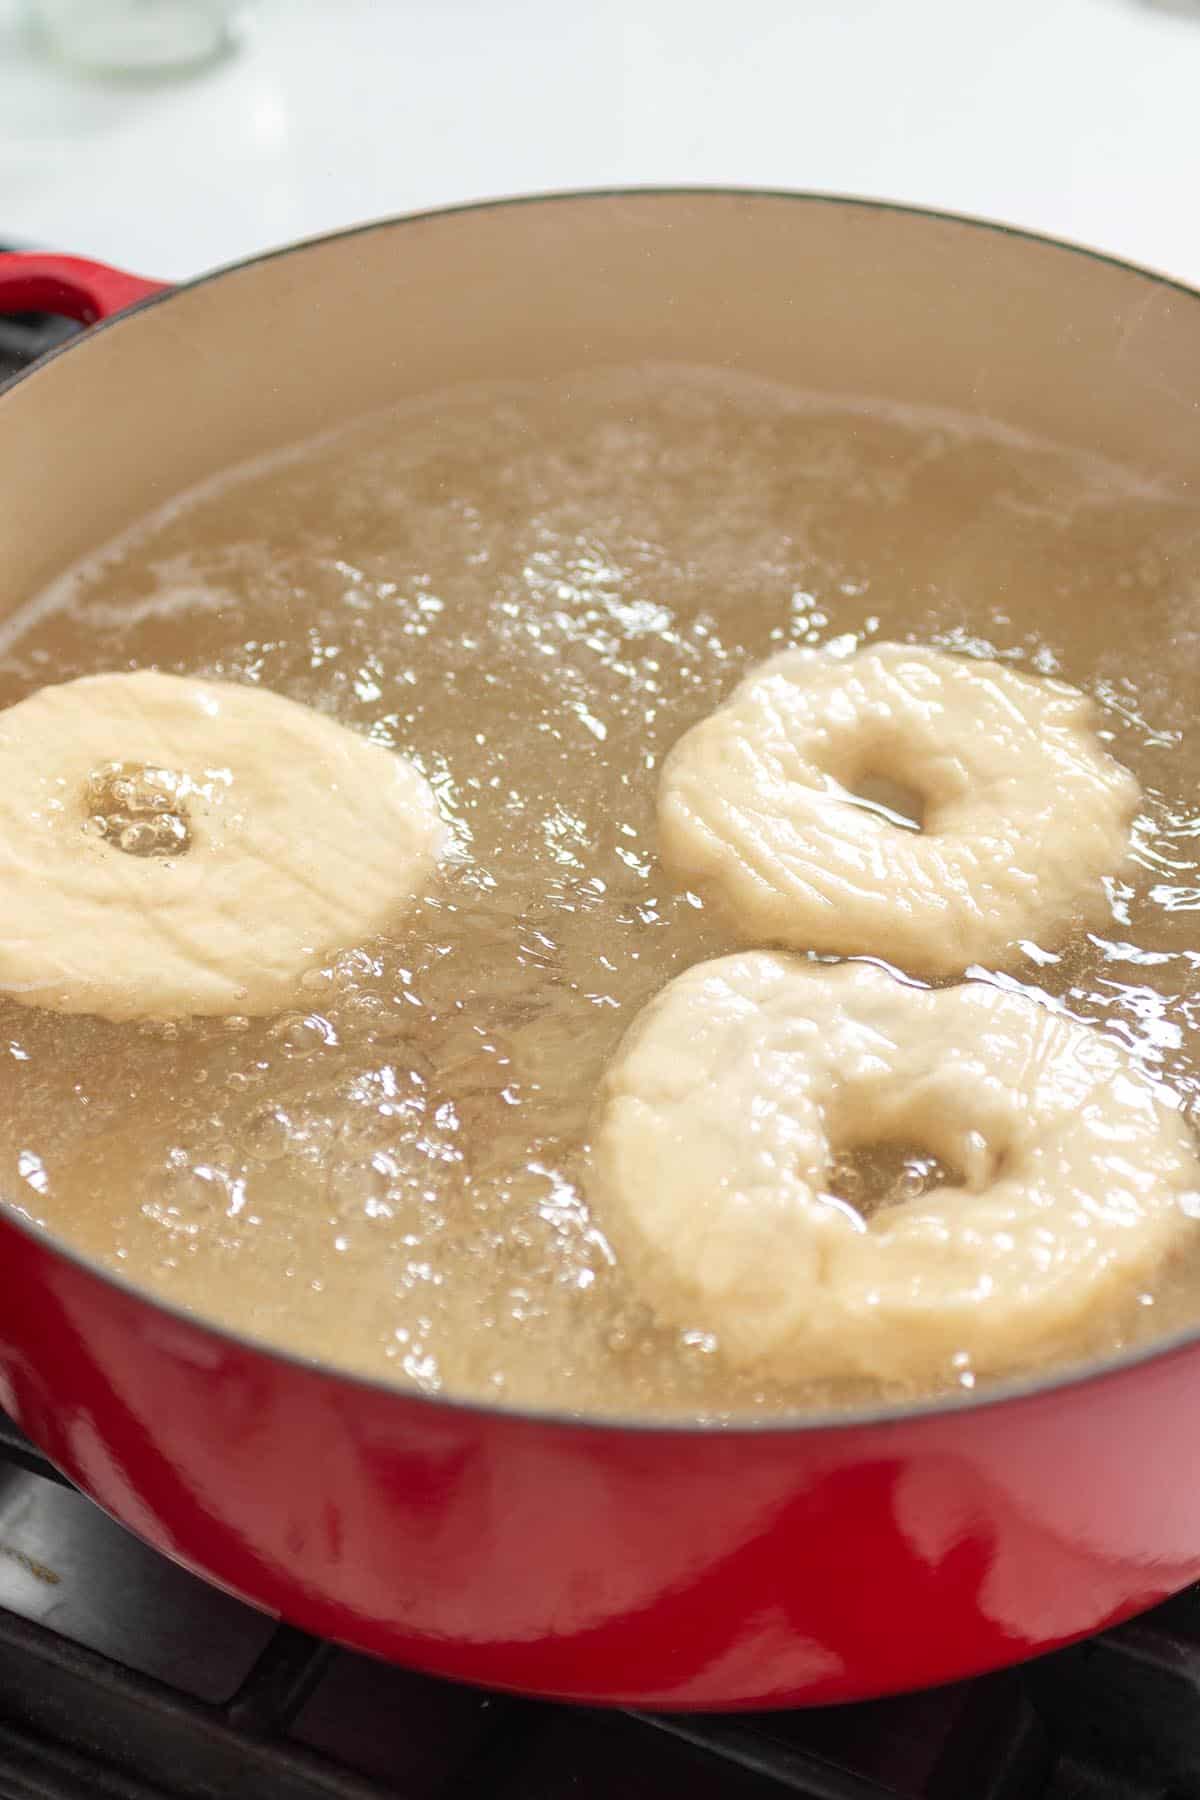
Taking 2-3 bagels at a time, place in the water, bottom side up.
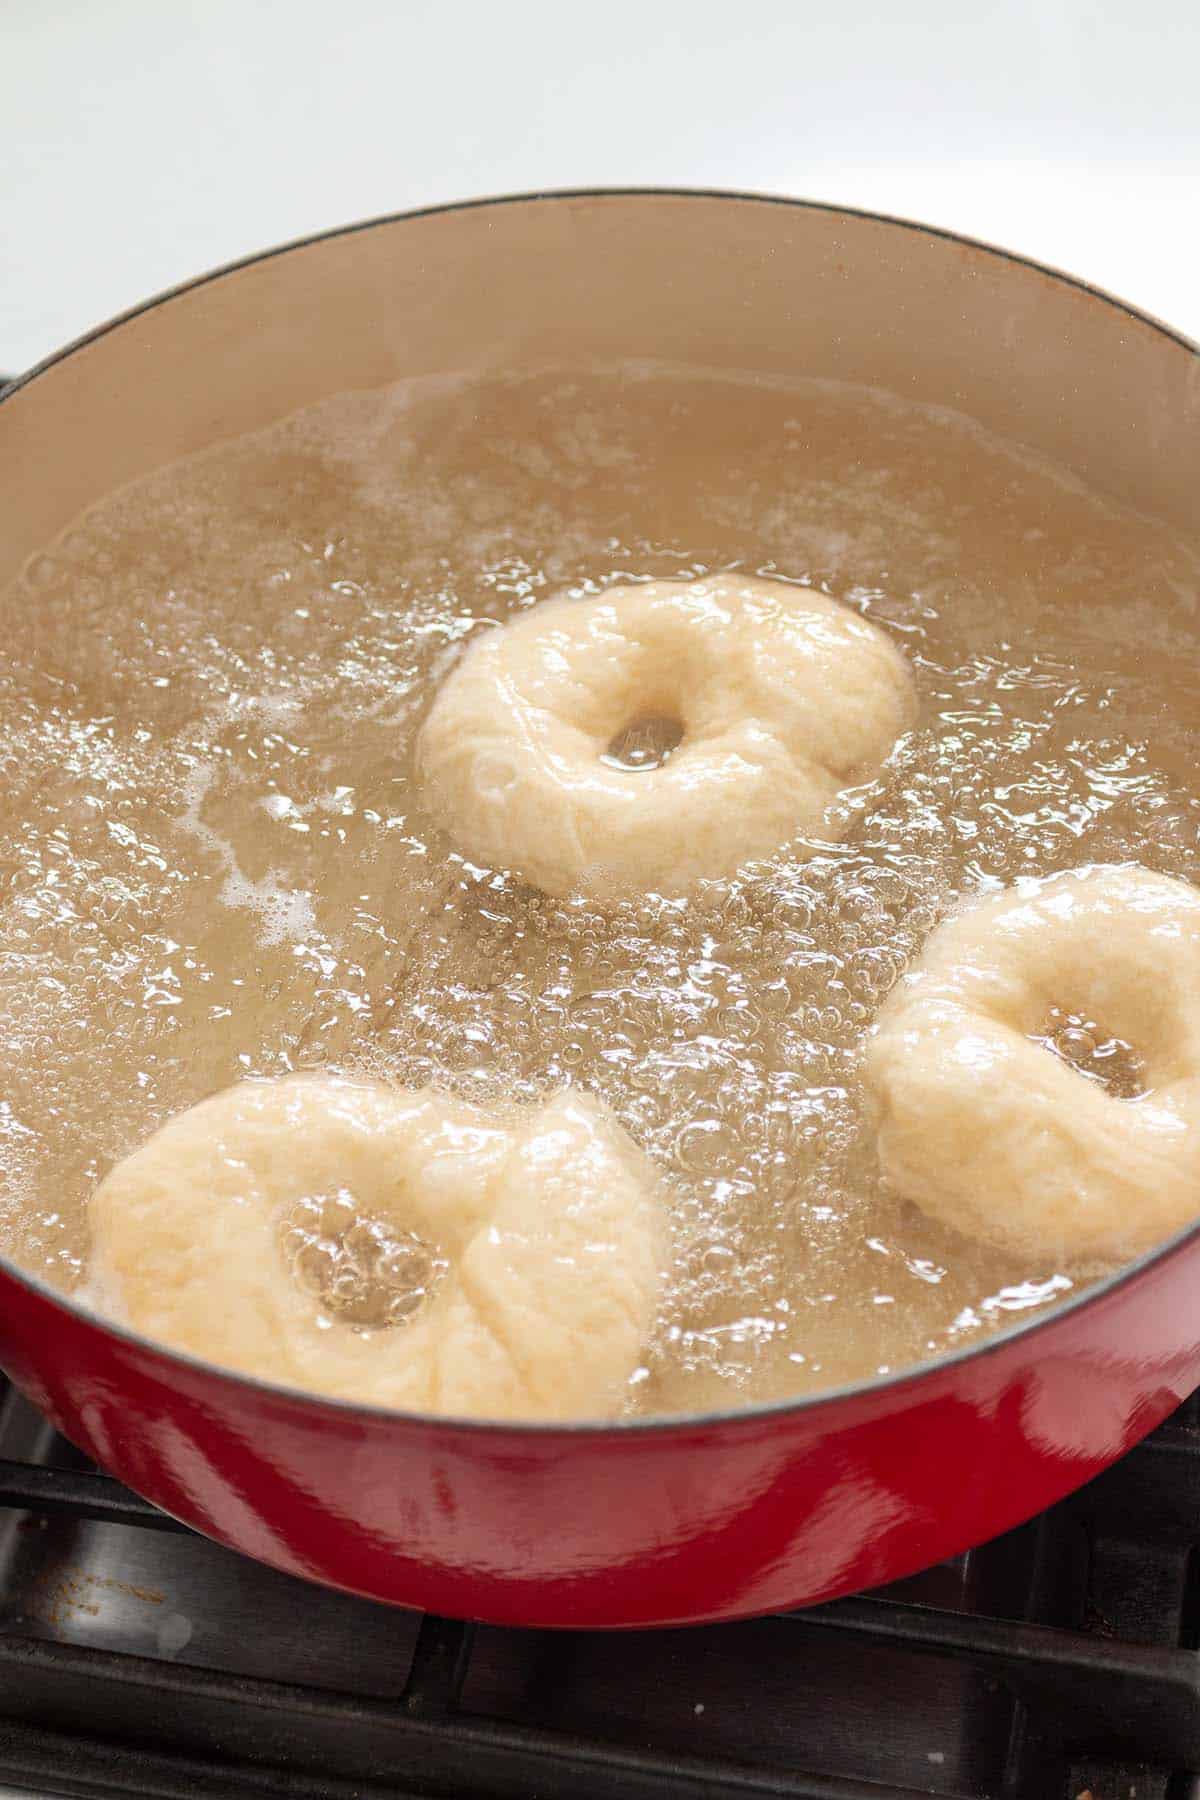
Boil for 30 seconds, flip, with a slotted spoon or skimmer, and boil the other side for 30 seconds.
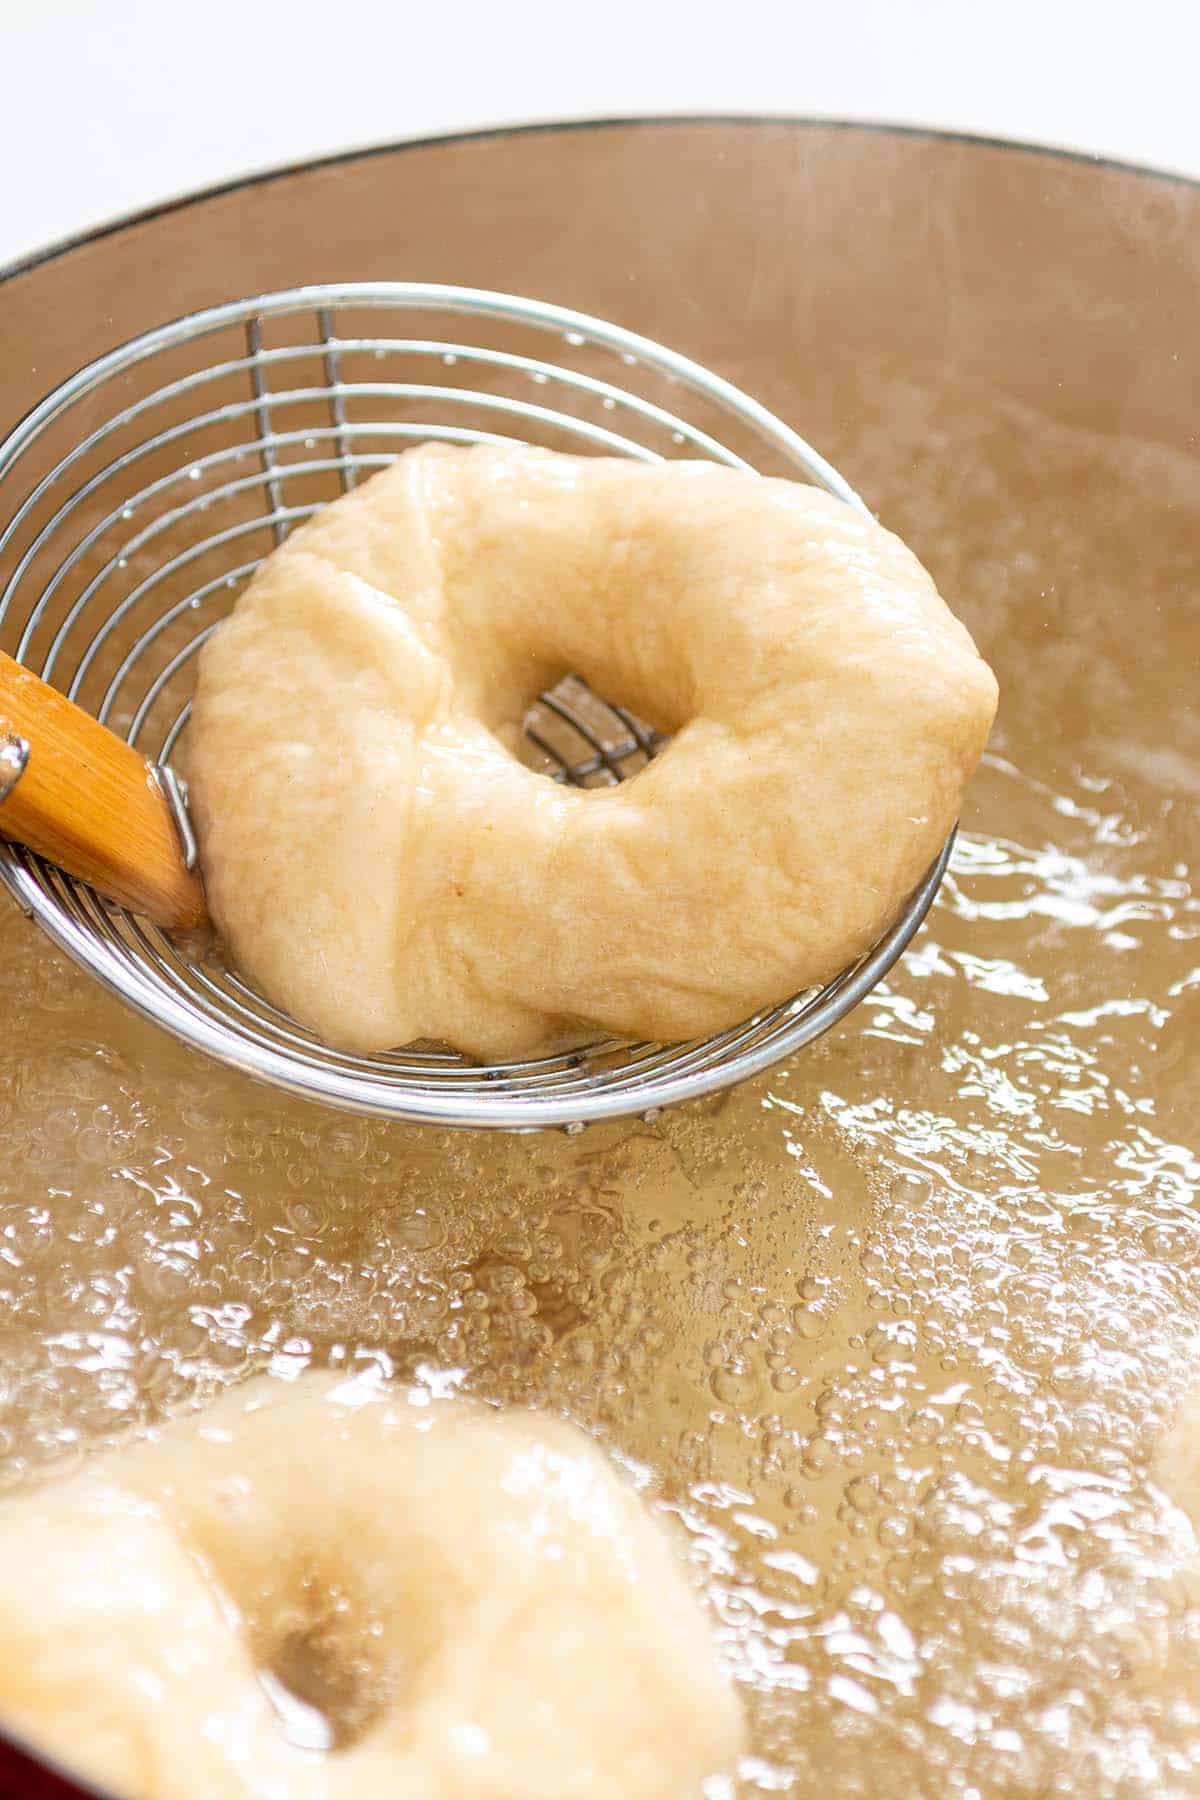
Remove from the water with a slotted spoon or skimmer.
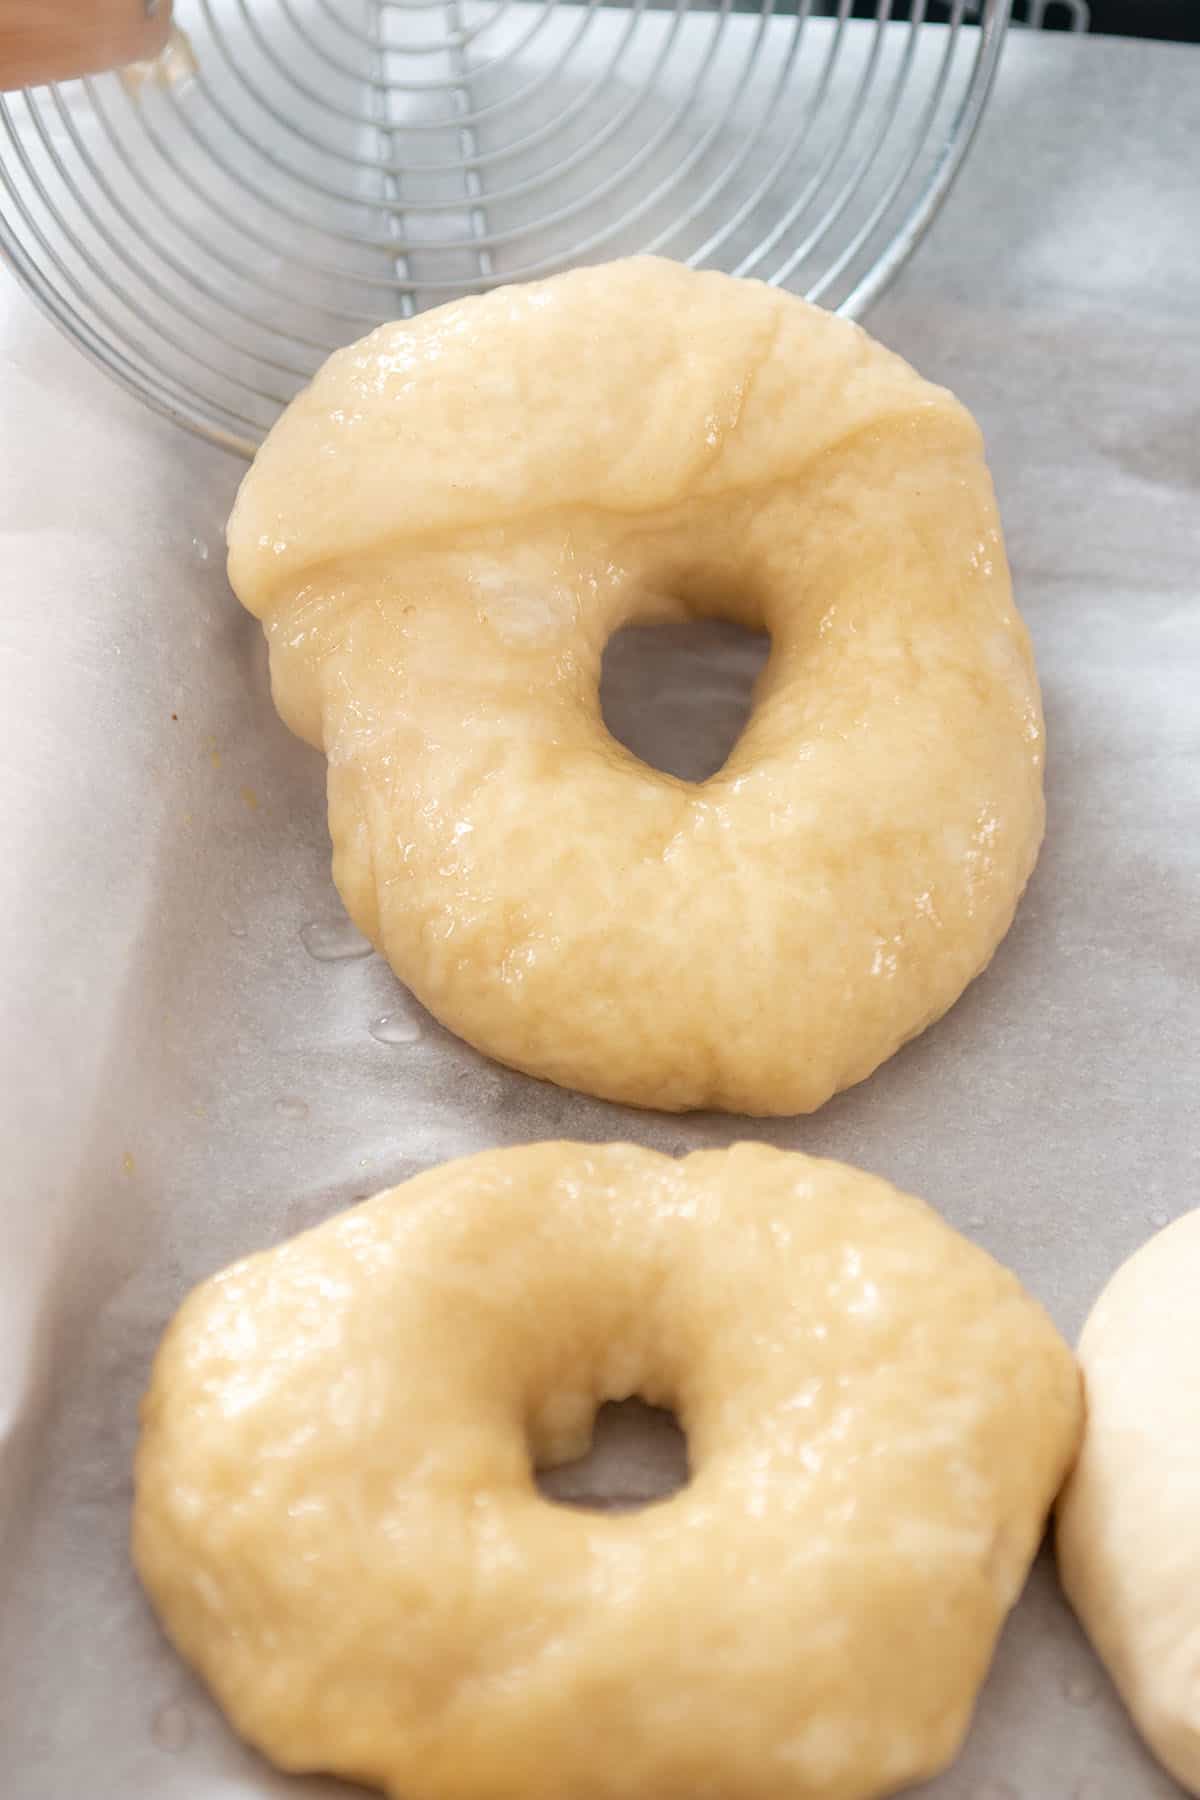
Shake off any excess water and place on the baking sheet.
Repeat until all the bagels are done.
Add toppings of desired.

Baking
Once all the bagels are boiled, place in the preheated oven and bake until golden brown.
For 8 bagels bake for 28-30 minutes
For 12 bagels bake for 23-25 minutes.
They are done when the tops are a nice golden brown color.

Remove from the oven when done and place on a wire rack to cool. If you can wait for them to cool
Serve finished bagels with some chive cream cheese or turn it into a delicious breakfast sandwich.
Storage
These sourdough bagels will last 3-4 days in an airtight container. They also freeze really well. Just make sure they are completely cooled before storing them in a freezer-safe bag or container.
They can be stored similar to sourdough bread.
To reheat, allow the bagel to thaw at room temperature then heat in a toaster or toaster oven.
Ways to Serve
One of my favorite things to add on a fresh homemade bagel is smoked salmon dip. While cream cheese is always a winner, smoked salmon dip just adds more protein and flavor.
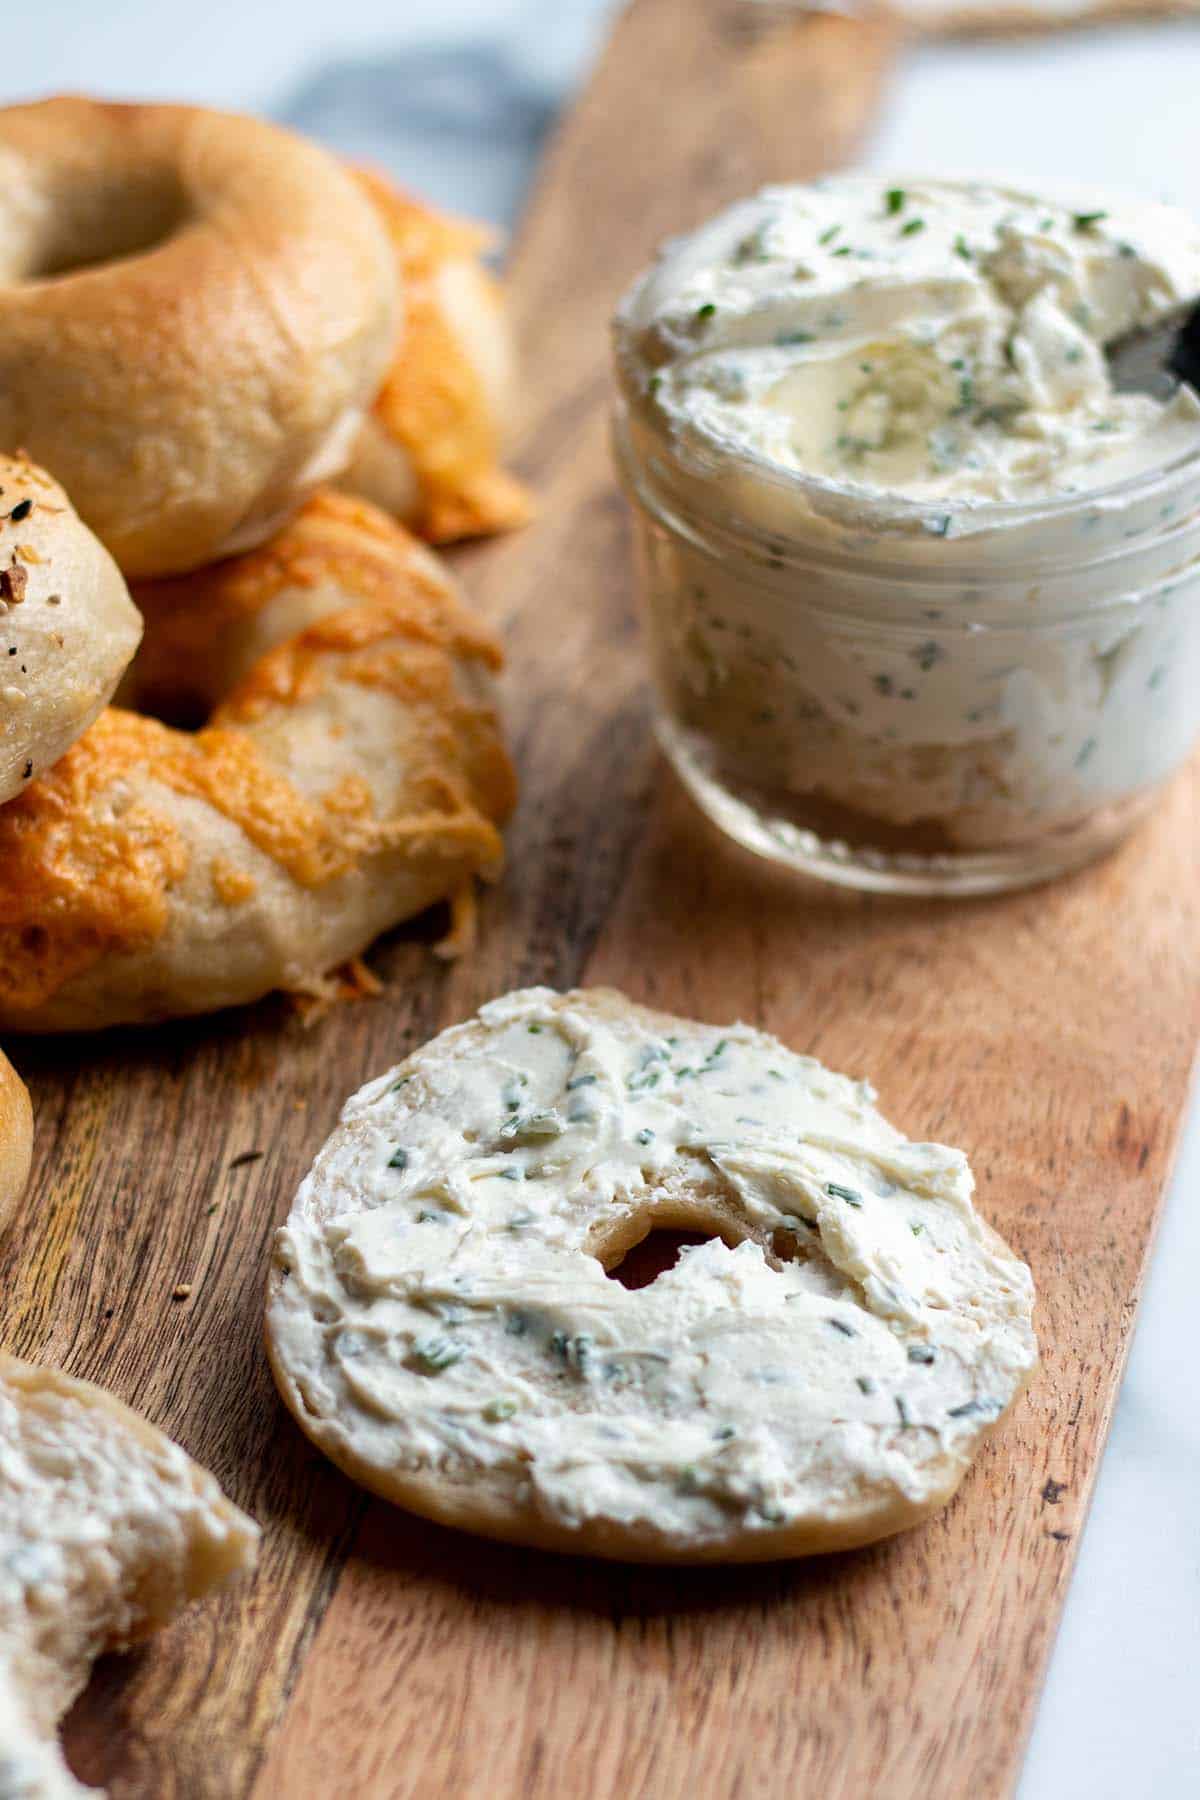
Other serving suggestions are:
- Avocado
- Egg Sandwich
- Flavored Cream Cheeses
- Smoked Salmon Dip
- Chive and Onion Cream Cheese Spread
- Almond Basil Pesto
What are some of your favorite toppings to put on your homemade bagels? Leave a comment below letting me know!
Other Sourdough Breakfast Recipes:
See more Sourdough Breakfast Recipes →
📋Recipe

Sourdough Bagels
Equipment
Ingredients
- 190 grams Sourdough Starter - Active and 100% Hydration
- 300 grams Warm Water - 85-90 degrees Fahrenheit
- 11 grams Kosher Salt
- 550 grams Bread Flour
- Olive oil - For coating a bowl
Water Bath
- Water - fill the pot about half way
- 2 Tablespoons Honey
Toppings
- Shredded Cheese
- Everything Bagel Seasoning
- Seeds
Instructions
Feed Starter
- Feed your starter equal parts flour and water for a 1:1:1 ratio, 6-8 hours before making the dough. The exact time will depend on how long it takes for your starter to double in size.
The Dough
- Start off by warming the water up to 85-90 degrees Fahrenheit.
- In the bowl of a stand mixer add the starter, warm water, and salt. Mix with a fork until everything is combined.
- Add in the bread flour and with a dough hook attachment, start mixing the bread on low-medium speed.Run for 5-8 minutes. It should start to form a ball and is no longer sticking to the sides. If it is still sticking, add a small amount of flour at a time.
- Cover the bowl with a warm, damp towel and let it rest for 1 hour.
First Rise
- After the 1 hour rest time, take a large bowl and lightly coat it in olive oil. Carefully turn the dough onto the counter and shape it into a nice round ball. The dough should be smooth, soft, but not sticky.
- Place in the bowl and cover with a warm, damp towel and let it rise 8-12 hours, or overnight .
Shaping and Second Rise
- First prepare a baking sheet by lining it with parchment paper. Give a light spray with cooking oil or a very thin layer of olive oil. This will help the bagel dough from sticking. Set aside.
- Carefully remove the dough and turn it onto a clean work surface. Using a bench scraper, divide it into 12 or 8 equal pieces. ( Depending on the size of bagels you prefer. )
- Taking each ball of dough, make them into a taut ball. Now, take your finger and poke a hole right in the middle of the dough. Take the dough and using both hands form it into a ring. Try to make the rings as symmetrical as possible to ensure even cooking. This can take some practice.
- Place formed bagels on the prepared parchment paper. Once the bagels are shaped, they need to have a second rise. Cover with a light towel and rest for about an hour.
Water Bath
- Preheat oven to 425 degrees Fahrenheit
- Fill a large pot or Dutch Oven about halfway full of water. Make sure it is a heavy bottom pot like a dutch oven.
- Bring the water to a boil. Add in about 2 tablespoons of honey. This will help caramelize the outer layer of the dough.Make sure the pot is at a rolling boil. You do not want the water to stop boiling once the dough is added.
- Taking 2-3 bagels at a time, place in the water, bottom side up.
- Boil for 30 seconds, flip with a slotted spoon or skimmer, and boil the other side for 30 seconds.
- Remove from the water with a slotted spoon or skimmer. Shake off any excess water and place on the baking sheet.Repeat until all the bagels are done. Add toppings if desired.
Baking
- Once all the bagels are boiled, place in the preheated oven and bake until golden brown.
- For 8 bagels, bake for 28-30 minutesFor 12 bagels, bake for 23-25 minutes.
- They are done when the tops are a nice golden brown color.
- Remove from the oven when done and place on a wire rack to cool. Serve finished bagels with some chive cream cheese or turn it into a delicious breakfast sandwich.
Notes
- Bread flour. All purpose will give the dough a different texture.
- Active sourdough starter: Use an active sourdough starter with 100% hydration.
- Warm Water: preheat water to 85-90 degrees before mixing with the starter.
- When proofing, cover with a warm, damp towel. This will keep the dough from drying out.
- Use a heavy bottom pot like a dutch oven for boiling. The water needs to maintain a rolling boil while the bagels are being added. A dutch oven works best for this.
- Add some honey to the boiling water. This will help caramelize the outside of the dough.
- Bake until they are golden brown.




awesome recipe! Made this for the first time yesterday and they were the closest thing I've had to a Jersey bagel since moving to VA. I made half the batch everything and the other half cinnamon raisin. To do the CR I used the lamination method for the inclusions right before the bulk rise.
Triple the batch tonight to create a freezer supply.
I am so glad you enjoyed them Nikki and thank you so much for your kind review. I have to try cinnamon raisin now!