
How to start a garden for beginners. Ever wanted to start a garden of your own but don't know where to even start? This guide will help you plan and manage your new back yard vegetable garden.
Have you been thinking about starting a garden of your own? Is this something you have always wanted to do, but just don't know where to even begin?
Gardening has so many benefits. Besides putting fresh food on the table, it gets you outside and is such a rewarding experience. Get all of my benefits of gardening.
But it can be frustrating. Just walking into a hardware store or nursery can be overwhelming with all the options available.
This guide will help you make the process simple and hopefully give you confidence to start your backyard vegetable garden this season.
The biggest takeaways form this post will be to keep it simple and do a little planning and research before even touching the dirt.
Jump to:
How to Start a Garden
1. Keep It Simple
If this it's your first year I cannot stress enough to keep it simple.
It's so easy to get overwhelmed with all the options and things plants need to thrive. Proper soil, compost, nutrients, ph level etc.
While those things are important in maximizing your yield, I'm here to tell you I have grown very successful gardens with only the soil from my local supply companies. No soil testing, no fertilizers or extra nutrients.
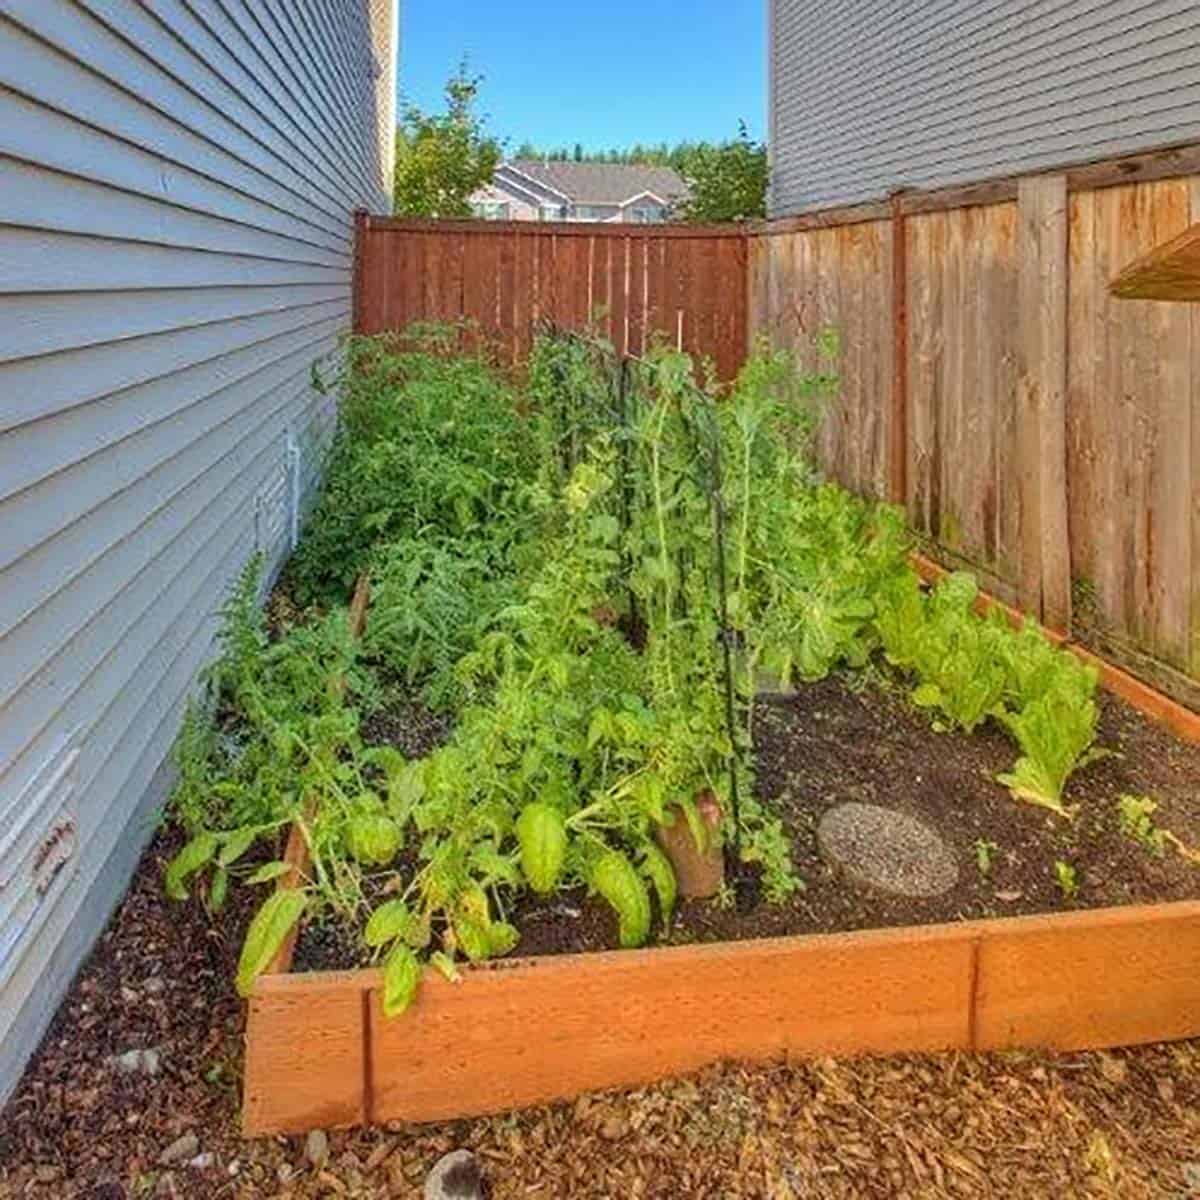
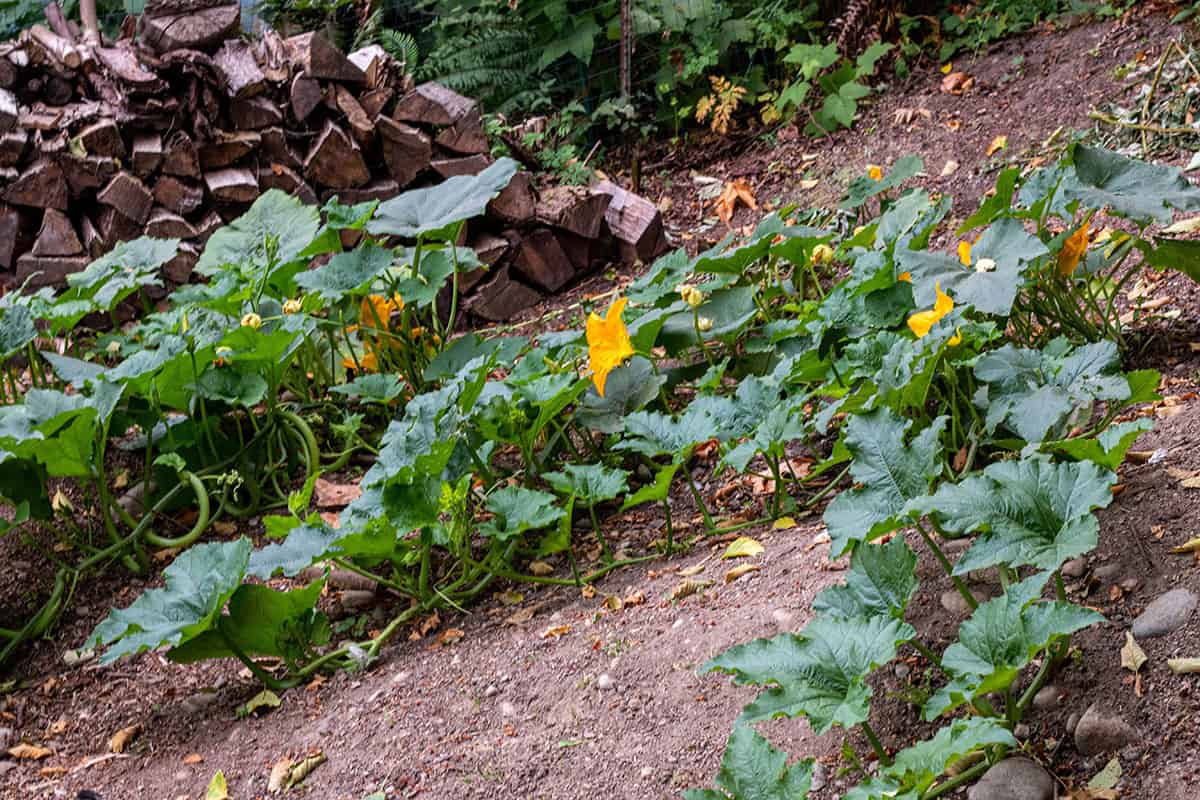
Below is my very first garden back in 2011. We knew nothing about gardening and this area had zero sun, but we still found a way to put fresh produce on the table.
While I don't recommend these growing conditions, it was possible.
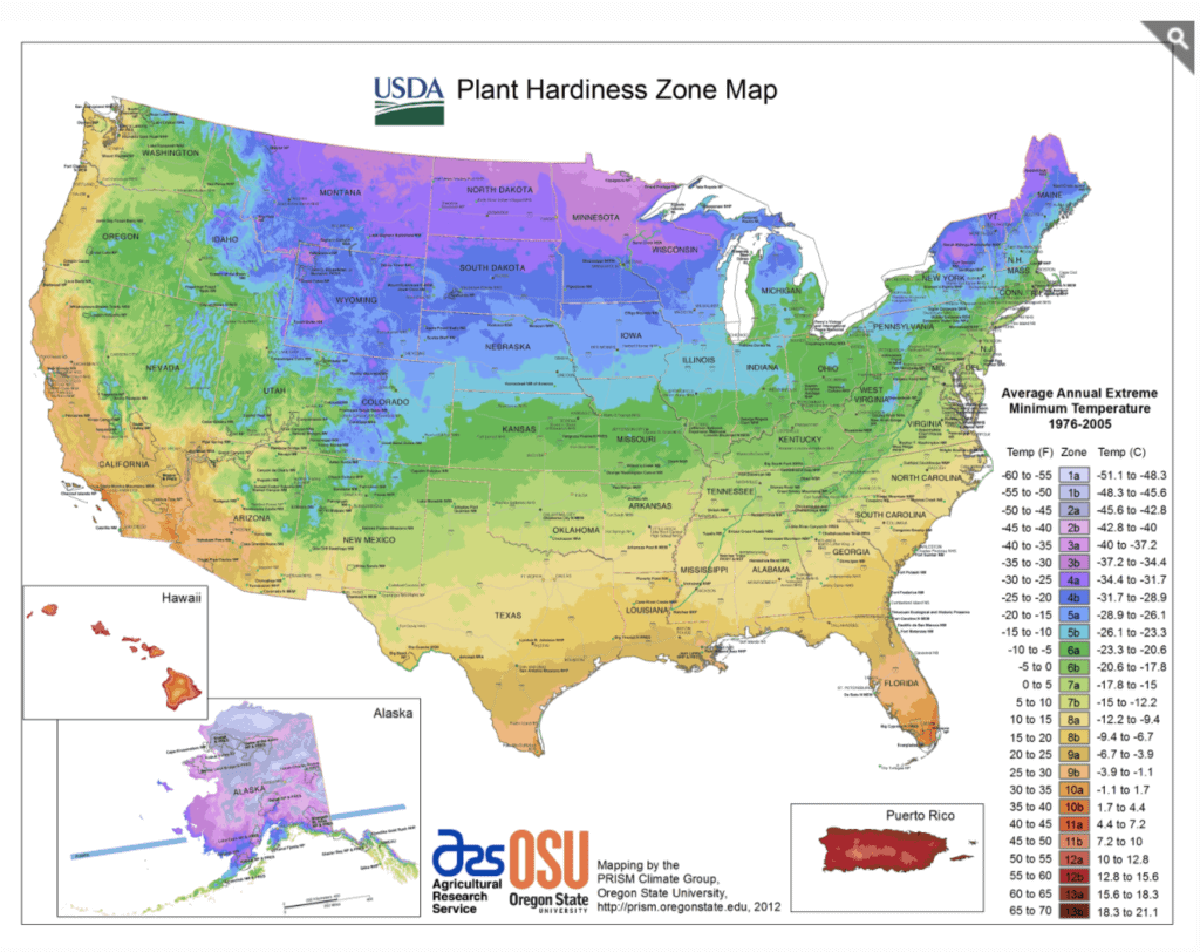
2. Find your Gardening Zone
What is a gardening zone?
Growing zones are areas or regions that are designated by climate conditions.
Why are growing zones important?
It is important to determine your growing zone because the this what is going to tell you what grows well in your area. Each zone has climates that are suitable for different crops.
While you can plant things that don't typically grow in your zone, it just may require additional care.
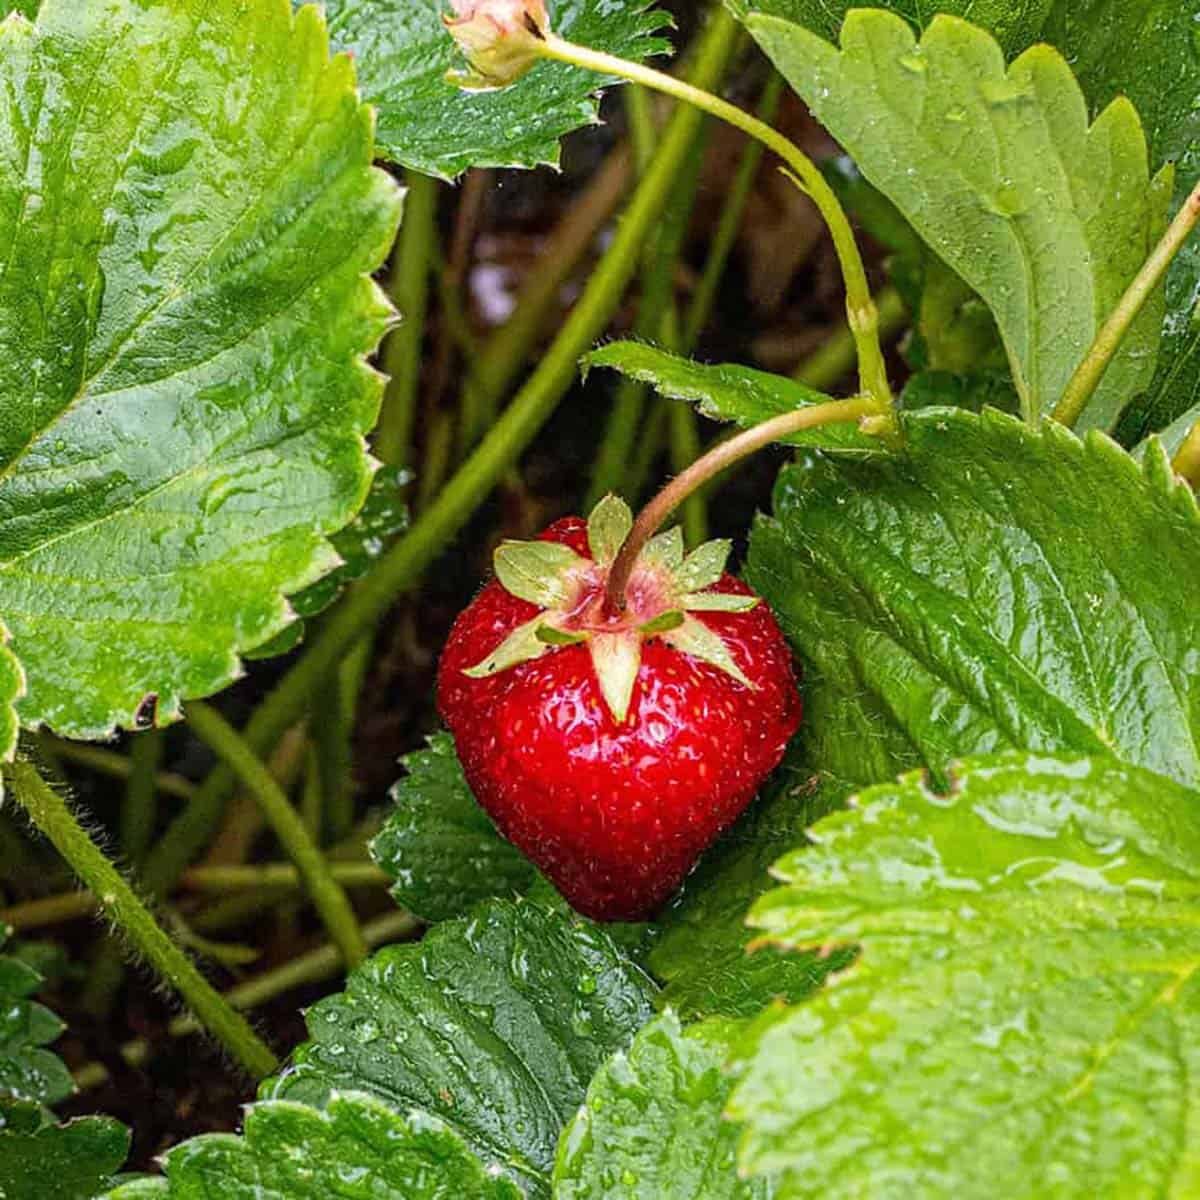
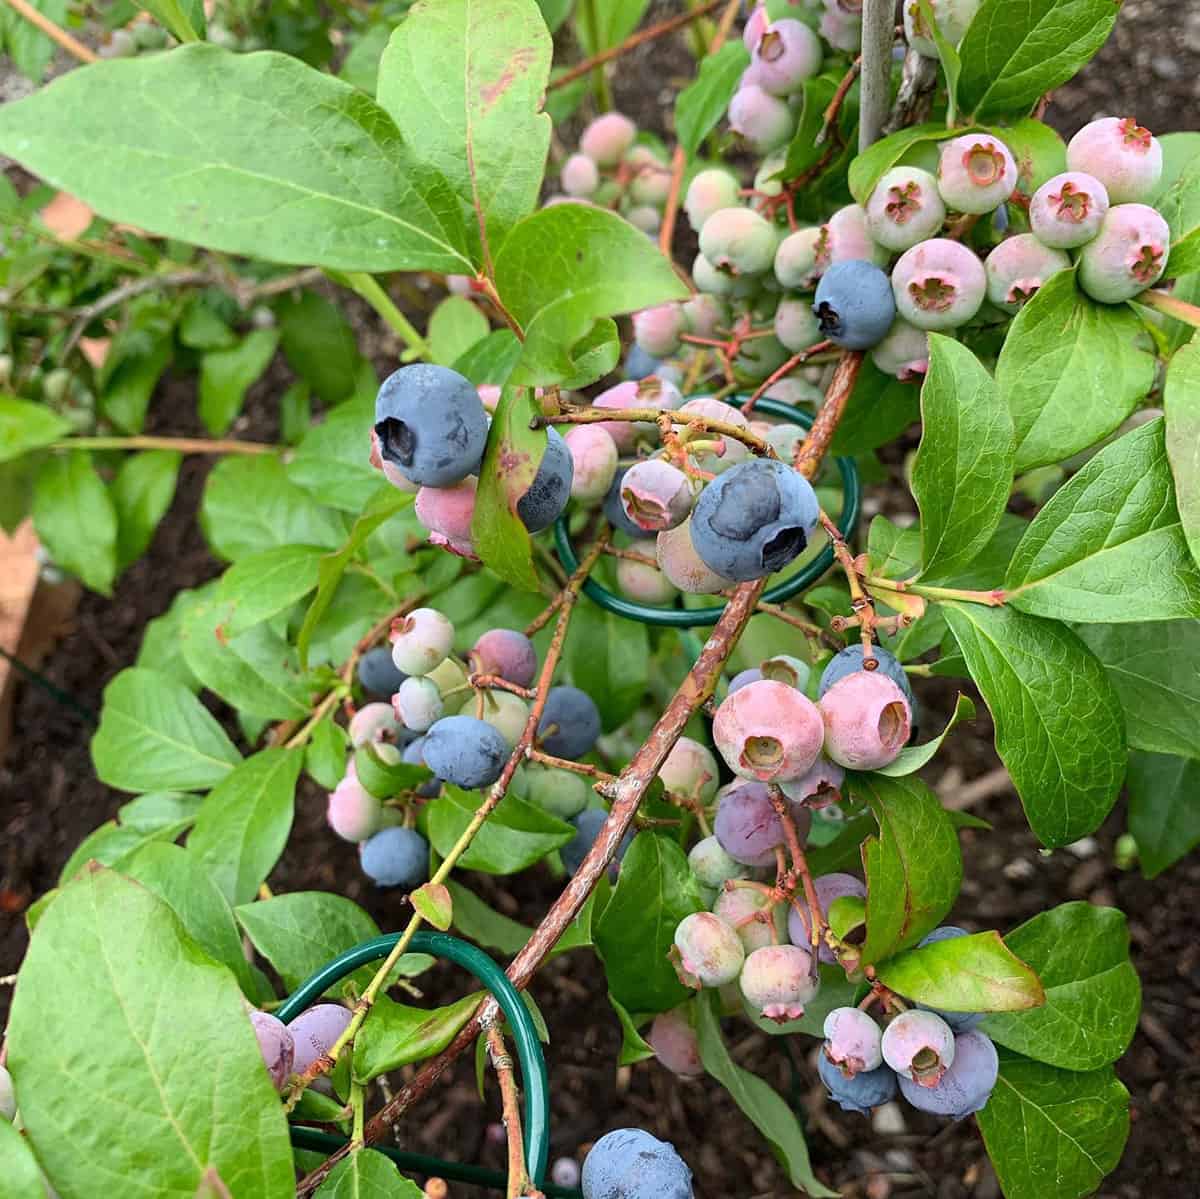
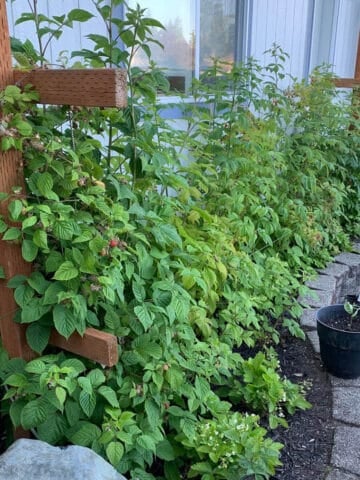
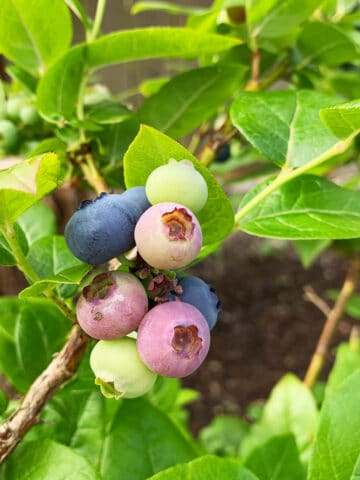
For example zucchini and berries grow wild in my zone 8b where in hotter climates are better for peppers or citrus.
Finding your growing zone is really simple. I like using the free tool from garden.org.
Along with what zone you are in, they will also show you what and when to plant.
If you want to see success your first year start with things that will grow great in your gardening zone.
You are not limited to these things. Just keep in mind if you grow something that can't tolerate your zone, you may have to do some more research to be successful.
Knowing your gardening zone is also helpful when connecting with other gardeners. Someone with a hotter climate all year long will have very different recommendations than someone in a soggy, cold zone.
There are lots of gardening groups you can join on Facebook which is a great way to connect with others in your particular zone.
3. Determine Frost Dates
What are frost dates?
A common term you will hear and read are the last frost date and first frost date. What are these and why are they important?
Last Frost: The last frost is the predicted date that temperatures will dip below freezing. This is the green light to plant seeds or transplants outside.
Keep in mind this is an estimated guess. Continue to keep eyes on the weather for a random cold snap.
There have been plenty of years I planted my garden just to get a freeze in June.
First Frost: The first frost is another predicted date when the wether will start to drop below freezing in the fall or winter.
This is important when planting a fall garden or knowing when things will start to go dormant.
Find your areas first and last frost date and keep these in mind when reading seed and plant recommendations.
You can find your frost date predictions at Garden.org.
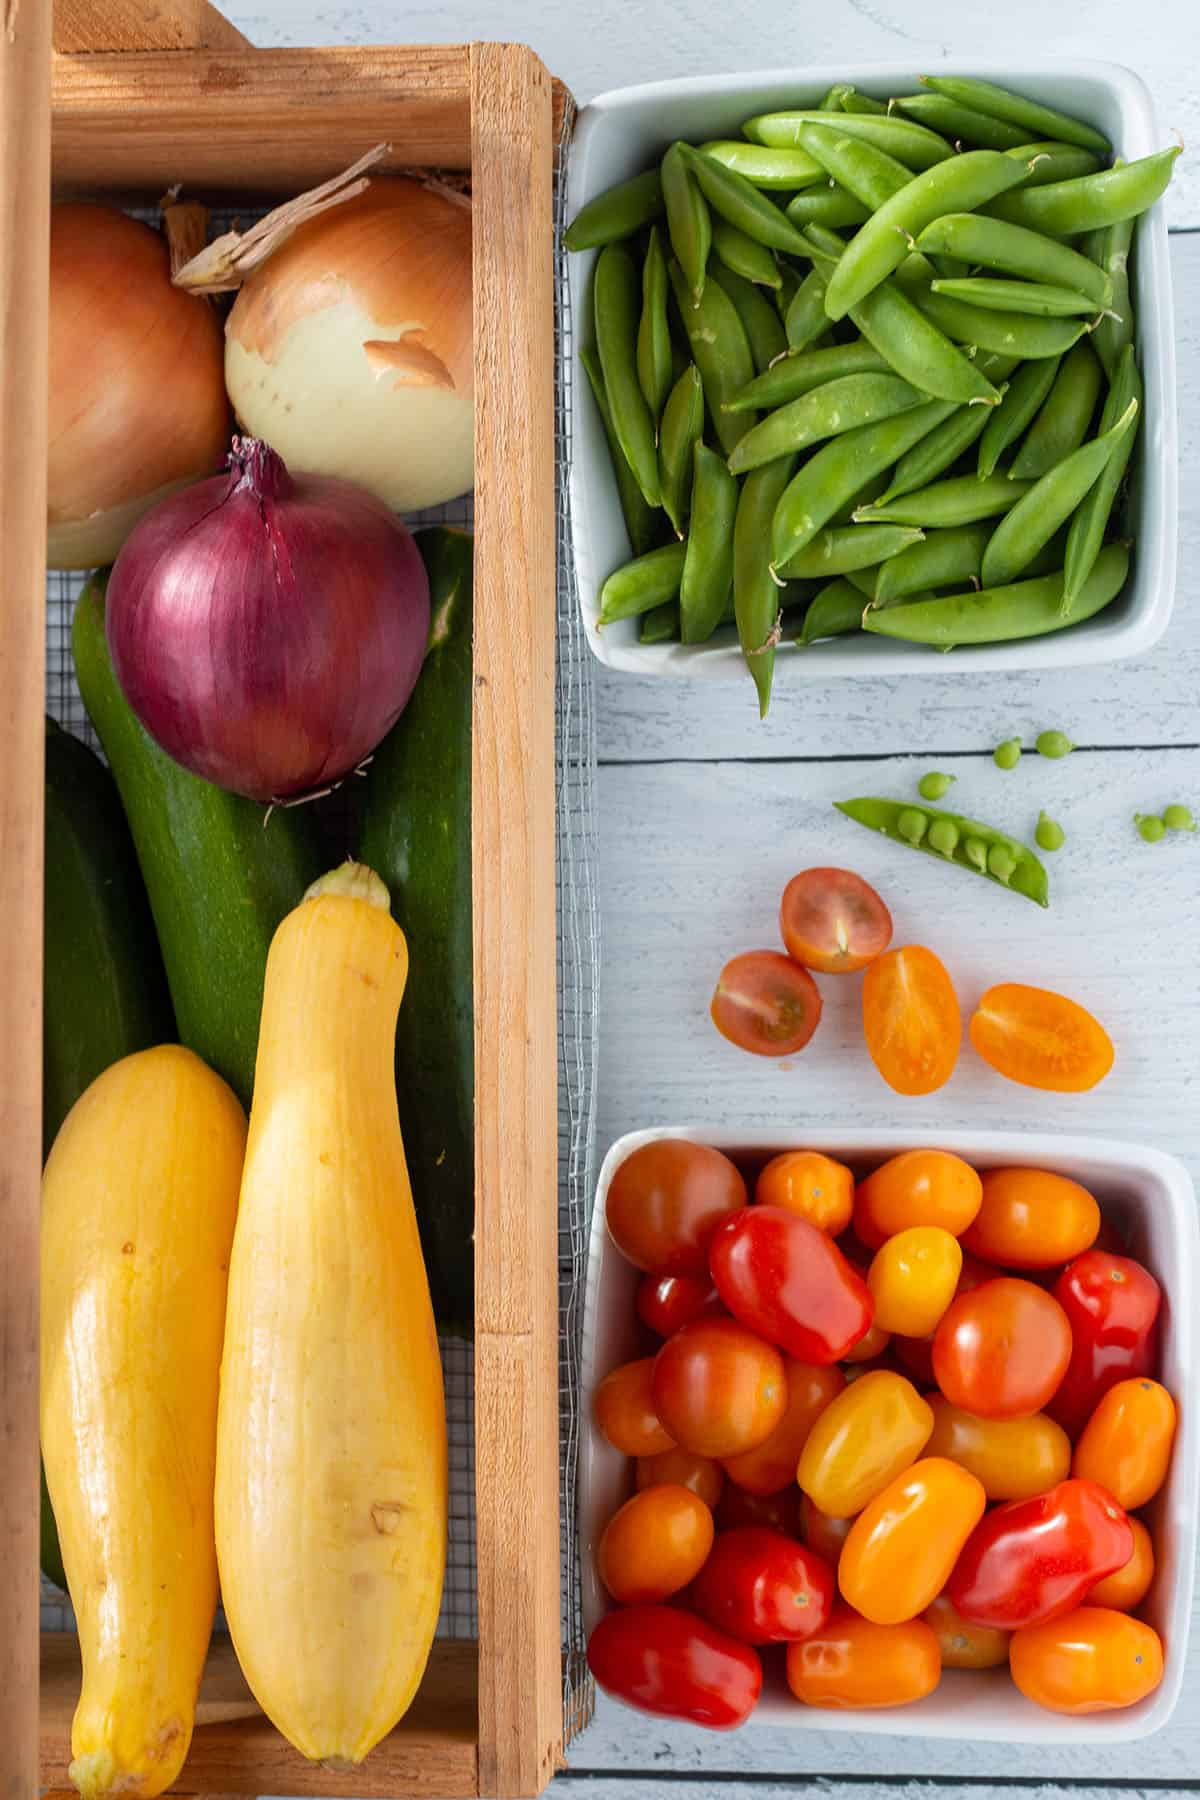
4. Grow What You Eat Most
This may sound like obvious advice but it can be so easy to get carried away.
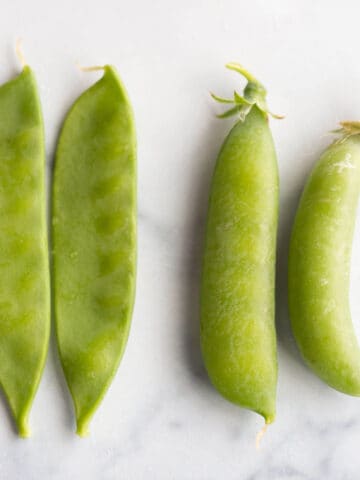
When looking at the list of things that grow great in your area make sure you pick things you love to eat or cook most with.
This ensures you will give the plants the care they need. And you will put your harvest to good use.
So select those few things that you and your family eat a lot of, or that you can preserve for later.
4. Pick a Few Things to Start
Here is what we have done so far:
- Determine your gardening zone and what grows well
- Found the last frost and first frost date
- Made a list of your favorite produce
- Then, compare your lists and see what overlaps. That is what you are going to focus on growing!
My advice would be to stick to a few of your favorite things your first year, see success and add from there.
It can quickly get out of hand if you plant everything you possibly can.
Iv'e been gardening since 2011 and I still do this. I get excited and buy one of everything and always end up loosing some things.
A small manageable garden your first couple of years will give you confidence and drive to keep going. If you go out too big too fast you will get burnt out.
That's why it's important to really start out with what grows great in your area. Then, when you are more confident you can start adding those things that require a little extra care.
These are my 10 recommended easy vegetables to grow if you are looking for some inspiration.
5. Select a Sunny Spot
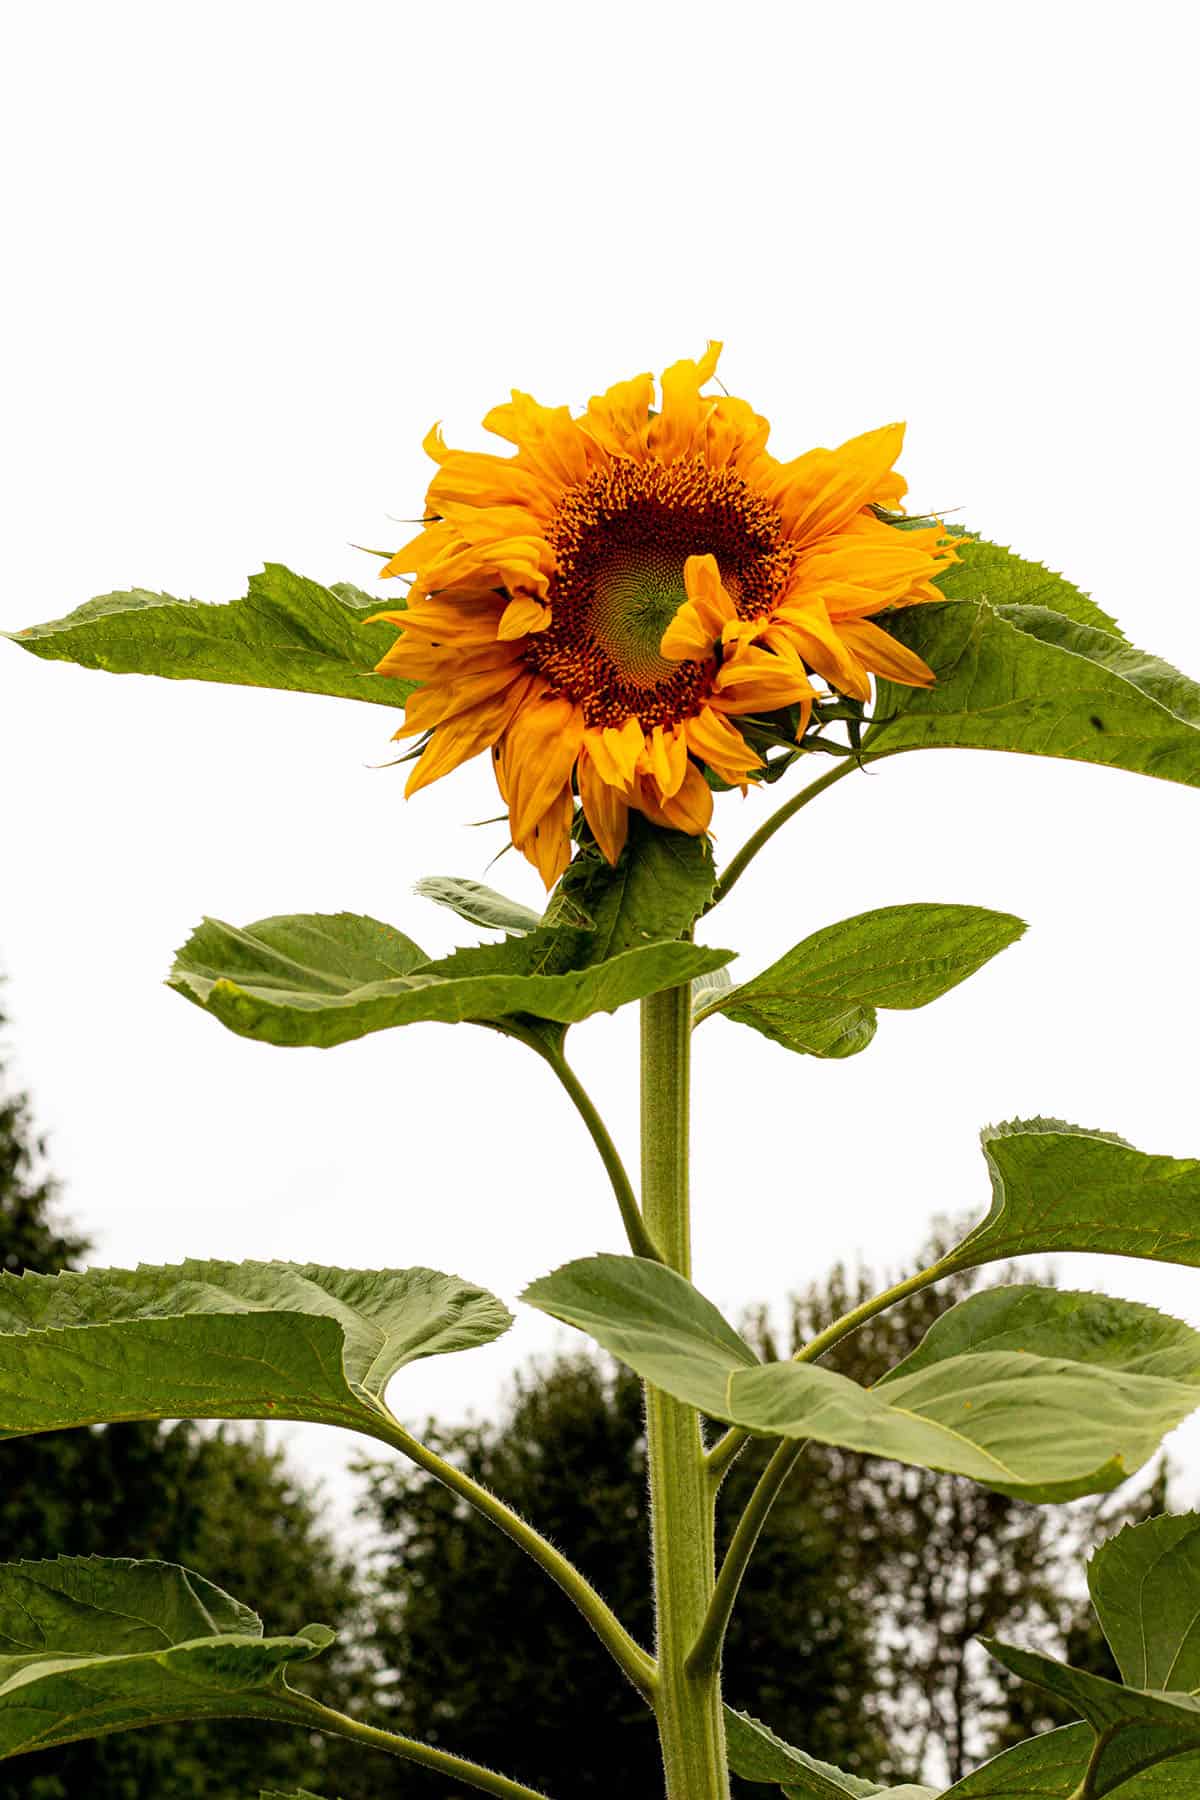
Before you even pick up a shovel or start placing dirt you first need to understand how sun affects your garden. Watch to see the sun pattern to determine the best location for your garden or planters.
When selecting a space for your new garden, make sure it gets enough sun. At least 6-8 hours of full sun is ideal.
Make sure the area is free of buildings, fences, tress or anything else that can block the sun.
6. Water Source
Sun is the number one factor in deciding on a location but the second is how accessible is your water source.
Does a hose reach it easily? Are you prepared to carry a water container around? Keep these things in mind as you pick your location.
Maybe it's as simple as getting a longer hose. We just added a stainless steel hose. It's so flexible and easy to drag around the yard and also very durable.
7. Pick Your Type of Garden
Now it's time to plan your garden spaces. There are three types of gardening: raised beds, in ground and container gardening. Here is a quick breakdown of each.
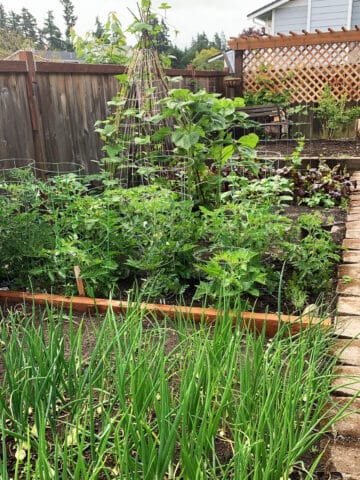
Raised Beds
Raised beds are just that, gardens that have been raised off the ground. This is the most popular option with gardeners.
Most raised beds are made with wood (cedar), bricks, galvanized metal, landscaping pavers and any other material that can raise it at least 12" off the ground.
The are a lot of pros and cons to a raised bed so you have to determine if this set up is for you. Amy Stross at Tenth Acre Farm has a great article to walk you through if this is the right set up for you.
They are great for soil management, easier to use and can look really nice. However, they also cost a lot more in materials to get up and running.
In-Ground Gardens
This type is exactly how it sounds. These are gardens that you are sowing directly into the existing soil.
This may sound like an easier option but a lot of times our native soil will not be a good host for our plants to mature.
Some soil may be great but others may require tilling, amending or have poor drainage.
In-ground gardens are also susceptible to weeds because they do not have the protection that raised beds can provide.
Deanna at Homestead and Chill provides a great breakdown of the pros and cons of having a raised bed or in ground garden.
Container Gardens
Container gardening is a great option if you have a smaller space or just want to experiment without the commitment of a raised bed or in ground garden.
While it's a cheaper up front investment, requires little to no weeding and the soil can be controlled easier you are also limited on how much and what you can grow.
Some crops just don't like containers.
If you really just want to get your feet wet and try this gardening thing out, this could be a great place to start.
8. Select Your Soil
Once you decide what kind of garden you will be using it's time to find get your dirt and amendments.
For container gardens, there is soil that is suited best. You can find it at your local hardware stores, nurseries or garden stores.
For raised beds, you can shop options at feed stores or local garden centers.
Local dirt companies also carry soil called 50/50 which is half dirt and half compost. This can be a great option to buy in bulk.
Just be sure to research and check it out first to make sure it will work in your raised beds.
9. Starts or Seeds
We are finally to the best part! Selecting your starts and seeds.
There are pros and cons to growing with both.
Starts can be a great way to get a garden going with little work. Just plant in your dirt and you have a garden.
These are plants that are already well established and can be planted right away.
Seeds require more planning and work up front, but can be really be fun and rewarding.
If you want to go the seed route I highly recommend purchasing heirloom seeds from a company like True Leaf Market.
I'm blown away by the difference in the plants themselves but also how much I was able to harvest.
10. Pay Attention to what each Plant Needs
Every plant requires different resources. Some have deeper roots which will need more soil to grow, where others will need more sun.
Some plants may even need extra nutrients to raise or lower the pH level. Again, that is not required, but it can help to maximize your yield.
They also all require different times of the year to either start seeds inside or sow directly into the ground. This is where the frost dates will matter.
Don't stress! Each seed packet, or plant, will give you the information you need to grow that particular plant successfully.
Following the recommenced guides will ensure you will maximize your growing potential.
11. Watering Schedule
Create a watering schedule to keep your plants happy and healthy. Again this will be different for each environment and climate.
In the spring I never water. Actually the opposite. I have to cover my plants so they don't get too much. Then in the summer I increase my schedule based off how hot it gets.
Just pay attention to your weather and make sure your plants are getting enough water.
11. Harvest!!!
After weeks of cultivating and caring for your garden it's time for the best part. Collect all that beautiful produce you worked so hard for and put it to use!
Eat it fresh or cook up some amazing dishes to spoil your loved ones.
Growing, harvesting and cooking with produce you grew yourself is such a rewarding experience and I hope you find as much joy in it as I do.
Please share your journey with me and if you found any of these tips helpful. Send me a email, comment below or connect on instagram. I want to hear your story.
Garden Books:
The Family Garden Plan: Grow a Year's Worth of Sustainable and Healthy Food
The Backyard Homestead: Produce all the food you need on just a quarter acre!
Gardening Supplies:
Heirloom and organic Seeds from True Leaf Market
Other Gardening Posts:

I would like to start a garden with bushes and flowers that are resistant what should I do
Deer resistance
Hi Melvin, I personally haven't had any issues with deer but we do have lots of rabbits. They best way to keep them out is to build some kind of barrier so they can't get to your plants. Here is an article that has some great ideas for deer resistant plants and flowers you could incorporate. https://www.thespruce.com/flowers-deer-wont-eat-1316114
Such great tips! I can't wait to get our garden started soon too.
Thank you Megan! I agree with you. I'm getting impatient.
For someone who’s contemplated starting a garden, this article has been SO helpful! Thank you for your insight and sharing some useful tips!😊
Thank you so much! Keep me posted if you do start one.
LOVE all the tips!!!
Thank you!